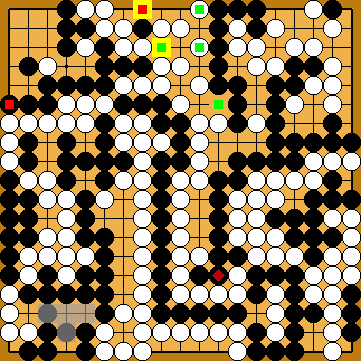
Variations of Our Solution (IIIa)
No Early Kikashi
VAR  (.1)
(.1) 
|
|
|
She might also start with connecting her single stone at the upper edge with |
|
Again, blocking at |
|
(Referenced by
|
|
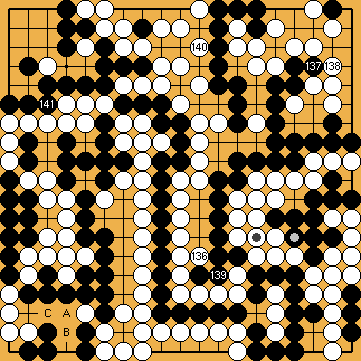
Black plays 3/3 reductions. Please assume Black's second kikashi in the hanezeki ( Later, White will play her kikashi |
|
Capture Variation: Compared to the superordinate variation ...
In total, gains and losses compensate for each other. White + 2 => White + 2 |
|
Semeai Variation: Compared to the superordinate variation ...
In total, gains and losses compensate for each other. White + 2 => White + 2 |
|

 648mk
648mk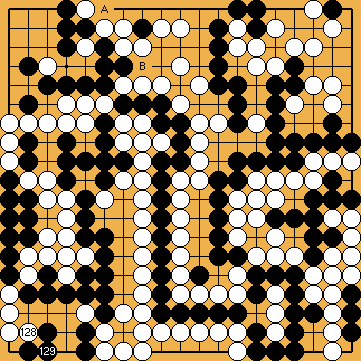
 : (A
: (A  648mn
648mn , instead.
 at the top will worsen her score in the Semeai Variation.
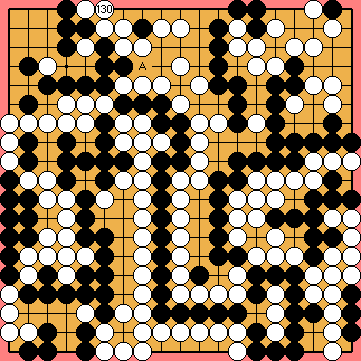
 : (A
: (A 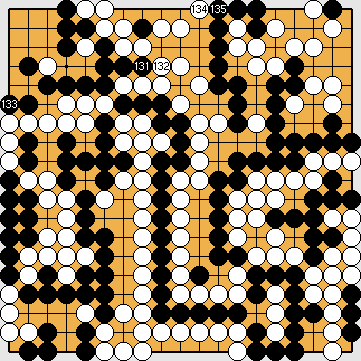
 648cm
648cm :
:
 ,
,  ) played before.
 in the lower left corner, so that Black must capture at
  before the end of the game.