Variations of Our Solution (IIIa)
No Early Kikashi
VAR  (.1)
(.1)
|
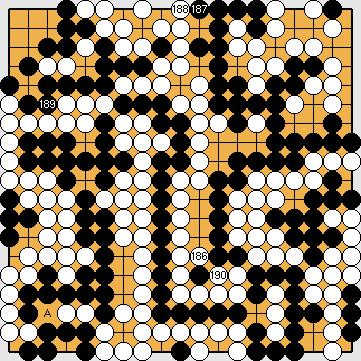
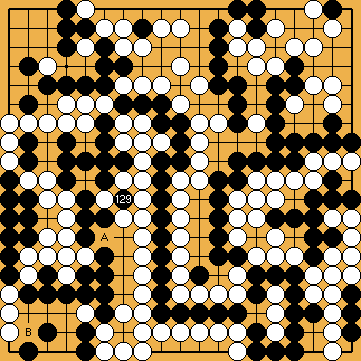
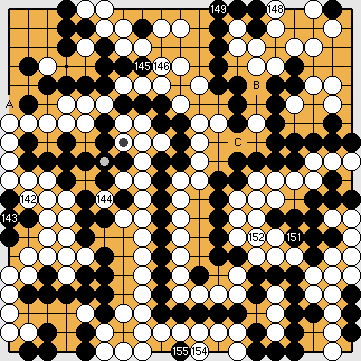
Please note that this move is played outside the Main Semeai, but does not lose a tempo therein, because Black is still par with the Punishment Semeai Liberty Level. |
|
Black is unable to continue with Black is strictly bound to continue with the Main Semeai. Therefore, giving atari at White will connect at We ask for your kind understanding that we felt unable to adjust the move numbers (i.e. to increase these by two) in the many already created diagrams, which follow in this part of the variation tree. |
|
White will win this ko anyway, so Black can simplify the issue by retreating to Black's atari is played outside the Main Semeai, and so loses a tempo therein. |
|
Again, her move is played outside the Main Semeai, but creates another approach-move liberty for her left hand group at C. White does not lose a tempo. |
|
(Referenced by
As two moves earlier, he might retreat with Black's move is played outside the Main Semeai, and so loses a tempo, in principle. However, White's two approach-move liberties vanished with this move, so the net effect on the Main Semeai Liberties is plus one. |
|
Black is at nine Main Semeai Liberties now. Winning the ko will require two White moves at Black, however, will lose a tempo in the Main Semeai by his connection at Please note that - from now on - we will not update the board's border colour after moves that capture the ko in the left centre, as long as this ko fight is still active, and undecided. |
|
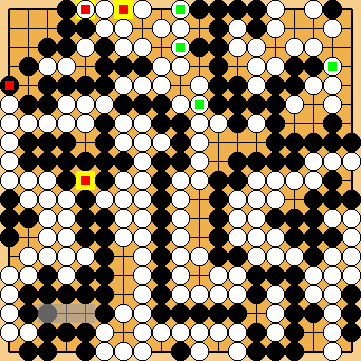
Before finding our earlier mistake with playing White's kikashi |
|
|
|
Counter-intuitively, it will be worse for her to block at
|
|
We now know that White's atari in the upper left centre cannot be counted as an additional ko threat.
While working on another topic, Joachim discovered by the way that White's push at In the subvariation, we will use White's push |
|
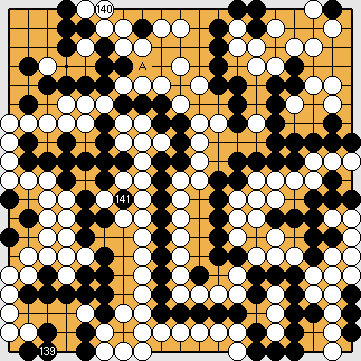
It will not make a difference, if she captures at |
|
Connecting the ko in the centre, instead, will be a grave mistake.
|
|
Compared to White's territory-reducing (in the Capture Variation) ko threat at However, please be very well aware that the above is true, only if Black does not have a valid ko threat left (outside the Main Semeai area) that he could use with Joachim's Final Ko in the Semeai Variation ( |
|
Joachim found that Black's throw-in at
White is barely ahead in ko threats (
Otherwise, Black will recapture the ko soon, and connect thereafter, gaining an advantage of two points in the Semeai Variation.
|
|
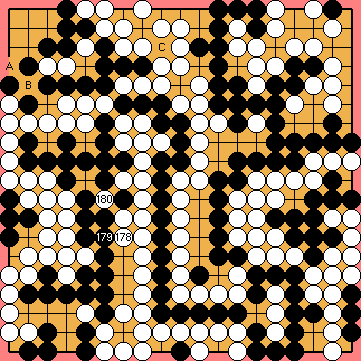
Black plays 1/3 reductions. Before the end of the game, Black will have to capture at |
|
Capture Variation: Compared to the superordinate variation ...
In total, gains and losses compensate for each other. White + 2 => White + 2 |
|
Semeai Variation: Compared to the superordinate variation ...
In total, White gained six points. Black + 4 => White + 2 |
|

 648aa
648aa
 becomes an approach-move liberty of White's group at the left.
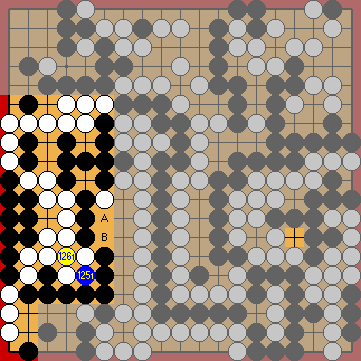
 , or
, or  , in the left centre, because any of these moves would push him below the Punishment Semeai Liberty Level.
 , which would win her the game.
 is his only choice, because this move is the only one that also defends against White's cut at
  648of
648of , providing Black with two Main Semeai Liberties. Now, Black is able to defend against White's cut at
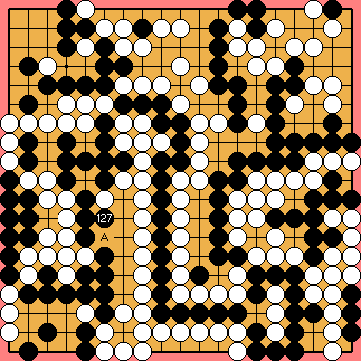
 : (A
: (A  648mm
648mm
 :
:
 : (A
: (A 
 :
: (capture), and at
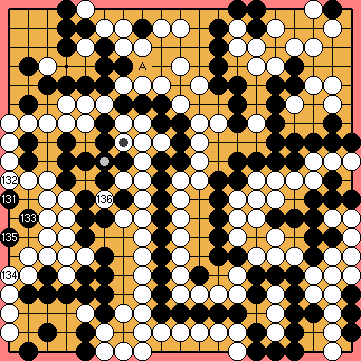
 : (136
  ,
,  in the centre too early, Dany questioned, whether it might be feasible to generate an additional White ko threat by splitting the Nakade Sequence here. But our deeper analysis showed that it is not!
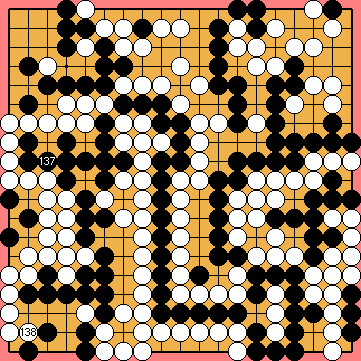
 :
: :
:
 : (A
: (A  unnecessarily.
 :
:
 ;
;  ;
; 
 ;
;  : (A
: (A 

 – that has used by us for so long as a ko threat – does not include a sufficient threat, which would enforce an immediate local reply by Black.
 .
. at the left edge, instead, to explain Joachim's finding in detail.
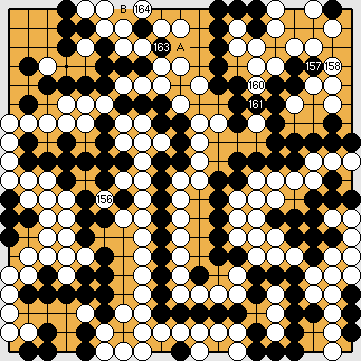
 ;
;  ;
; 
 :
: : (A
: (A 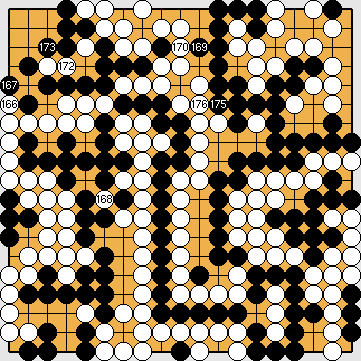
 ;
;  ;
; 
 :
: :
: : (168
  :
:
 :
: ), which he would have to take anyway during the course of occupying White's liberties at the left, so White loses a move in the Main Semeai here. Eventually, Black is three over par
 . In principle, White provided Black with a territory-reducing move of his own.
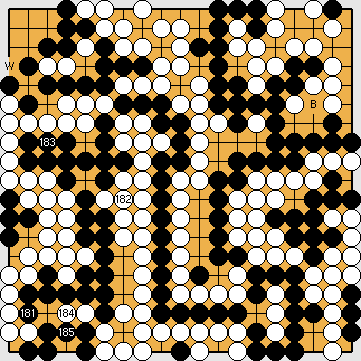
 :
: ,
,  vs.
vs.  :
: :
: