Variations of Our Solution (IIIa)
No Early Kikashi
Main Line
|
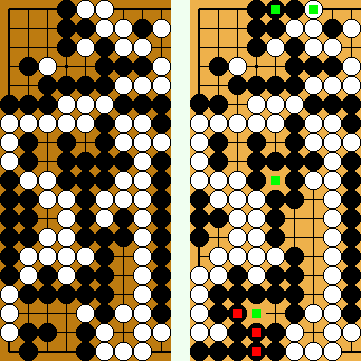
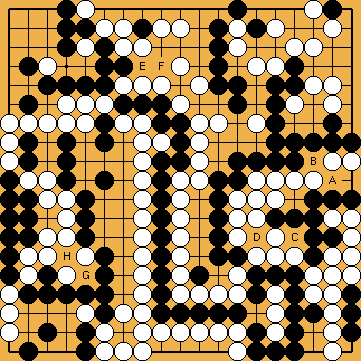
We start our analysis from a position, where Black has not played any of his kikashi Please note that Black has eight Main Semeai Liberties in the moment, and so is one over par with regard to the Punishment Semeai Liberty Level. |
|
White cannot take advantage if Black does without this kikashi. Black might also continue by immediately capturing White's single stone in the top right, with a move at
When analysing this position with KataGo (2021i), we found that the atari |
|
Alternatively, Black might push at Defending his lower left corner with |
|
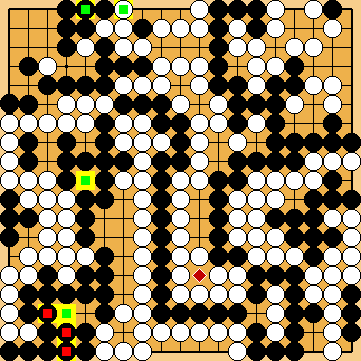
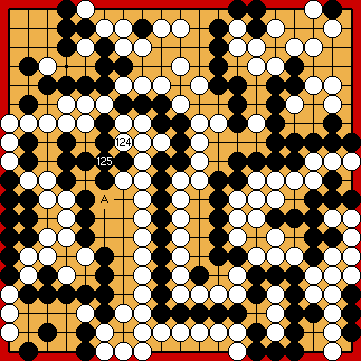
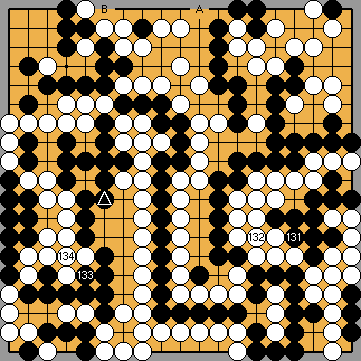
White might start her manoeuvre at the left side of the board with the forcing move at Pushing at
Black might consider taking White's group at the left a Main Semeai Liberty by playing at |
|
We only realized this fact shortly before the 2020 update of our website was completed. We ask for your kind understanding that in this late phase of our elaboration we both felt unable to reduce the move numbers by two in many diagrams, and to restructure the variation tree.
However, we thought for long that this atari could be utilised as an additional ko threat. But this is not true, as we only discovered in late 2020. |
|
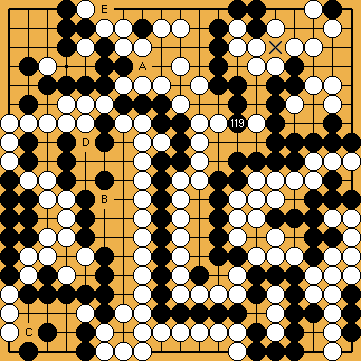
However, heading for Dany's Ko by playing Dany's atekomi Erasing Black's potential eye in the centre with the central attachment at |
|
Playing at
Heading for Dany's ko, by playing Dany's atekomi Erasing Black's potential eye in the centre with the central attachment at |
|
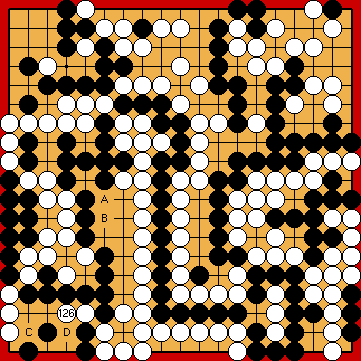
However, this move is not correct, as Black will be pushed below the Punishment Semeai Liberty Level by White's throw-in
Joachim found that this is the moment - just after White played her move Black could also survive the Punishment Semeai, if he secured his second eye for his left-hand group by connecting at |
|
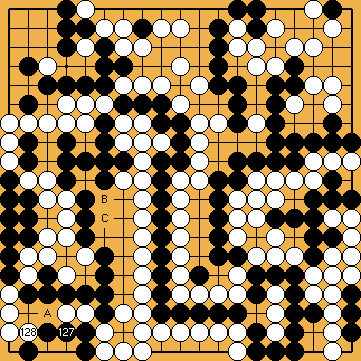
This move pushes Black below the Punishment Semeai Liberty Level. |
|
Please take notice that I was a bit lazy with the presentation of these two exchanges in many subvariations, where I did not display these four moves explicitly. Simply because I took them for granted, as an integral part of the Main Semeai.
White will not connect, but choose Dany's Sacrifice, instead. However, she must be careful with the continuation. We ask for your kind understanding that in the late phase of our elaboration, in which we discovered this error, we felt no longer able to reorganize the variation tree accordingly. |
|
Simply continuing with the Main Semeai, by occupying one of White's liberties at the left, will worsen Black's score in the Semeai Variation only.
Here, she might also continue with the Main Semeai, instead, e.g. with |
|
If Black does without connecting, White will not capture at |
|
|
|
|
|
You will recognise that Black here neither answers White's atari locally, nor pushes at any of the points We will illustrate the number of these moves as Black must not play any reduction (which is 0/0 reduction). Please note that connecting at Black will often not use his potential to full capacity. This will be wise in those cases, where his score in the Capture Variation is better than in the Semeai Variation, and might result in a reduction of the overall result of the game. Any of these moves left unplayed provides White with an advantage of one point in the Capture Variation (i.e. one point of territory), but will cost her one point in the Semeai Variation (i.e. one prisoner). |
|
At the end of the previous diagram, it is Black to move. Therefore, we can calculate the relationship of liberties in the Main Semeai. Black needs seven moves at the left to reach White's decision point (she will have to choose between the Capture and the Semeai Variation):
Black's group at the right has 14 liberties left:
This means that Black is ahead by seven liberties, barely enough to not suffer from the Punishment Semeai. |
|
We use our 2019 Solution for comparison. Capture Variation:
On the left side of the board, Black gained one point in total. |
|
On the right side of the board, White gained two points. |
|
In total, White gained one point. White + 1 => White 2 |
|
Semeai Variation:
On the left side of the board, Black gained three points in total. |
|
On the right side of the board, Black gained two points. |
|
In total, Black gained five points. White + 1 => Black + 4 |
|
 ,
,  /
/  ,
,  in the hanezeki at the right and
  ,
,  /
/  ,
,  at the left side.
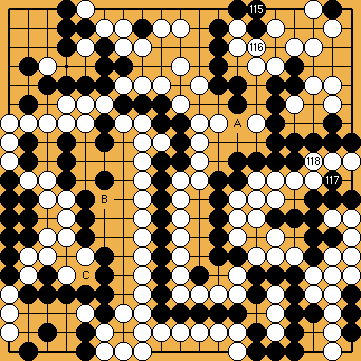
 :
: in sente. Some of the following subvariations contain a ko fight in the left centre of the board (with White having to find the first valid ko threat), so the size of each side's supply of ko threats is important.
 : (A
: (A  648ab
648ab . In both cases, the final scores of the game will remain the same as with this kikashi played "early".
 : (
: ( A
A  becomes an approach-move liberty of his group, so the net effect of this move is a loss of one Main Semeai Liberty.
 in the left centre, instead, will not change the overall result of the game (i.e. the Capture Variation's score), but Black's score in the Semeai Variation will become worse.
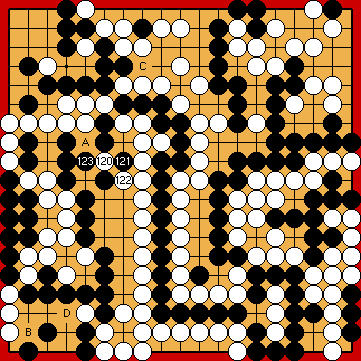
 : (D
: (D  , or blocking at
  , instead, are White mistakes.
 : (A
: (A 

 : (A
: (A 
 : (
: (
 : (A
: (A  : (
: (
 : (
: ( ) in the lower left corner - to give atari at White's two stones with a move at
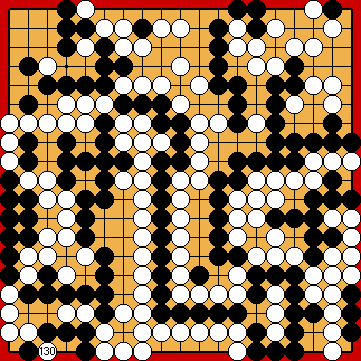
 :
:
 :
: : (
: ( - this is a grave mistake.
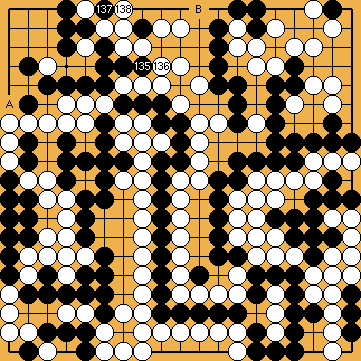
 : (137
  .
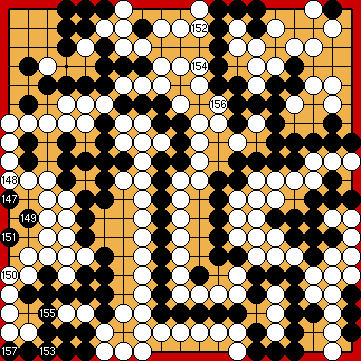
. : (B
: (B 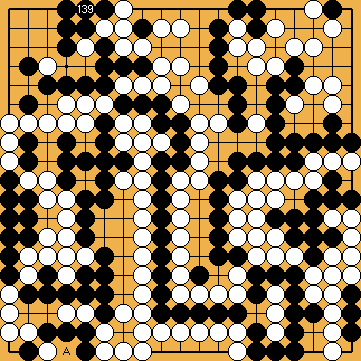
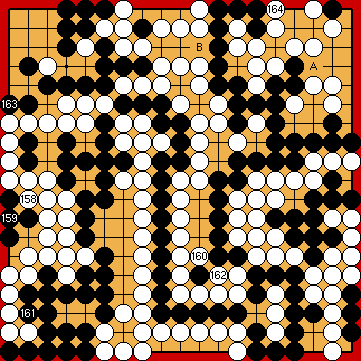
 : (A
: (A  "early", but wait until after her decision point, so improving her score in the Semeai Variation by two points.
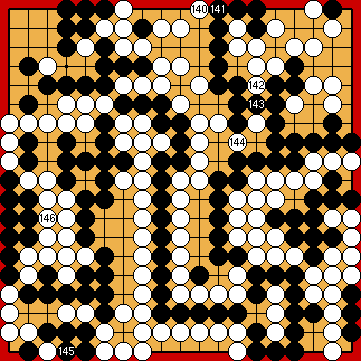
 :
:
 :
:
 :
: counts twice, as this move costs Black two liberties, not only one (as
 ).
).