Variations of Our Solution (IIIa)
No Early Kikashi
VAR 
|
We will use this subvariation especially to show that is does not hurt White to save playing her atari Please note that White's atekomi is played outside the Main Semeai area and does not create an approach-move liberty at lB for her left-hand group. Please also note that White's atari at |
|
It is not necessary to give atari at White's two stones in the lower left prior to initiating Dany's Ko. However, we will use this subvariation to explain a different result of Dany's Sacrifice, compared to another important line.
Alternatively, she might consider playing the upper atari at
|
|
Please note that |
|
White is barely - but also securely - ahead in ko threats (9 x |
|
|
|
|
|
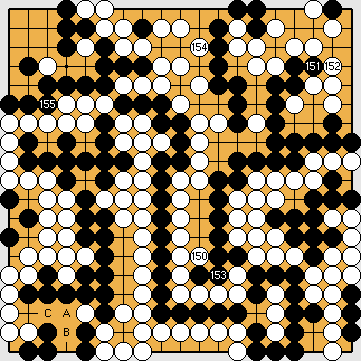
Black plays 3/4 reductions. Later, White will play her kikashi |
|
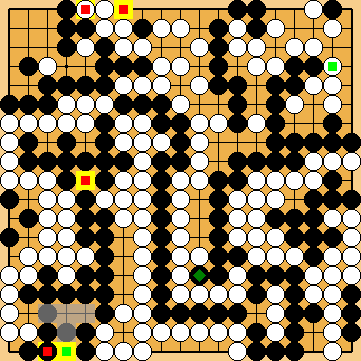
Capture Variation: Compared to the superordinate variation ...
In total, gains and losses compensate for each other. White + 2 => White + 2 |
|
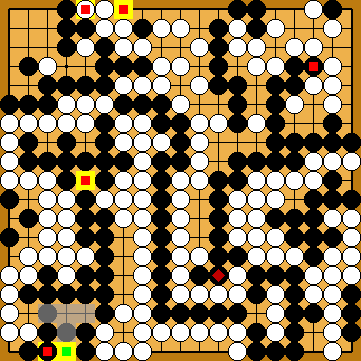
Semeai Variation: Compared to the superordinate variation ...
In total, White gained six points. Black + 4 => White + 2 |
|
 648aa
648aa in the upper left corner for later.
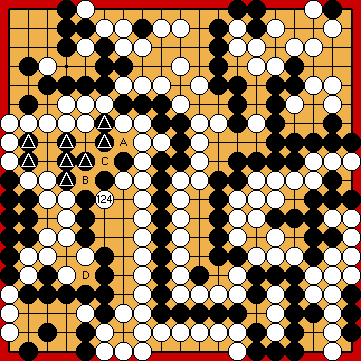
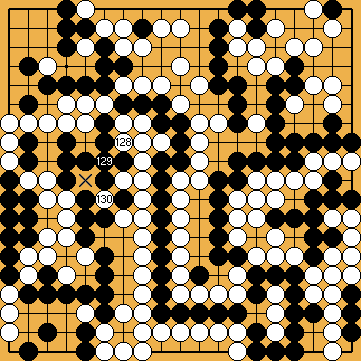
 played before, Black's marked stones now have an additional liberty at lC. This implies that White's move lost one tempo in the Main Semeai - for the time being.
 at White's two stones in the lower left.
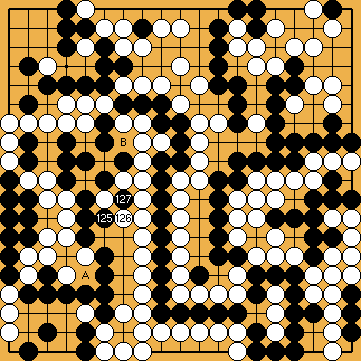
 : ( A
: ( A  648kw
648kw : (B
: (B  .
. :
:
 :
: :
: has become an approach-move liberty of White's left-hand group, so Black lost one tempo in the Main Semeai by his connection.
 :
: :
: :
: vs. 8 x
  ), so it does not make much sense for Black to continue with the ko fight in the left centre.
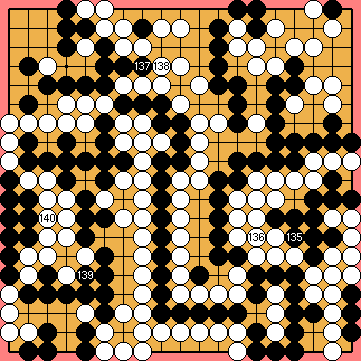
 ;
;  ;
;  :
:
 :
: :
: