Variations of Our Solution (IIIa)
No Early Kikashi
VAR  (.1)
(.1)
|
It will turn out that there is no need to do without this kikashi, because Black cannot get a better result - especially with Dany's Ko, where this kikashi might be in principle useful as an additional ko threat.
After a long time of research we had to accept that our original hope had not been fulfilled. Quite contrary, continuing without this kikashi is a source of complications, with the better end for White. |
|
Trying with
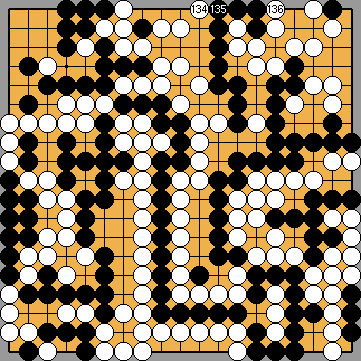
We now know that White would not gain decisively overall if she played her gote move
However, this is the moment, when Black has to play his kikashi |
|
We only realized this fact shortly before the 2020 update of our website was completed. We ask for your kind understanding that in this late phase of our elaboration we both felt unable to reduce the move numbers by two in many diagrams, and to restructure the variation tree.
White must play at
However, even here, White should have taken her last opportunity to play at |
|
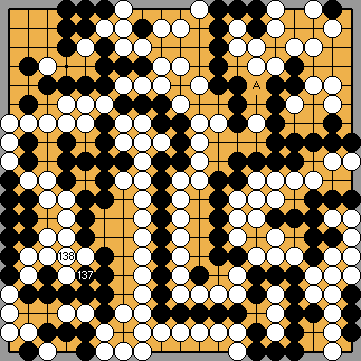
However, Black could do better by playing his kikashi in the hanezeki
Joachim found that this is the moment - just after White played her move |
|
She will be worse, if she prevents Black's kikashi in the hanezeki by playing |
|
|
|
This move does not do any harm here. However, it would be better for White to continue with the Main Semeai, instead. |
|
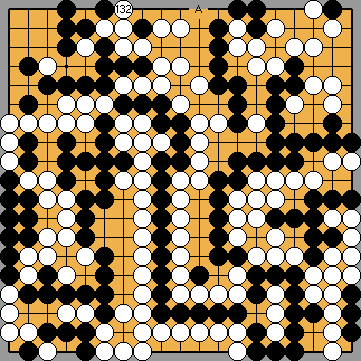
However, it would not benefit him to continue with the Main Semeai now, because he would still suffer from the Punishment Semeai. |
|
|
|
As we now know, White must continue with the Main Semeai here. |
|
Black must not play any reduction. Please note that Black has to capture at
Please refer to the subvariations of this move for a detailed explanation of the problem's behaviour with this White's gote move at |
|
Capture Variation: There are no changes to the superordinate variation. White + 2 => White + 2 In the scoring diagrams, the previously mentioned additional moves - which will be played after the previous diagram - are shadowed. |
|
Semeai Variation: There are no changes to the superordinate variation. Black + 4 => Black + 4 |
|
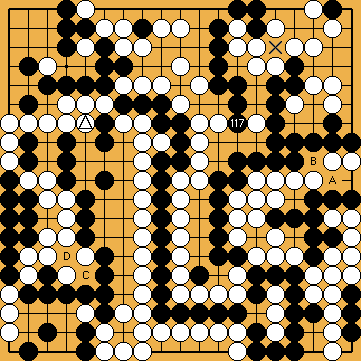
 648aa
648aa ) to capture White's single stone in the upper right without having played his kikashi of
  ,
,  in the hanezeki before.
 becomes an approach-move liberty of his group, so the net effect of this move is a loss of one Main Semeai Liberty.
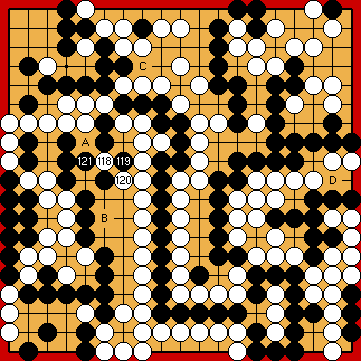
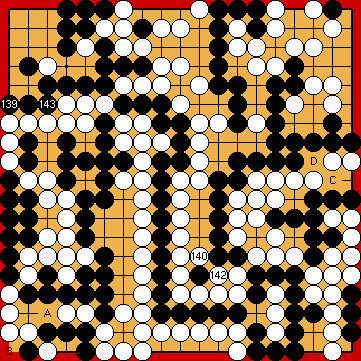
 : (A
: (A  648ac
648ac ,
,  ,
,  , instead, will end worse overall for White.
 in the hanezeki.
 : (
: ( D
D  in the hanezeki.

 :
: : (
: ( ;
;  , instead, will end worse for her.
 ), just because he already has an eye in the centre.
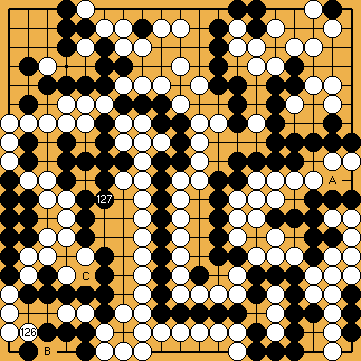
 : (
: ( .
. , returning to what I thought to be the main line with the best final scores for Black.
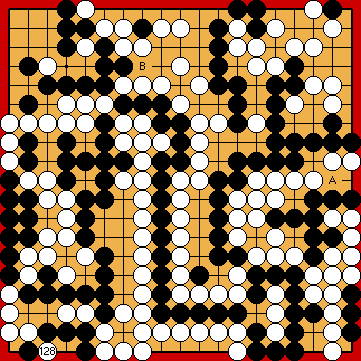
 : (A
: (A 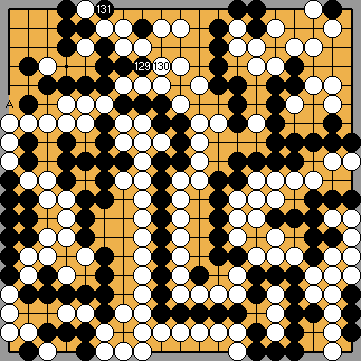
 :
:
 : (A
: (A 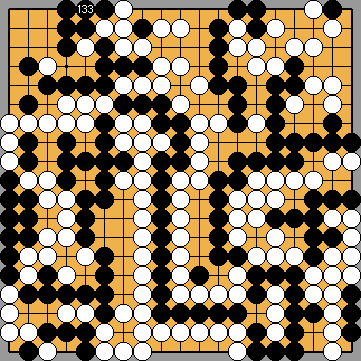
 :
:
 :
:
 : (
: (
 : (C
: (C