Variations of Our Solution (IIIa)
No Early Kikashi
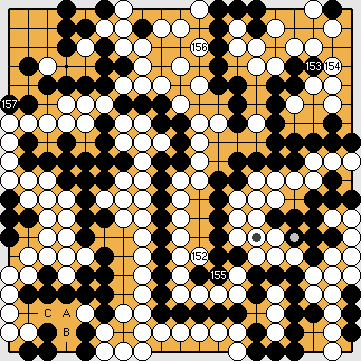
VAR  (.1)
(.1)  (.4)
(.4)
|
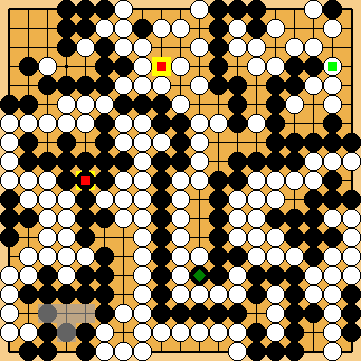
Please note that this move is played outside the Main Semeai, but does not lose a tempo therein, because Black is still par with the Punishment Semeai Liberty Level. |
|
Black is unable to continue with
Black is strictly bound to continue with the Main Semeai. Therefore, giving atari at Alternatively, Black might consider playing his kikashi in the hanezeki first, in order to prevent White's following move at this point.
However, as we now know, the corresponding loss of a potential ko threat will have a decisive effect on Dany's ko, which is to come in the left centre.
However, as we now know, it will be better for White to ignore Black's atari in the lower left, and to prevent Black's kikashi in the hanezeki by playing at the point of lC herself. White will gain one point overall. We ask for your kind understanding that we felt unable to adjust the move numbers (i.e. to increase these by two) in the many already created diagrams, which follow in this part of the variation tree. |
|
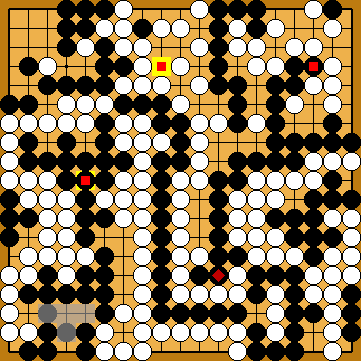
Black will lose the following ko fight, so he might consider simplifying the issue by retreating to
However, this move would be played too early, losing one point overall.
Connecting at
It might be tempting to play her gote move |
|
She might consider splitting the Nakade Sequence for immediately capturing the ko - hoping for an additional ko threat, while following Dany's suggestion - but she will not benefit from this idea.
He might also immediately play the safety-first connection at
She must not try to take advantage by giving atari at
We now know, that Black can make the matter much clearer by playing his push at This connection at the left edge, erasing Black's shortage of liberties in that area, was played by us "early" (in order to simplify the presentation) at a time, when we were sure that White would win the ko, even after her connection at
Immediately connecting the ko with |
|
White would gain territorially by connecting her single stone at the upper edge, instead. If White ever wanted to connect at the upper edge, instead of blocking at the top, she should have done without her kikashi in the lower left corner, as can be seen in a subvariation above ( |
|
He will achieve the same final scores by further fighting the ko in the centre, but which he will lose.
Otherwise, Black will capture at due time, and connect, so gaining decisively.
|
|
Black plays 3/3 reductions. Please assume Black's second kikashi in the hanezeki ( White will play her kikashi |
|
Capture Variation: Compared to the superordinate variation ...
In total, White lost one point. White + 2 => White + 1 |
|
Semeai Variation: Compared to the superordinate variation ...
In total, White gained five points. Black + 4 => White + 1 |
|
 648ab
648ab
 becomes an approach-move liberty of White's group at the left.
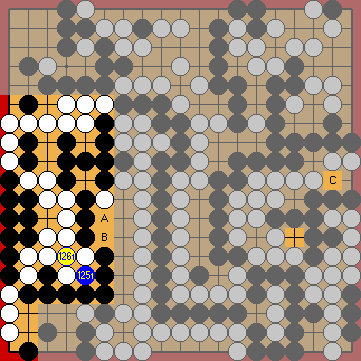
 , or
, or  , in the left centre, because any of these moves would push him below the Punishment Semeai Liberty Level.
 , which would win her the game.
 : (C
: (C  648cy
648cy 648of
648of
 : (
: ( C
C 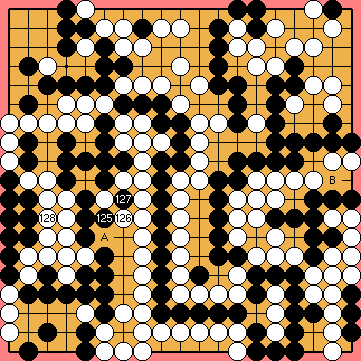
 : (A
: (A  : (A
: (A  : (B
: (B 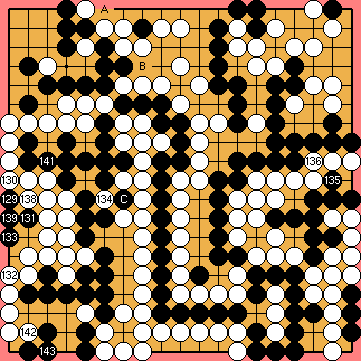
 ;
; 
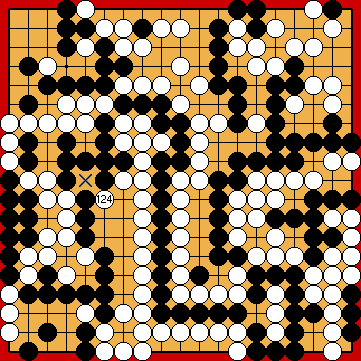
 : (134
 : (141
  , achieving the same final scores.
 : (141
  , instead, intending to make the ko a fight for the life and death of Black's large group at the left.
 at the upper edge - which would then be one point better overall than the block - in conjunction with her kikashi at
  in the lower left corner.
 would be mistaken, as White would no longer be able to win the Semeai Variation.
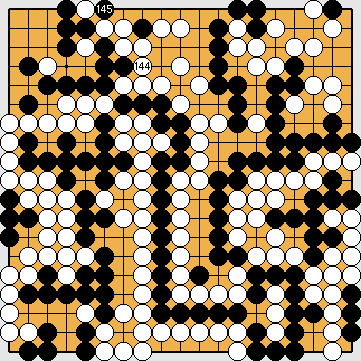
 : (145
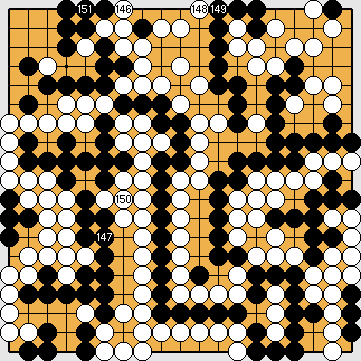
 : (150
  :
: :
:
 ,
,  ) played before.
 there, due to his shortage of liberties above.