Variations of Our Solution (IIIa)
No Early Kikashi
VAR  (.1)
(.1)  (.4)
(.4) 
|
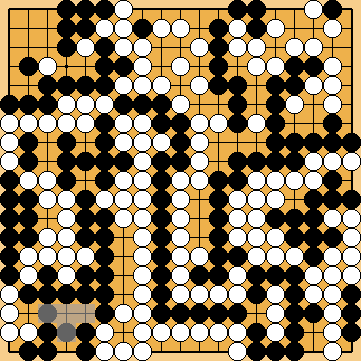
In the "usual" course of the ko fight in the left centre, Black would have played this connection in reply to White's ko threat at |
|
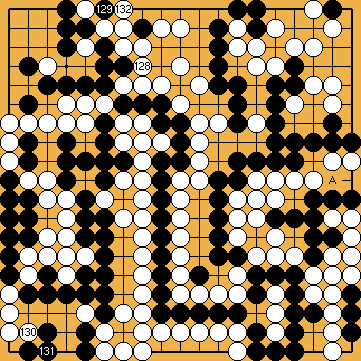
Alternatively, she might consider connecting her single stone at the upper edge with
Defending his lower left corner, with
|
|
|
|
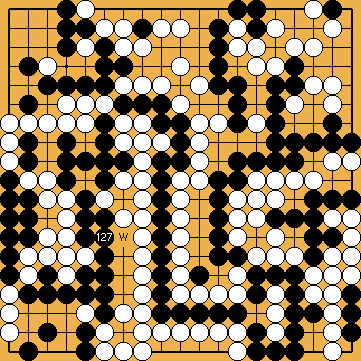
Black plays 3/3 reductions. Later, White will play her kikashi |
|
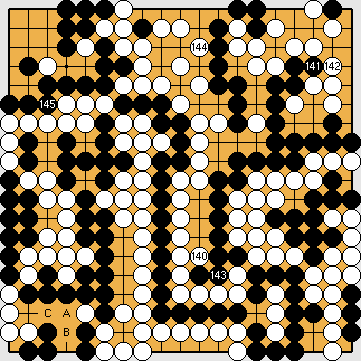
Capture Variation: Compared to the superordinate variation ..., there are no changes. White + 1 => White + 1 |
|
Semeai Variation: Compared to the superordinate variation, there are no changes. White + 1 => White + 1 |
|
 648cx
648cx .
.
 : (129
  648dw
648dw , or inserting her kikashi
  in the lower left corner "early".
 herself, will be worse for her in the Semeai Variation.
 :
: , instead, will be one point worse overall.
 :
:
 ;
;  :
: :
: :
: :
:
 in the lower left corner, so that Black has to capture at
  before the end of the game.