Variations of Our Solution (IIIb)
No Early Kikashi
VAR  (.3)
(.3)
|
( |
|
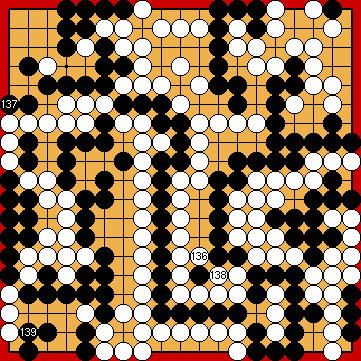
Black's kikashi in the hanezeki are also considered seriously, as well as KataGo's solid connection in the left centre. All of these alternative options will result in changes in the order of moves with the best sequence below. |
|
KataGo also seriously considers the atari at |
|
Seriously considered are also playing the lower kikashi in the hanezeki and capturing White's single stone at the upper edge just now. It will result changes in the order of moves with the line of play below. |
|
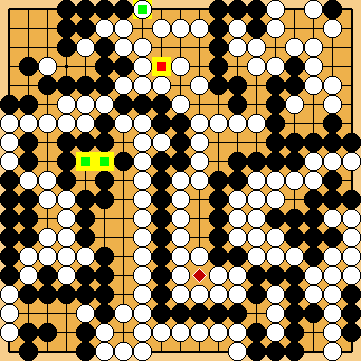
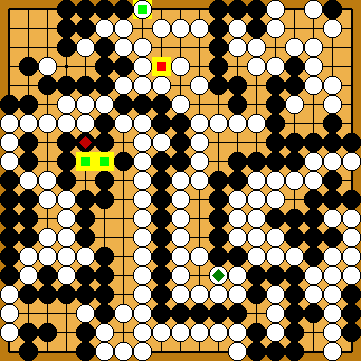
Black might insert his last kikashi at the top before. |
|
Blocking at Please note that Black would win the Semeai Variation by only two points, if he let White take both |
|
Alternatively, he might have pushed at
|
|
Black must not play any reduction. |
|
Capture Variation: Compared to Our Solution (2020) ...
In total, gains and losses compensate for each other. White + 2 => White + 2 |
|
Semeai Variation: Compared to Our Solution (2020) ...
In total, Black gained two points. Black + 4 => Black + 6 |
|

 648aa
648aa , with none of the marked Black kikashi (
 ,
,  /
/  ,
,  in the hanezeki /
  ,
,  in the lower left /
  ,
,  at the top) having been played yet.
 .
.
 649ab
649ab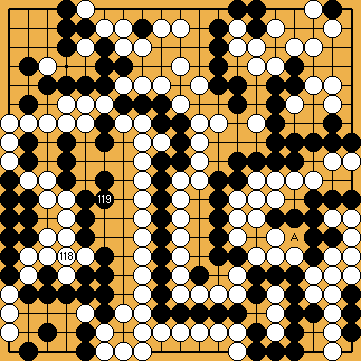
 :
: : (A
: (A 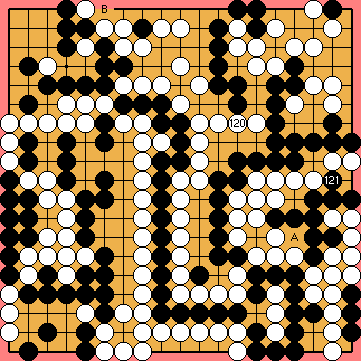
 :
: : (A
: (A 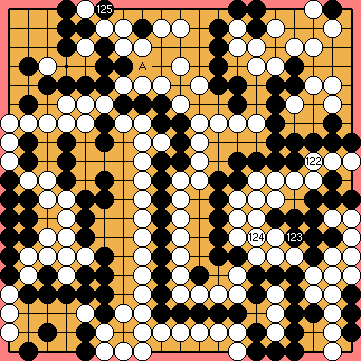
 :
: :
: : (A
: (A 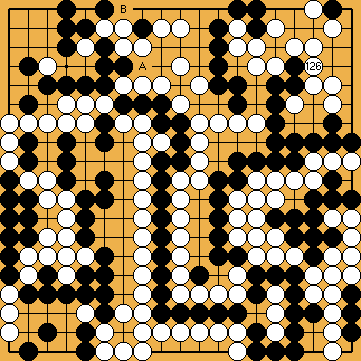
 : (
: ( A
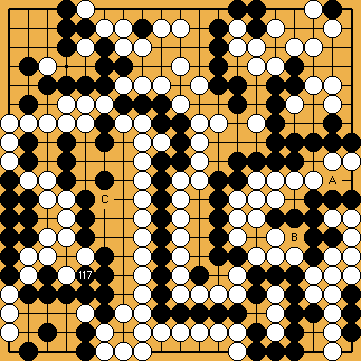
A  at the upper edge would benefit White by two points in the Semeai Variation ("correct" play for Black in the left centre provided).
 and
and 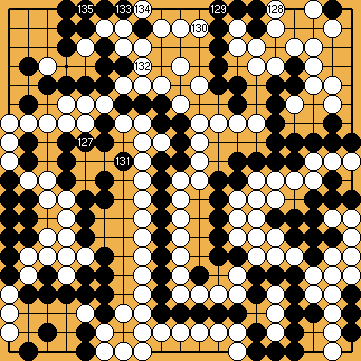
 :
: :
: , instead,
 :
: :
: :
: