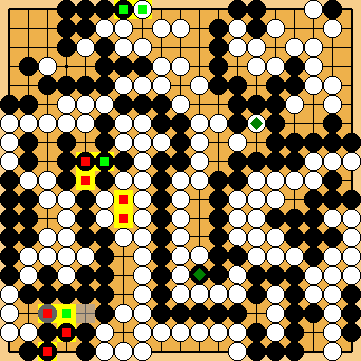
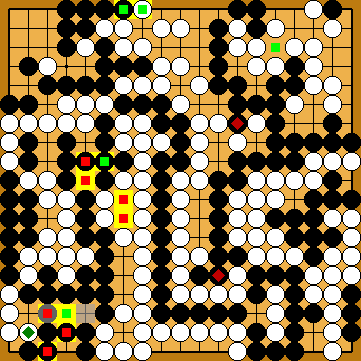
Variations of Our Solution (IIIb)
No Early Kikashi
VAR  (.3)
(.3) 
 (.2)
(.2)  (.2)
(.2)
|
|
|
However, preparing the path to Dany's Ko with the wedge at Playing the central attachment at The same is true for the connection at
Quite surprisingly, KataGo's solid connection in the centre - that is "usually" played in other subvariations - is not favoured by KataGo (2021i) here. Choosing this subvariation would not affect the outcome of the game, but benefit Black in the Semeai Variation by four points.
KataGo captures at |
|
Dany's atekomi at
White would benefit by one point in the Semeai Variation, if she played Dany's atekomi at |
|
|
|
Black plays 2/2 reductions. Before the end of the game, Black will have to capture at |
|
Capture Variation: Compared to the super²ordinate variation ...
In total, gains and losses compensate for each other. White + 2 => White + 2 |
|
Semeai Variation: Compared to the super²ordinate variation ...
In total, Black lost four points. Black + 4 => Jigo |
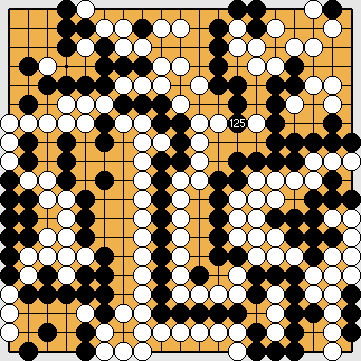
 649am
649am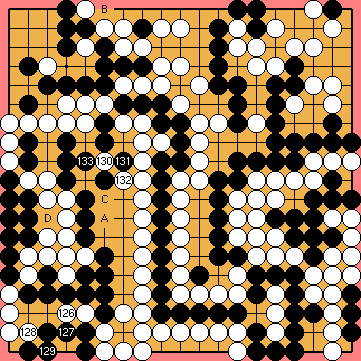
 :
: : (
: ( 130
130  649ap
649ap in the left centre would be better for White in the Semeai Variation. KataGo simply does not care about the final result of that alternative Main Variation, and therefore does not favour this move.
 in the left centre, instead, is a mistake here, losing one point overall.
 at the upper edge, which would be too early now.
 : (
: ( before. We think that this does not make a difference, as Black has already played the push at the top that hurts his upper left corner decisively.
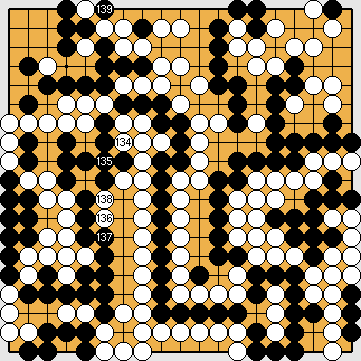
 : (
: ( is favoured neither now, nor after Black's connection at
  . We can assume for sure that KataGo does not care about the result of the alternative Main Variation.
 - followed by Dany's Ko - instead.
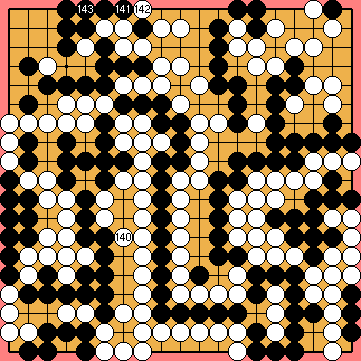
 :
: :
: :
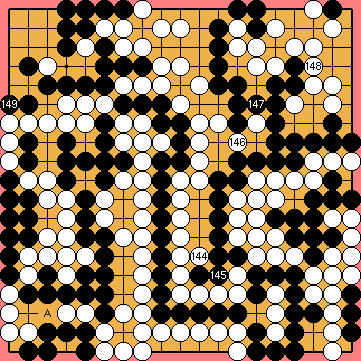
:
 .
.