Joachim's Ko-Semeai - Putting the Cart
Before the Horse (2013 - 2015)
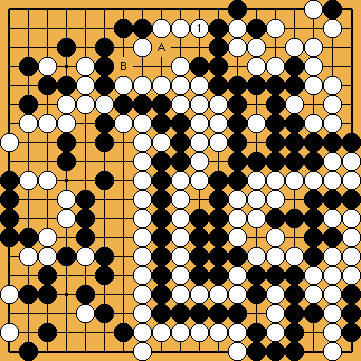
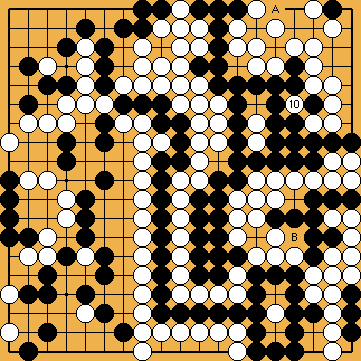
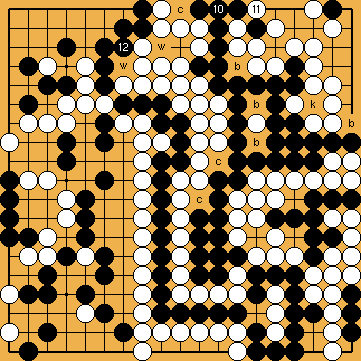
12a - White's "Standard" Move
on the Upper Edge
|
|
|
|
|
|
|
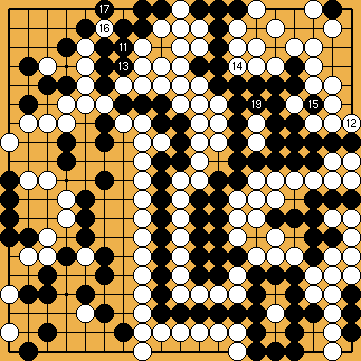
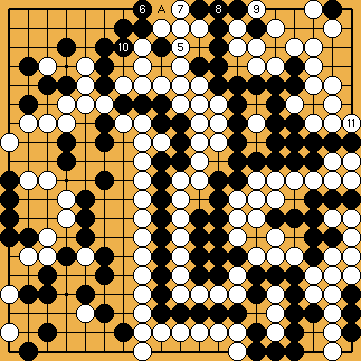
She should avoid falling into the trap of simply answering with the sagari of |
|
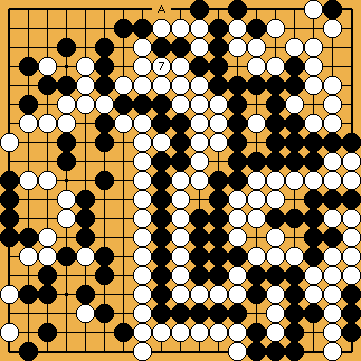
Black group has seven liberties (2 * c, 3 * b, k), so he needed the "usual" single (external) ko-threat to win the semeai. |
|
|
|
|
|
|
|
|
|
|
|
|
|
///:
|
|
|
|
///:
|
|
By thoughtlessly playing the sagari of |
|
Black lacks ko-threats outside the hanezeki. Therefore, due to Black's initial mistake with his hane at 4, White will win the ko-fight. |
|
///:
|
|
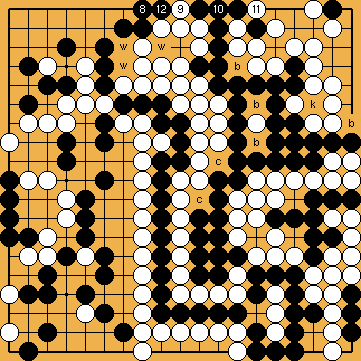
White has five liberties (2 * w, 3 * c) against seven liberties (3 * c, 3 * b, k) for Black. Black needed an external ko-threat (more than White) to win the game, but which he lacks now. |
|
 :
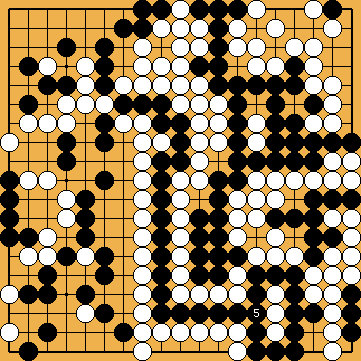
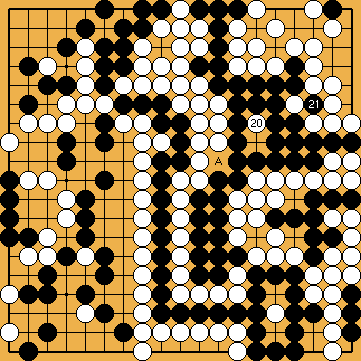
: in the upper centre. White stops Black from establishing another ko-shape in this area (
 1077
1077 . The more restricted push of
  from the left, instead, that is easier for White to handle, is a mistake.
 :
:
 :
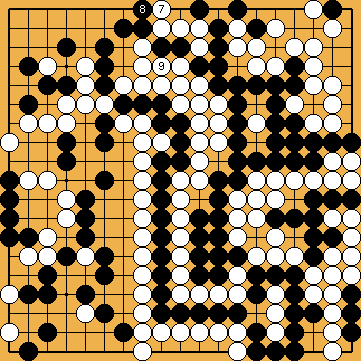
: , instead, will not help either. Black will give atari from below, at
  .
.
 :
: .
.
 :
:
 :
:
 :
:
 :
:
 :
:

 :
:
 :
:
 .
.

 :
:
 :
: ) as already explained above.
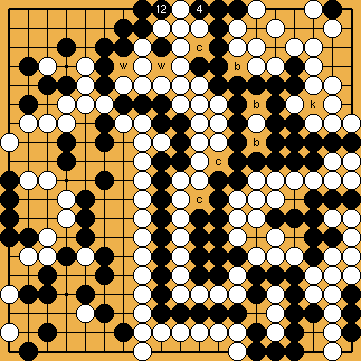

 , Black mistakenly plays from the left. The preparatory sequence results in a change in the order of moves with our "standard" procedure for Joachim's Ko-Semeai.

