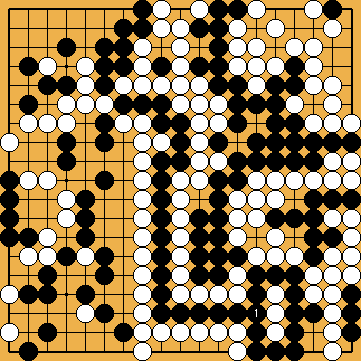
Joachim's Ko-Semeai - Putting the Cart
Before the Horse (2013 - 2015)
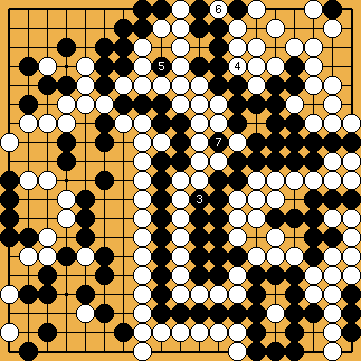
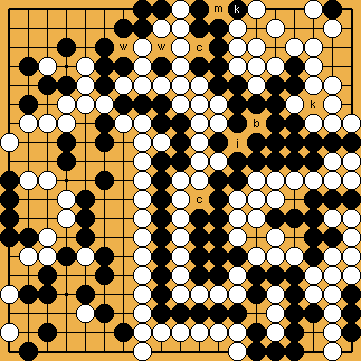
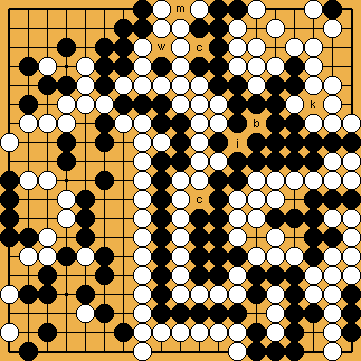
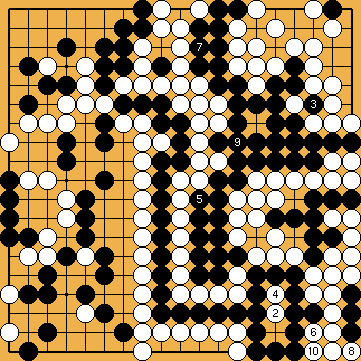
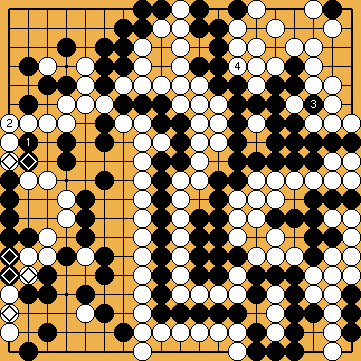
12c - White Creates Another Ko-Shape
in the Centre
|
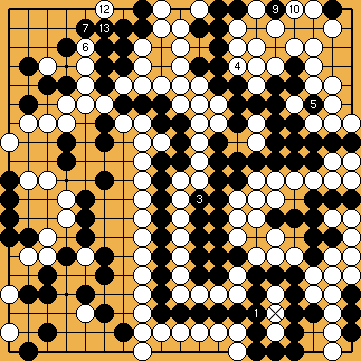
In many cases, Michael Redmond's kikashi of |
|
|
|
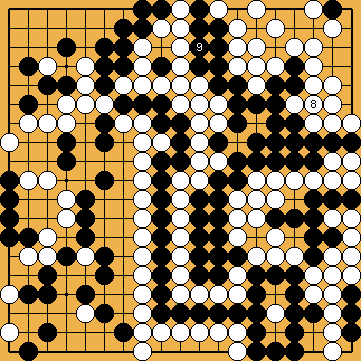
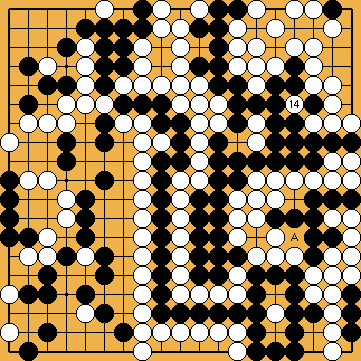
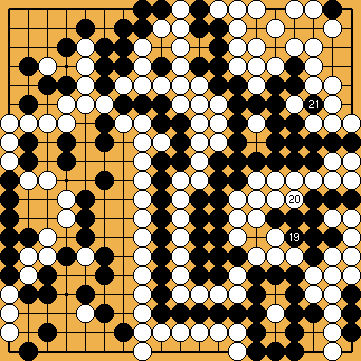
White's group has five liberties (w, 2 * c, j, m), Black's group has seven liberties (2 * c, b, 2 * k, j, m). This is the "usual" relationship of liberties with Joachim's Ko-Semeai, but we can assume that the shared double-ko in the centre will benefit White. |
|
|
|
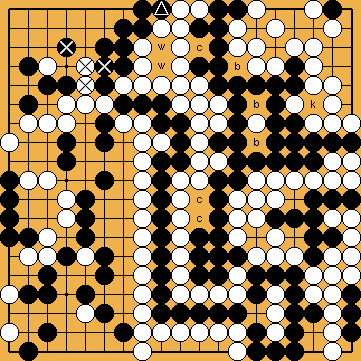
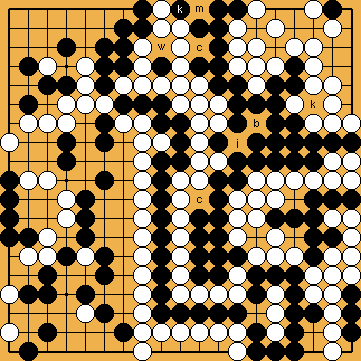
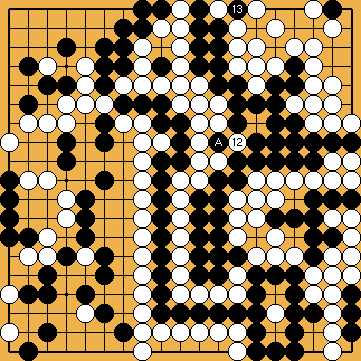
There is nothing that Black could to with the shared double-ko of |
|
///:
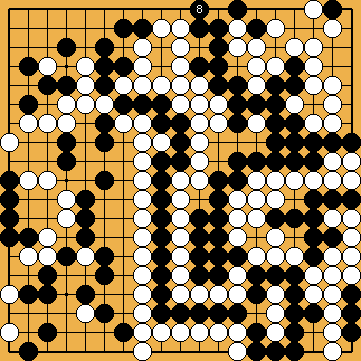
Therefore, Black will play the sagari of |
|
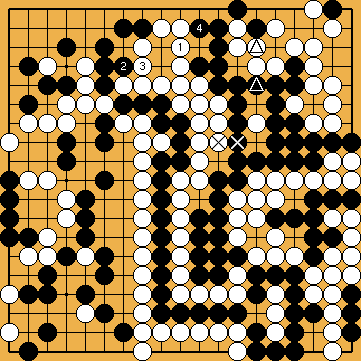
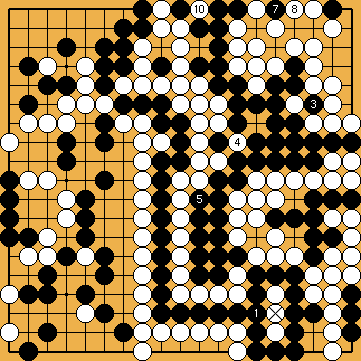
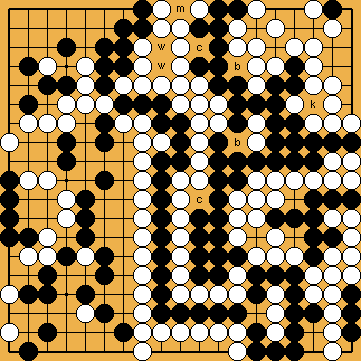
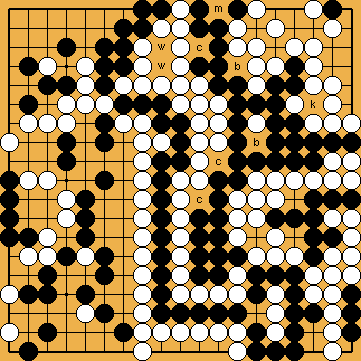
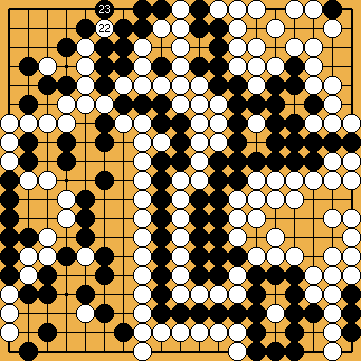
After the changed preparatory sequence, White's group has five liberties (2 * w, 2 * c, j), Black's group has seven liberties (2 * c, b, 2 * k, j, m). This is the "usual" relationship of liberties with Joachim's Ko-Semeai, but we can assume that the double-ko with his group (in the centre, and on the upper edge) will benefit Black. |
|
|
|
|
|
|
|
///:
|
|
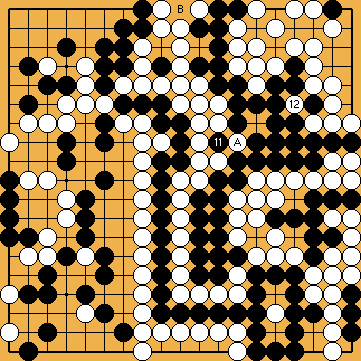
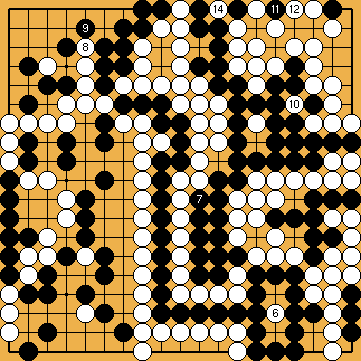
After the changed preparatory sequence, White's group has five liberties (w, 2 * c, j, m), Black's group has only six liberties (2 * c, b, k, j, m). Despite the various ko-shapes, Black seems to have lost a decisive liberty. |
|
|
|
Continuing with occupying liberties, with a move at |
|
///:
|
|
White's group has five liberties (2 * w, 2 * c, m), Black's group has only six liberties (2 * c, 2 * b, k, m) again. |
|
|
|
Black's suicidal ko-threat at |
|
///:
|
|
|
|
White's group has five liberties (2 * w, 3 * c), Black's group has seven liberties (3 * c, 2 * b, k, m). |
|
We added the beginning |
|
|
|
|
|
|
|
|
|
|
|
|
|
///:
|
|
White's group has five liberties (2 * w, 2 * c, j), Black's group has seven liberties (2 * c, 2 * b, k, j, m). |
|
|
|
|
|
|
|
|
|
///:
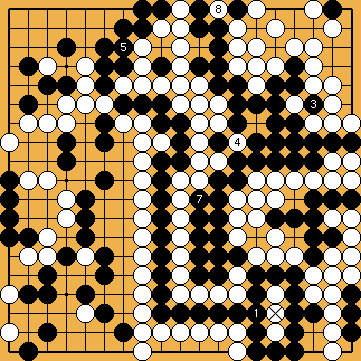
If Black throws-in at We will show here that it is now much too late for Black to build a larger eye in the centre. At the end of this preparatory sequence, White's centre group still has an outside liberty left. Therefore, we will shift |
|
White's group has five liberties (2 * w, 3 * c), Black's group has seven liberties (3 * c, 3 * b, k). This is the "usual" relationship of liberties with Joachim's Ko-Semeai, so White will win the fight. However - seen overall - it might be advisable for White to not play her kikashi of |
|
 :
: , I apparently forgot about one important fact: Black will not get both the move at
  /
/  in the centre.
 /
/  in the bamboo joint will not have been played, too. We will take it off the board, in order to make the following sequences more comprehensible.
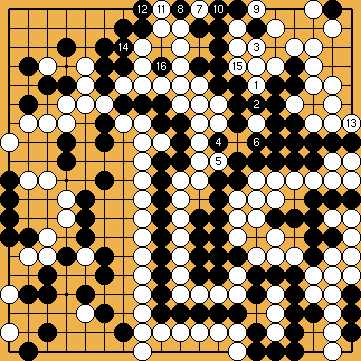
 :
:
 @
@  ;
; 
 :
:
 :
: /
/  , which works in White's favour. Therefore, White will win the game with ease.
 :
: .
.

 :
:
 :
: , so giving atari on White's group.
 :
:
 :
: instead, will not work either. White will connect the ko at
  ; the shared double-ko remains in the centre, so Black will be unable to capture White's group there.
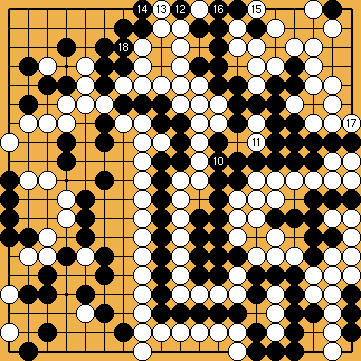
 ;
; 
 :
:
 :
:
 /
/  of the Nakade Sequence to make this ko-threat more comprehensible.
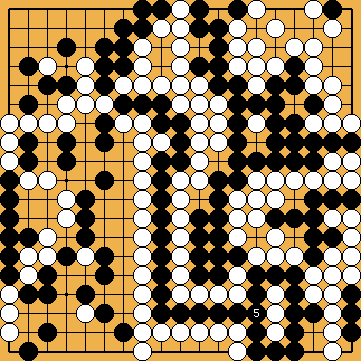
 :
:
 :
:
 :
: