New Story Line 2022
Joachim's Wedge in the Centre
(Joachim's Ko-Semeai #3)
|
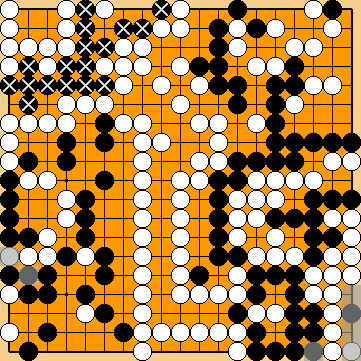
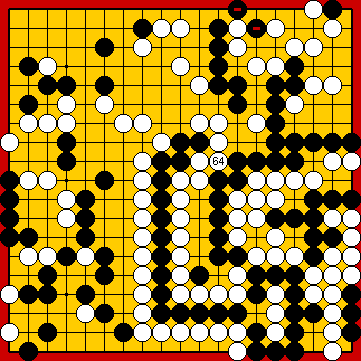
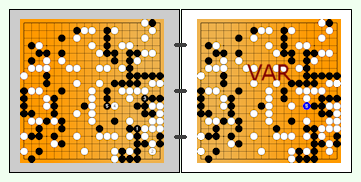
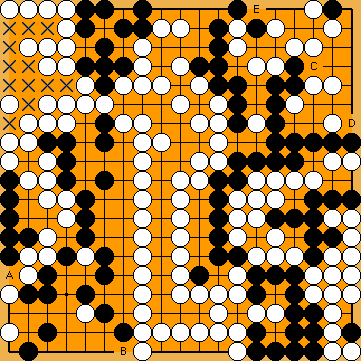
We will present Joachim Meinhardt's alternative move suggestions, which in principle all aim at a semeai between Black's large group in the upper right and White's centre group. Unlike our historical attempts, which resulted in a variation of Joachim's Ko-Semeai, KataGo suggests for the main line that Black sacrifices his hasami-tsuke stones completely to minimise the amount of his defeat. If Black tries harder, however, KataGo will come up with an invasion of the upper left corner as a surprising countermeasure. | |
|
Let's go back in time and enter the world of amateurs ... |
|
For further details, please refer to the history of our research ... Please note that we had already played Fujisawa Hideyuki's First and my Second Throw-in at that time, but still refrained from inserting the kikashi in the hanezeki "early". |
|
|
|
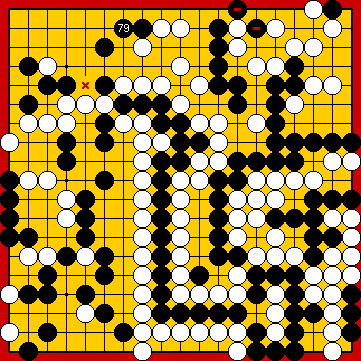
Black loses a Main Semeai Liberty by this move. |
|
|
|
He might want to play the hane |
|
|
|
He already knows that he will be unable to win the game by following the Main Semeai with occupying White's liberty at For further details, please refer to the history of our research ... |
|
Let's find out what KataGo thinks about this matter ... |
|
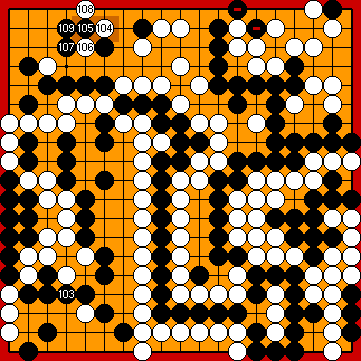
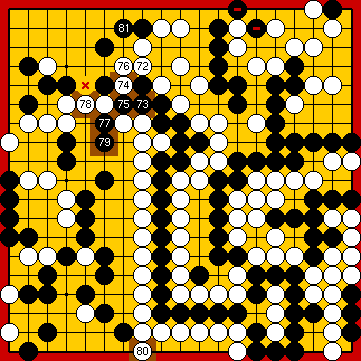
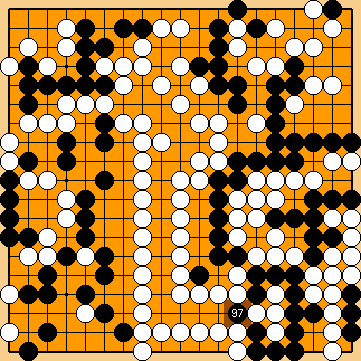
As is already mentioned above, Joachim continued with his Hiki to |
|
|
|
|
|
Please note that his capture is for free, as it erases the earlier approach-move liberty at
|
|
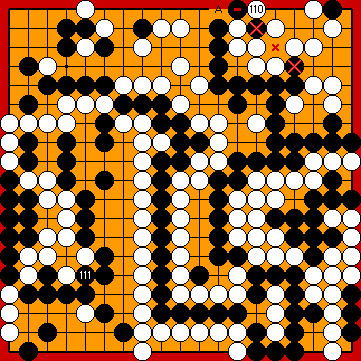
She is unable to connect her two stones in atari with
|
|
She must do so now, because continuing with
|
|
|
|
Please note that she ended the endgame sequence on the left side of the board in gote, so losing one tempo in the Main Semeai.
|
|
|
|
|
|
Capture Variation: Compared to the super²ordinate variation, ...
In total, Black lost six points. White + 2 => White + 8 |
|
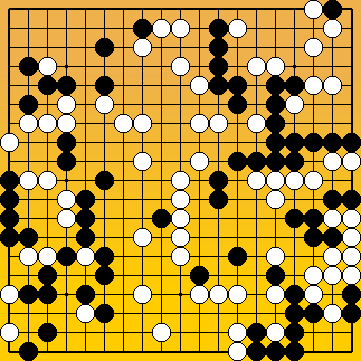
After a short detour into the world of amateurs ... |
|
( |
|
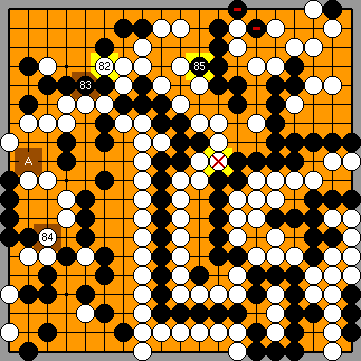
Please note that Black did not occupy White's liberty |
|
Black, however, is unable to continue with the Main Semeai (i.e. with occupying White's liberty |
|
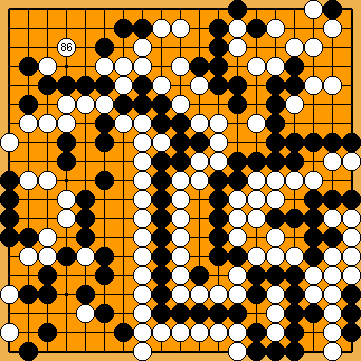
After the cannon thunder has died down further below, White will capture Black's nakade stones.
|
|
|
|
|
|
|
|
|
|
|
|
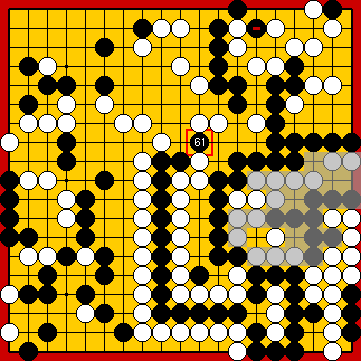
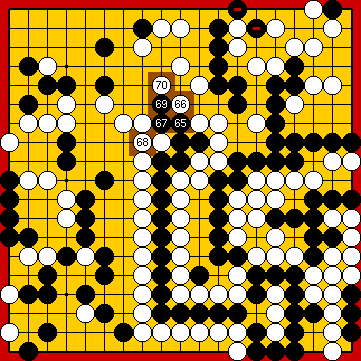
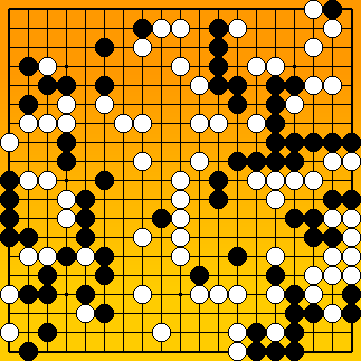
Black's large group in the upper right is already alive, so the forcing moves |
|
... |
|
... |
|
|
|
But Black does not have any compensation for the loss of the larger part of his upper left corner. Please note that the capture of Black's nakade stones does not play a major role here, as these would have been lost in the Main Semeai anyway. White will win the game by 15 points. |
|
Many years before in the world of amateurs ... |
|
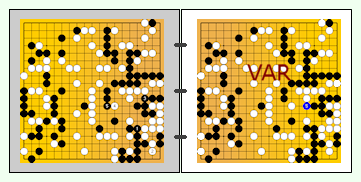
VAR |
|
|
|
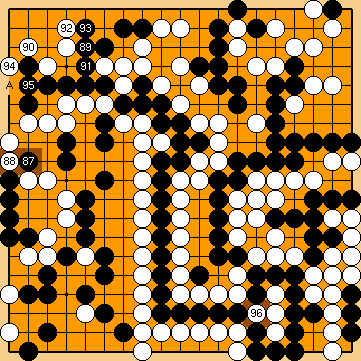
Please note that he did not occupy White's Main Semeai Liberty at |
|
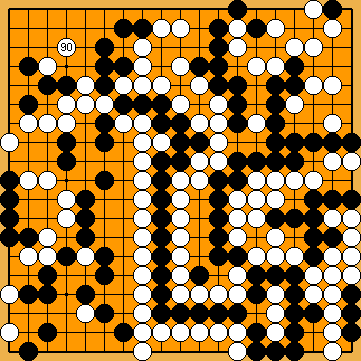
Let's find out what KataGo thinks about this matter ... |
|
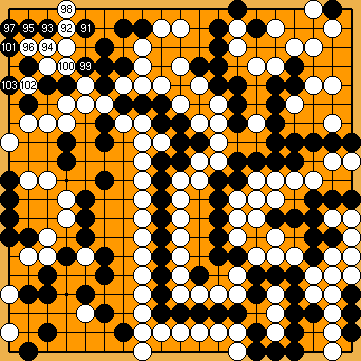
Please note that Black did not occupy White's liberty |
|
However, KataGo utilises this move as a preparation for an attack on Black's upper left corner, while we aimed at increasing the liberty count of White's group at the top.
Black is unable to continue with the Main Semeai on the left side with
|
|
|
|
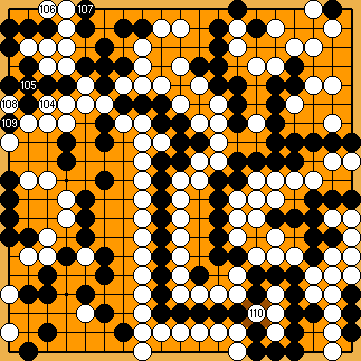
As usual, he is unable to fight a ko with
|
|
|
|
|
|
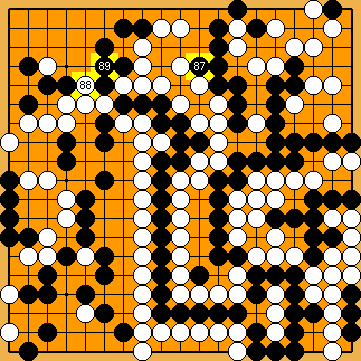
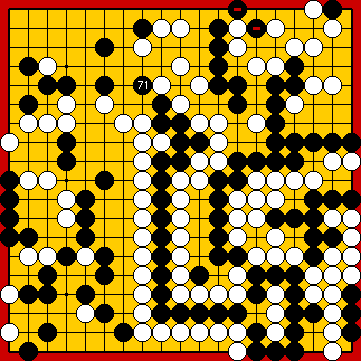
Black's group in the upper left corner has only three liberties left (3 x
|
|
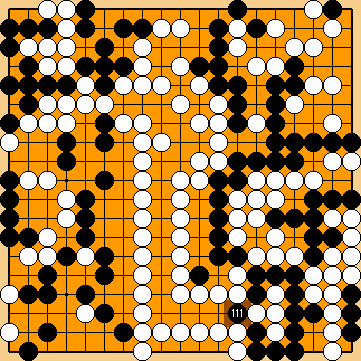
Black cannot find any compensation for the loss of his upper left corner. White will win the game by a large margin. |
| |
 : (
: ( 2022MainLine
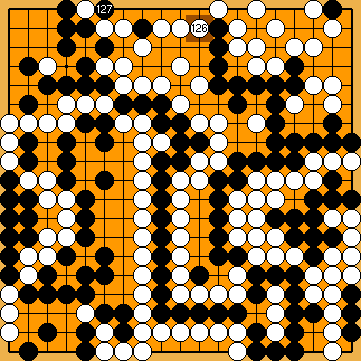
 127
127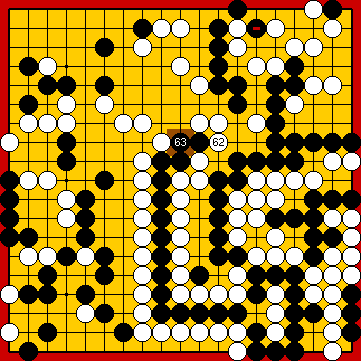
 :
: :
:
 :
: .
.
 :
:
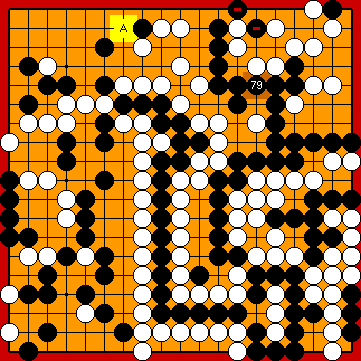
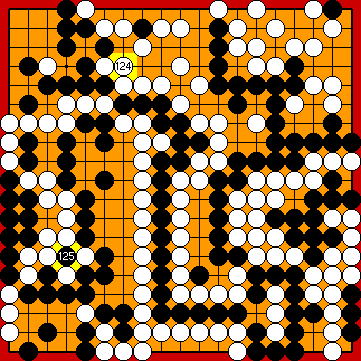
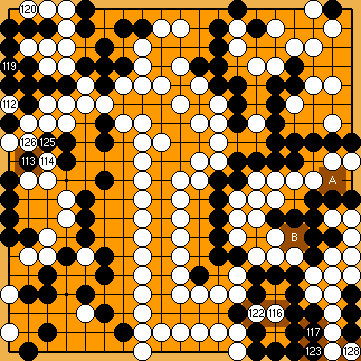
 : (A
: (A  2029
2029 at the top, instead, following another one of Joachim's suggestions, which aims at weakening White's eye shape at the top.
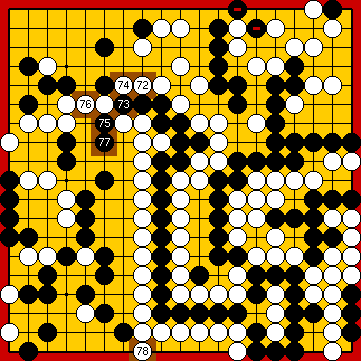
 :
:
 :
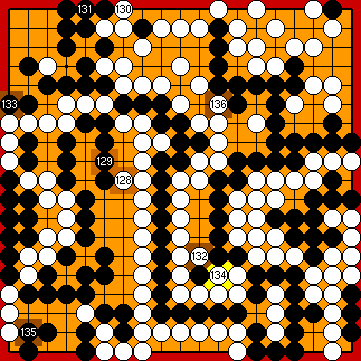
: , instead.
 , instead.
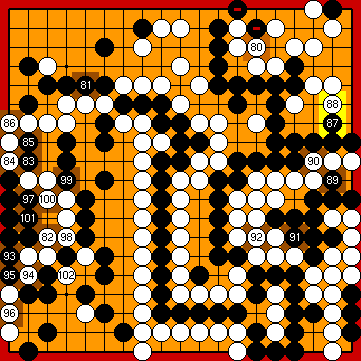
 :
: :
: :
: :
: :
:
 :
: :
:
 :
: :
:
 :
: himself.
 :
: :
:
 :
: :
:
 :
: :
: :
: :
:
 :
: :
:
 :
: :
:
 :
: :
: :
: :
: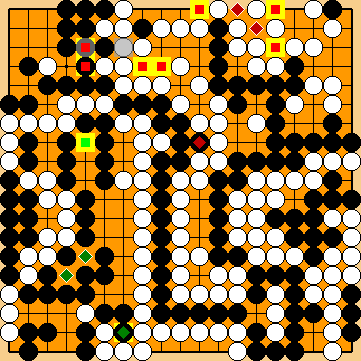
 2029
2029 2029
2029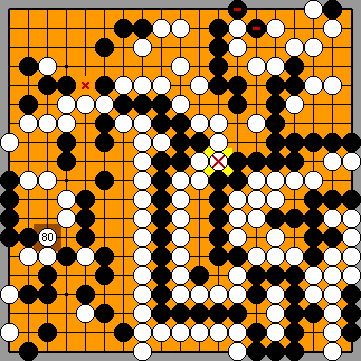
 much earlier.
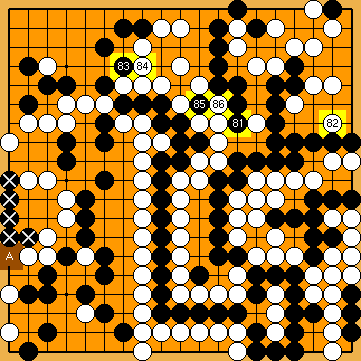
 :
: :
: :
:
 :
:
 :
:
 :
: :
: :
: :
: :
:
 :
: :
:
 ;
;  :
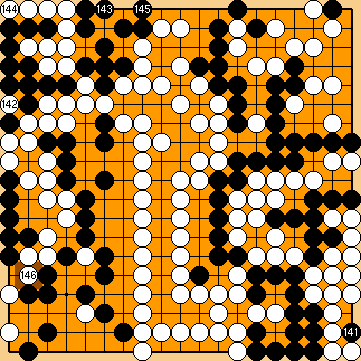
: in the hanezeki are worthless here.
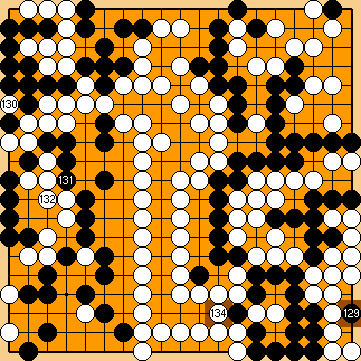


 :
: :
: :
: :
:
 and
and  .
. .
.
 :
: :
:
 :
:
 :
:
 :
: :
:
 :
:
 :
: :
: :
: :
: :
: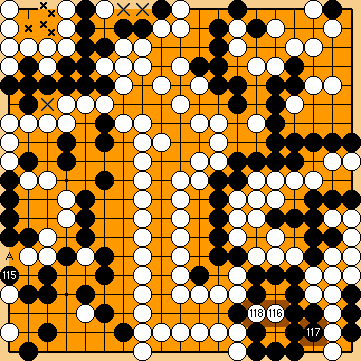
 ), while White's group has five (
 , 2 x
, 2 x  ).
).