New Story Line 2022
Joachim's Hane at the Top
(Joachim's Ko-Semeai #2)
|
We will present Joachim Meinhardt's alternative move suggestions, which in principle all aim at a semeai between Black's large group in the upper right and White's centre group. Unlike our historical attempts, which resulted in a variation of Joachim's Ko-Semeai, KataGo suggests that Black dispenses with Joachim's Hiki on the upper edge to minimise the amount of his defeat. In the process, we will again experience surprising White invasions of Black's upper left corner. If Black tries harder, however, KataGo will use Joachim's Ko-Semeai to take a higher victory for White. | |
|
Referenced by ( Let's go back in time and enter the world of amateurs ... |
|
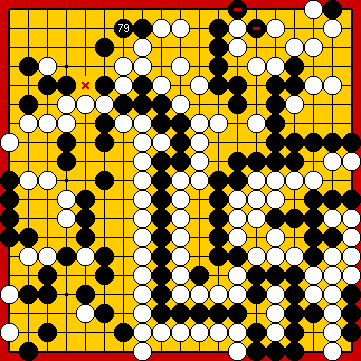
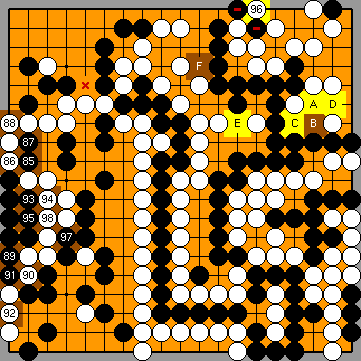
Black aims at weakening White's eye shape at the top. |
|
She cannot cut at As part of his research into unusual shapes on the Go board, Harry had predicted the existence of such a seki, but without finding a use case for it. For further details, please refer to the history of our research ...
|
|
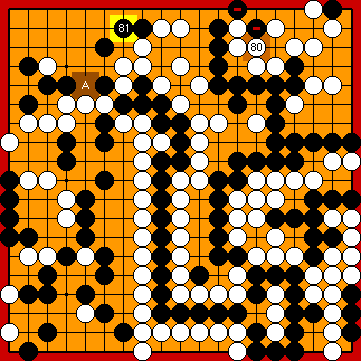
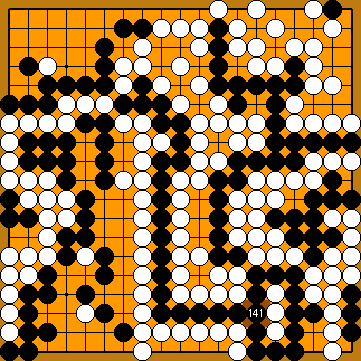
Black did not occupy White's Main Semeai Liberty |
|
Let's find out what KataGo thinks about this matter ... |
|
|
|
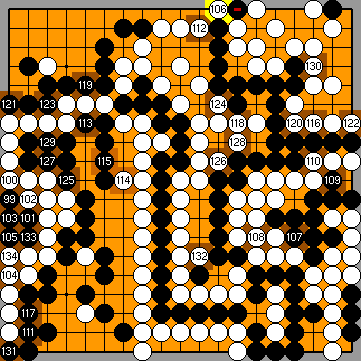
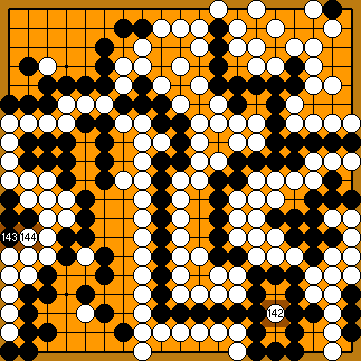
With larger reverse komi (obviously more appropriate for the analysis), KataGo favours |
|
However, this move leaves White's Main Semeai Liberty Please follow the subvariation to see what will happen after Black played at
|
|
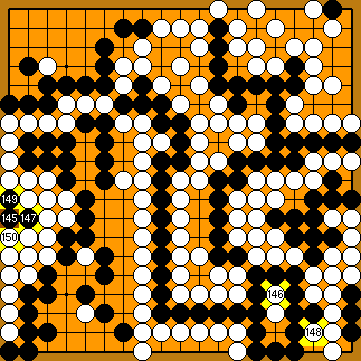
You might wonder why KataGo does not choose Joachim's Ko-Semeai, instead. Well, the answer is simple: Black will not get all the required points at the right.
|
|
|
|
|
|
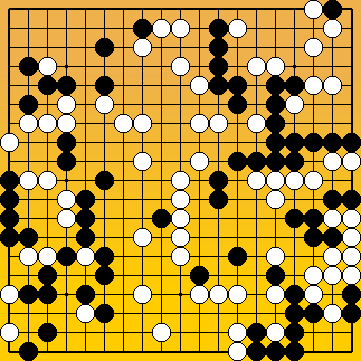
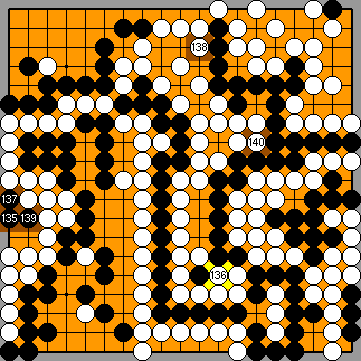
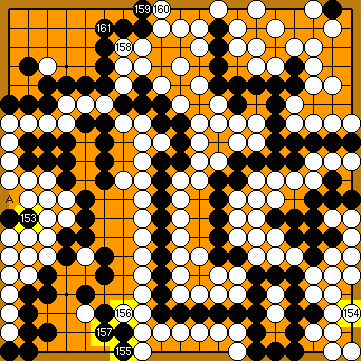
Black's large group at the right has only six liberties White's large group at the left has five liberties left (3 x |
|
|
|
|
|
|
|
|
|
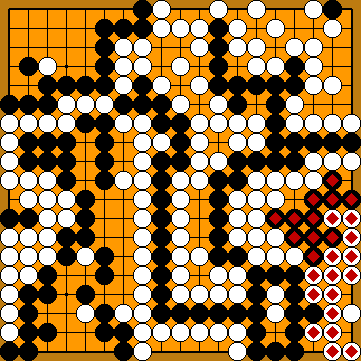
Before the end of the game, he will have to take White's group off the board with |
|
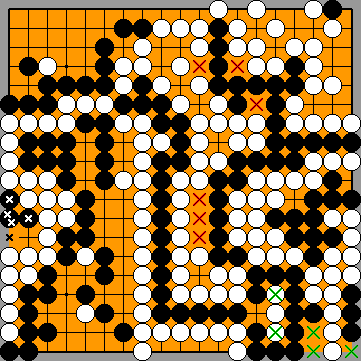
White wins the game by 44 points. Compared to the "usual" Semeai Variation, where Black's marked group would be alive but White's marked group dead, the territorial swing in the lower right is about 50 points in White's favour. The Punishment Semeai would end about 40 points worse for Black. |
| |
 2031
2031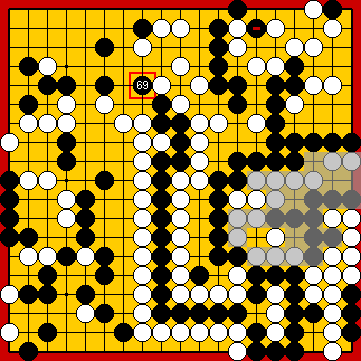
 : (
: ( 2022MainLine
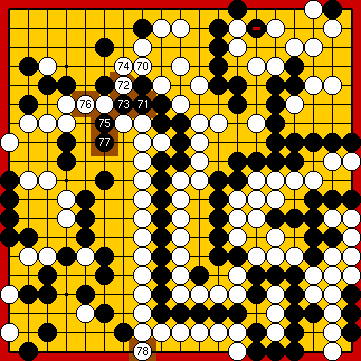
 :
: , instead.
 135
135 :
: :
: :
:
 :
: , and so lost one tempo in the Main Semeai by Joachim's Hiki.
 .
.

 :
: : (
: ( A
A  2030a
2030a , instead, so continuing with the course of the Main Semeai for a while.
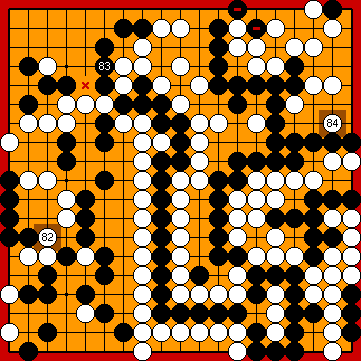
 :
: : (
: ( :
:
 :
: ,
,  ,
,  , the points
  and
and  are still miai, which makes Joachim's Ko-Semeai impossible.
 :
:
 :
:
 :
:
 left, which would make it the prey of the Punishment Semeai.
 ,
,  ), one more than "usual".
 ).
).
 :
:
 :
:
 :
: :
:
 :
:
 :
: :
: :
: