New Story Line 2022
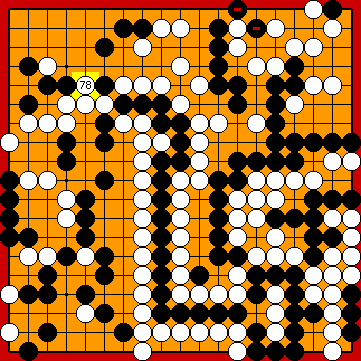
Joachim's Hiki at the Upper Edge
(Joachim's Ko-Semeai #1)
VAR 
|
For further details of our earlier analysis, please refer to the history of our investigations ... |
|
Inserting the second push into the upper left corner with
With a large reverse komi, KataGo wants to insert the kikashi of
|
|
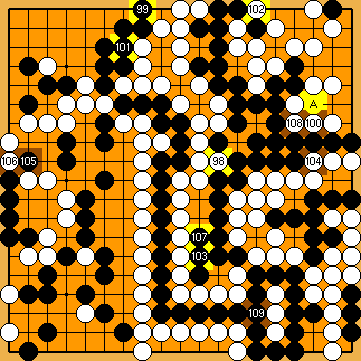
Please note that this peep was the move that KataGo searched for so long in its initial 2019 training. Runner-up in KataGo's assessment is Joachim's immediate connection |
|
Had White played this connection first (as mentioned above), both KataGo's peep
KataGo did not create the ko-shape at the right, starting with
|
|
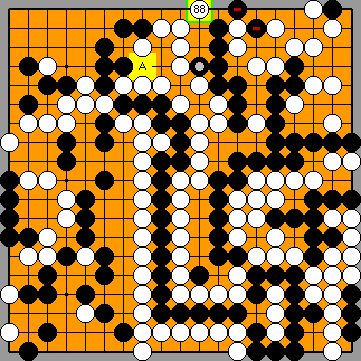
Playing at |
|
|
|
|
|
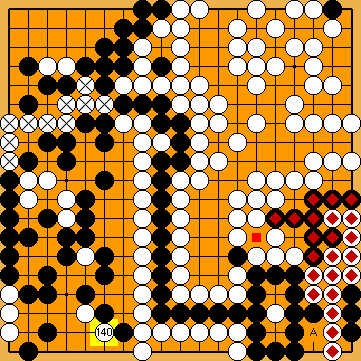
Black connected the hanezeki's tail and killed the entire left side, but White killed the entire right side in return, which is bigger. |
|
Please note that Black is unable to attack White's remaining hanezeki group in the lower right corner with Compared to the "usual" Semeai Variation, wherein Black also captured White's corner group, the territorial swing in the lower right corner is about 45 points in White's favour. White will win the game by a large margin. |
| |
 2034
2034 237
237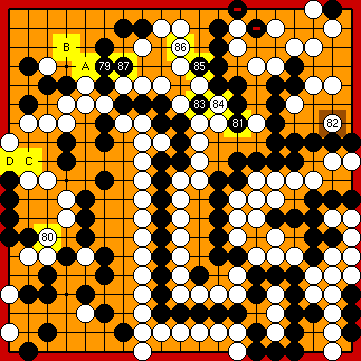
 :
: :
: ,
,  , instead, will not affect the outcome of the ensuing sequence.
 :
: ,
,  before, and continue with the Nakade Sequence thereafter.
 :
: :
: :
: :
:
 :
: ), so White's peep at the upper edge - which is sente - is favoured by KataGo, resulting in White's success.
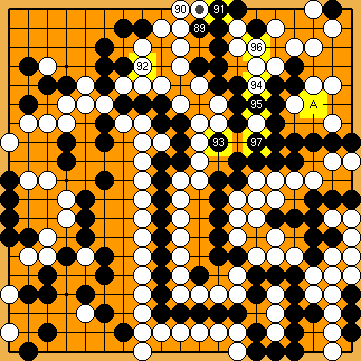
 :
: :
: :
: and also the bump
  chosen by Joachim would later be valid options.
 :
: :
:
 :
: :
: , creating another ko-shape at the right, would not benefit Black either.
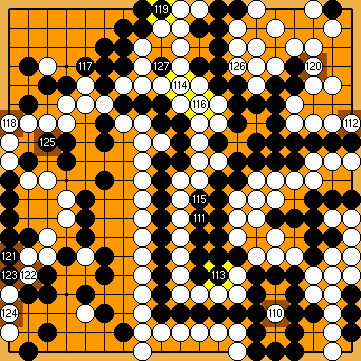
 :
: :
: :
: :
: :
:

 :
: :
:
 :
: :
: :
: :
:
 :
: group at the left to only one liberty.
