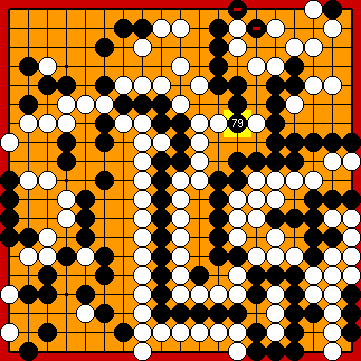
New Story Line 2022
Joachim's Hiki at the Upper Edge
(Joachim's Ko-Semeai #1)
VAR 
|
|
|
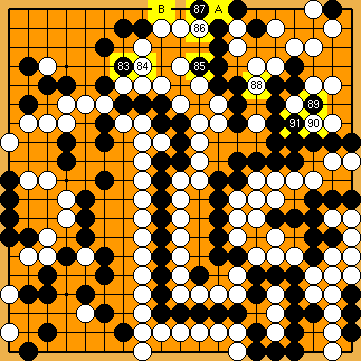
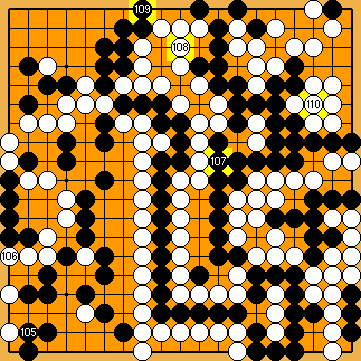
For further details of our earlier analysis, please refer to the history of our investigations ... Please note that we utlisised a different order of moves at that time.
|
|
|
|
Alternatively, she might also choose the atari of |
|
Please note that in this subvariation White would be able to start the ko-fight "late", i.e. after the mutual occupation of most of the outside liberties of both groups that are engaged in the semeai. For further details of our earlier analysis, please refer to the history of our investigations ... |
|
|
|
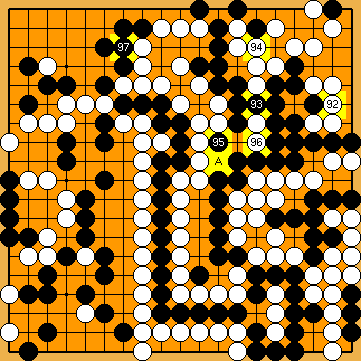
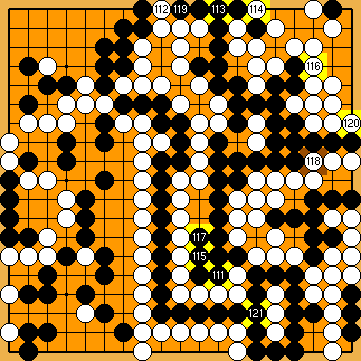
He would have had far more ko-threats on the left side of the board, if he played
|
|
|
|
|
|
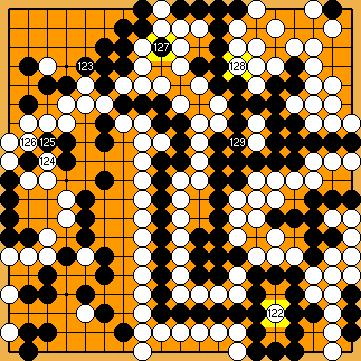
Black's connected hanezeki group at the bottom is dead, as White could take it off the board, starting with a move at White will win the game by a very large margin. |
| |
 2034
2034
 :
: 225
225 :
:
 :
: :
: :
: :
: .
. and
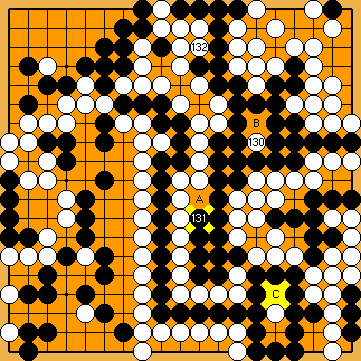
and  would be miai thereafter, securing life for White's centre group.
 :
: :
: :
:
 :
: :
: :
: :
: :
: , resulting in the second ko-shape in the right centre.
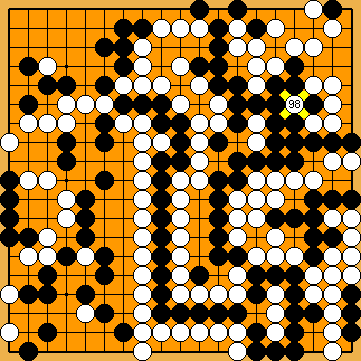
 :
:

 :
: :
:
 :
: himself.
 :
: :
: :
:
 :
: :
:
 :
: :
: :
:
 :
: :
: , because White would capture his large group with wlB.
 .
.
