Variations of Our Solution (II)
VAR  (C)
(C)  (B)
(B) 
|
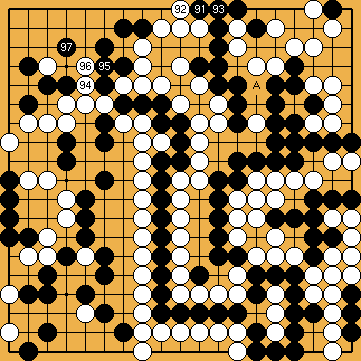
!!! In this sub-variation, Black will do without Michael Redmond's kikashi |
|
White must prevent a larger eye for Black from above, instead. It will develop an additional shared ko in the centre that is also shown in the theory chapter as FLAG 8a ( |
|
|
|
|
|
|
|
|
|
|
|
|
|
|
|
|
|
|
|
|
|
|
|
|
|
|
|
|
|
 229
229 in the bamboo joint. White must be on her guard not to fall into a surprising trap. !!!
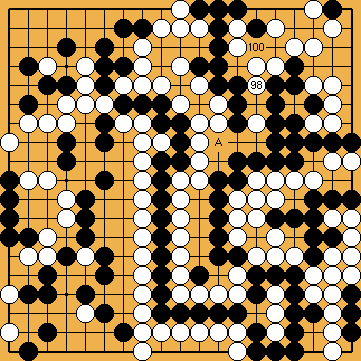
 : (A
: (A  316
316 in the centre.
 1036
1036 (answered by
  ) would have the same effect of a smaller eye. But White could have taken an additional Black liberty with her move
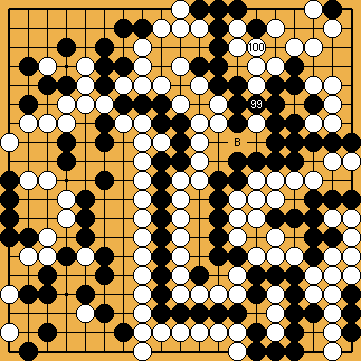
 : (B
: (B  , instead.
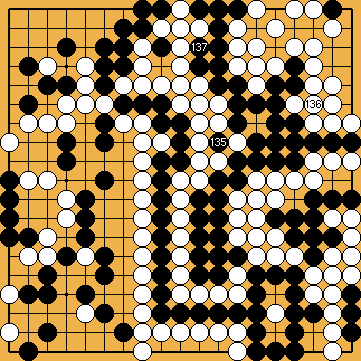
 : (A
: (A 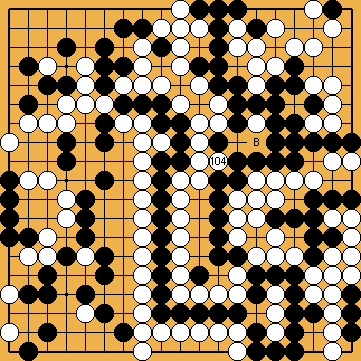
 : (B
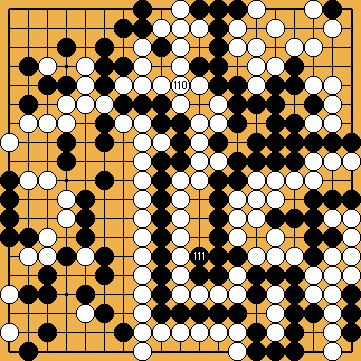
: (B  , instead, allowing Black to get some kind of larger eye in the centre, she must be on her guard thereafter.
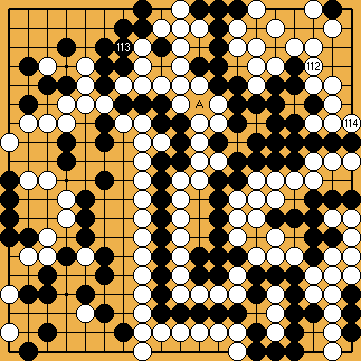
 : (109
  , before having played this sagari. Otherwise White would take this point, creating a third ko-shape, which favours White. This is also shown in the theory chapter as FLAG 8b (
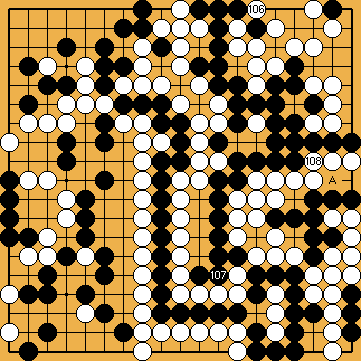
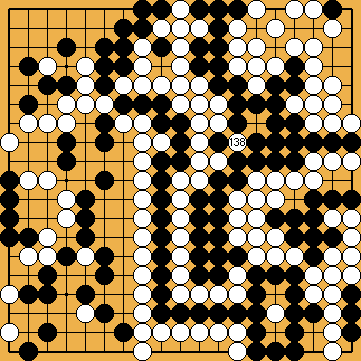
 : (A
: (A 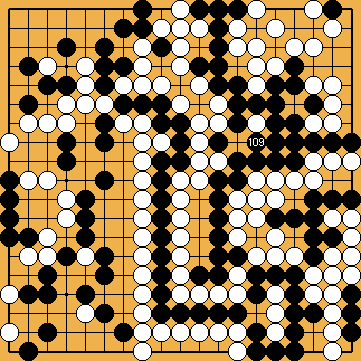
 :
:
 : (A
: (A 
 : (B
: (B 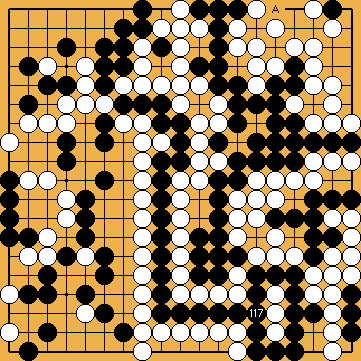
 : (A
: (A 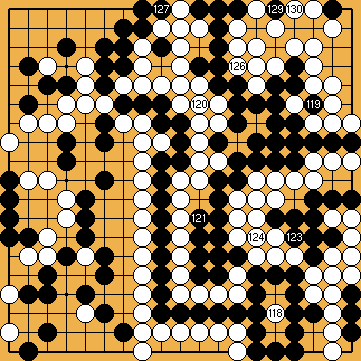
 ;
;  ;
;  ;
; 
 :
:
 :
:
 :
:
 :
:
