Joachim's Ko-Semeai - Putting the Cart
Before the Horse (2013 - 2015)
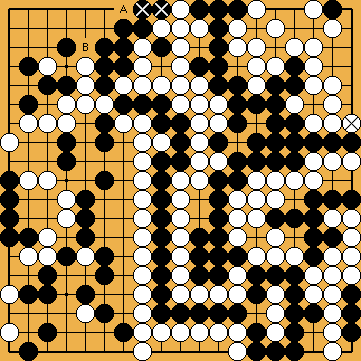
8b - Shared Ko and External Ko
on the Upper Edge
|
( To analyse the effect of an additional external ko, we have to shift Black's !!! This precondition must be kept in mind! With positions in the upper left corner, where this protective move is not mandatory, one of White's stones on the right side must be taken off the board, resulting in one more liberty for Black's group in the upper right, favouring Black. !!! |
|
But now, both groups have one liberty "too many". As usual with this case, we will add a pair of stones to the position. We will let Black capture the ko on the upper edge (Black is unable to occupy a shared liberty, instead, due to the then threatening Punishment Semeai), and White occupy another outside liberty of Black's group. |
|
White's group has four liberties (w, 3 * c), and two ko-shapes (m, j). Black's group has five liberties (2 * b, 3 * c), and also two ko-shapes (k, j). Black has captured two of these ko, White only one, so the situation might be a bit favourable for Black. |
|
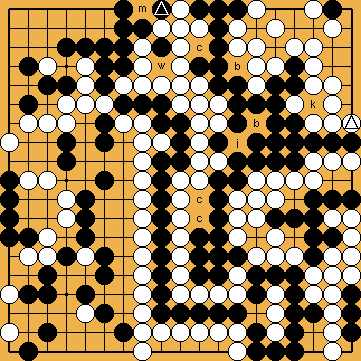
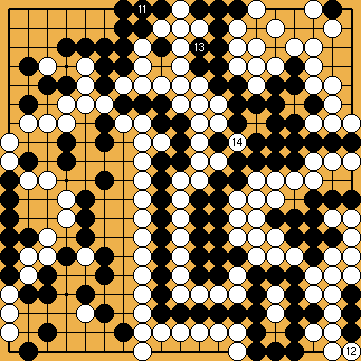
Black's protective move |
|
|
|
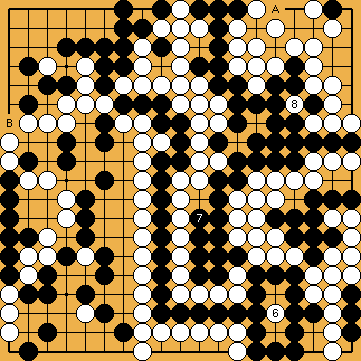
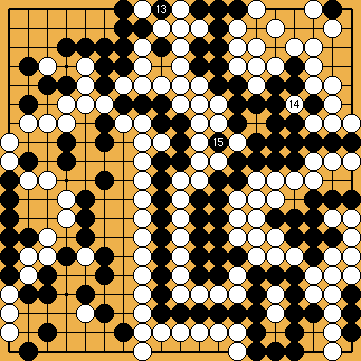
White's centre-group has too many liberties (please note the interaction of the two ko-shapes), so the atari of |
|
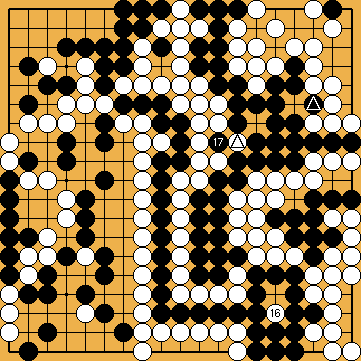
But, at the most desperate for Black, he would not win, even if he had valid ko-threats available somewhere on the board ( |
|
///:
|
|
|
|
|
|
Please note that it would not help White, if she had valid ko-threats available. The marked double-ko in the centre ( |
|
///:
|
|
|
|
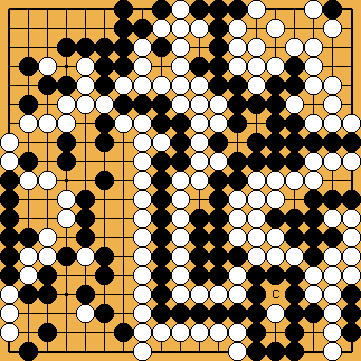
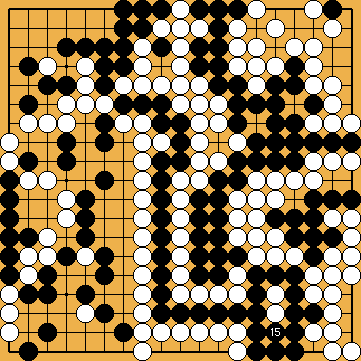
This result is better for White than that of the sub-variation shown before. But White could have done much better, as we will see now. |
|
 986
986 305
305 -stones to
  , and to
  - the latter as a protective move, to render all approach moves in the upper left possible - and White's
  -stone to the newly created ko-shape.
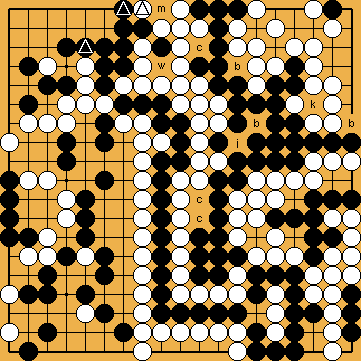
 in the top left corner reduced the liberties of White's
  -group there. In principle, this would enable Black ko-threats in the nakade. However, as we will see below, these will not come into play here. Therefore, it was not necessary for White to push into Black's top left corner before, to generate ko-threats of her own.
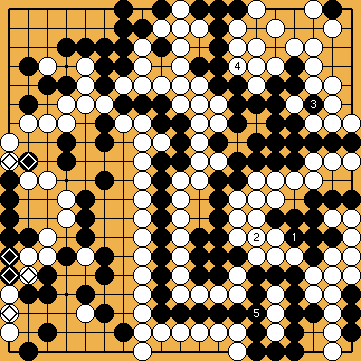
 :
:
 :
:
 , instead of re-capturing the ko.
 :
:
 :
:
 :
: /
/  ) favours Black.
 :
: .
.
 :
:

