New Story Line 2022
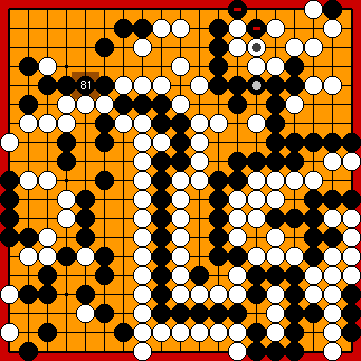
Joachim's Hiki at the Upper Edge
(Joachim's Ko-Semeai #1)
VAR 
|
KataGo's favoured line of play, which is explained below, will largely follow Joachim's original ideas, AI-typical changes in the order of moves included of course. Please also note that we played Michael Redmond's Kikashi in the Bamboo Joint ( |
|
|
|
Please note that this peep was the move that KataGo searched for so long in its initial 2019 training. |
|
|
|
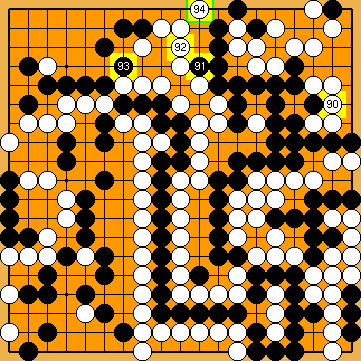
However, a move at
|
|
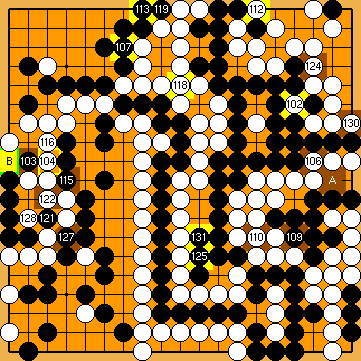
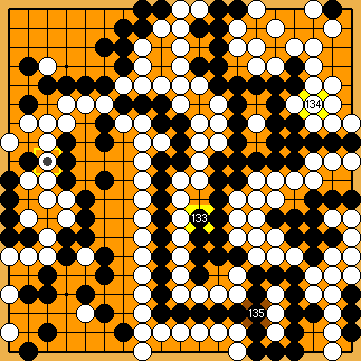
Please note that Black only got this far because White had donated him two additional ko-threats at the left with her technical mistake |
|
Black cannot give atari at White's centre group with Black's connected hanezeki group at the bottom is also dead. White could take it off the board, starting with White will win the game by a large margin. |
| |
 : (
: ( 2034
2034 ,
,  ) later at this time.
 250
250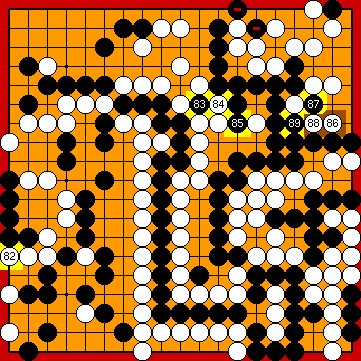
 :
: :
: :
: :
:
 :
: :
: :
: :
: :
:
 :
: :
: :
: :
:
 ;
;  ;
;  ;
;  ;
;  ;
;  ;
;  ;
;  ;
;  ;
; 
 :
: :
: in the hanezeki first.
 :
: at the left edge would have been better for her.
 :
:
 :
: :
: :
:
 :
: :
: .
.
