Variations of Our Solution (II)
VAR  (C)
(C)  (B)
(B)  (A)
(A)  (C)
(C)
|
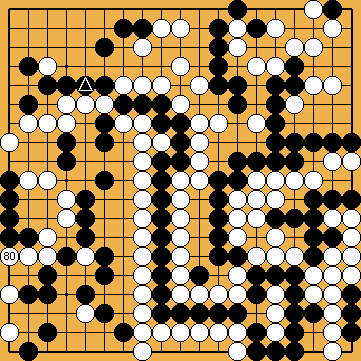
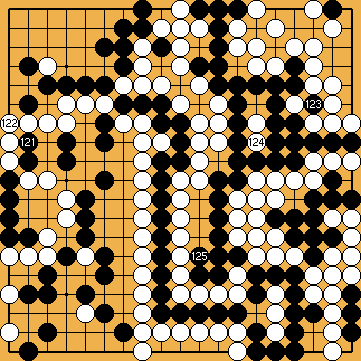
In principle, a protective move on the left side loses a move with the semeai on the right side of the board. Only this one here is alright for White - despite the fact that Black also lost a move with his preceding protective move at |
|
|
|
|
|
|
|
|
|
|
|
 251
251 243
243 - because it takes the amount of Black's remaining ko-threats in this area into account.
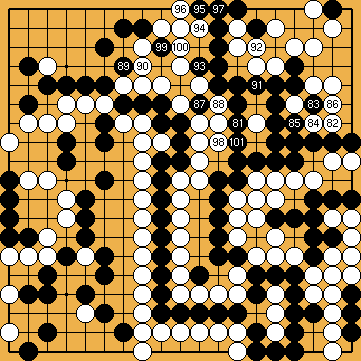
 ,
,  :
:
 :
:
 ;
;  ;
;  ;
;  ;
; 
 ,
,  :
:
 :
:
 :
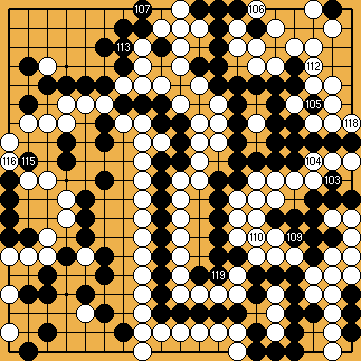
: nor
nor  are valid ko-threats for Black. White will win with ease.
 will do the job here. Further details on this subject can be found even later (
