Variations of Our Solution (II)
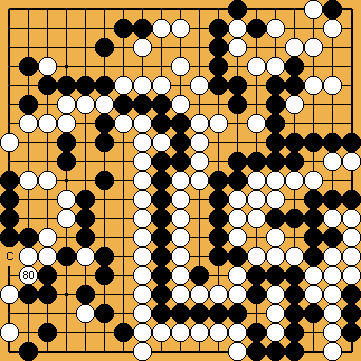
VAR  (C)
(C)  (B)
(B)  (A)
(A)  (D)
(D)
|
|
|
Both sides follow the main line of Joachim's Ko-Semeai ( |
|
Neither will an "early" ko, starting with a move at |
|
A tesuji, designed especially for Black's potential ko-threat at |
|
|
|
|
|
|
|
|
|
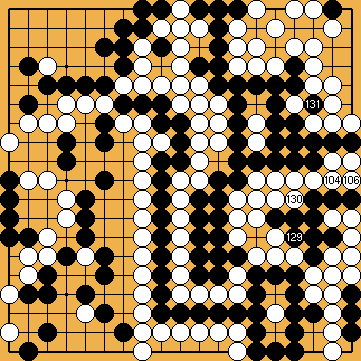
 243
243 , instead, (
 250
250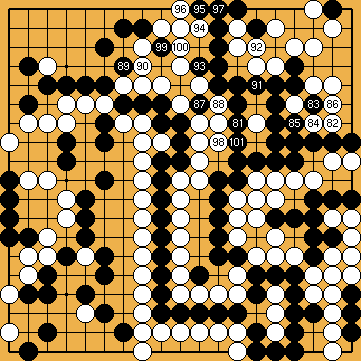
 ,
,  :
: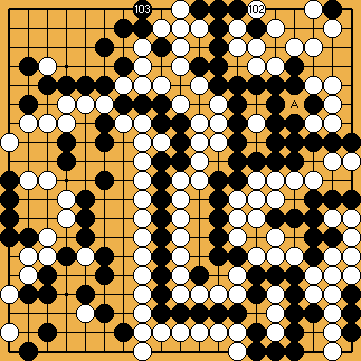
 : (A
: (A  253
253 just now, be successful for White.
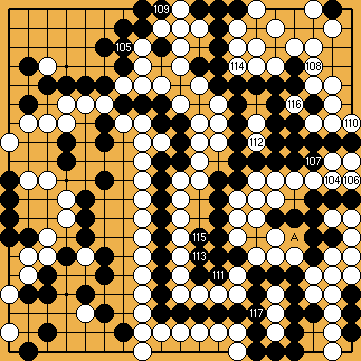
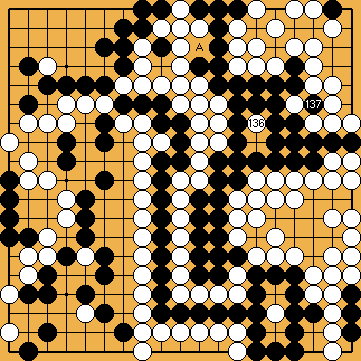
 ,
,  :
: . Playing at
  , instead, would be equivalent for White. This is also shown in the theory chapter as FLAG 2a (
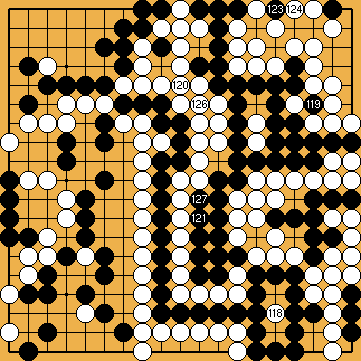
 ;
;  ;
; 
 ,
,  :
:
 :
:
 :
:
 :
:
