, :
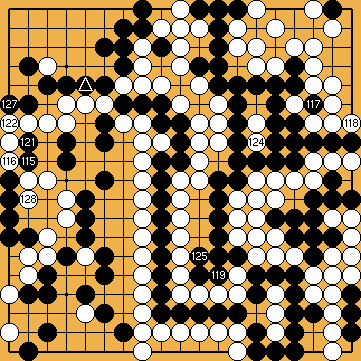
Here, Black can still use his ko-threats in the hanezeki.
Ko: ; ; ;
:
In the top left corner, the marked Black stone (= ) is already in place. This will enable Black to play a lot of ko-threats against White's upper group on the left side.
Ko:
, :
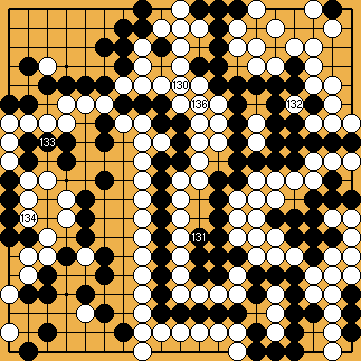
White uses the filling-in of her false eyes as ko-threats. As long as these false eyes are open, it would make no difference for the outcome of the ko-fight, if White made a gote move on the left side, instead, to pre-empt further Black ko-threats against her upper group there.
Ko:
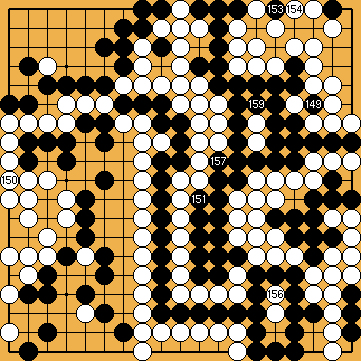
:
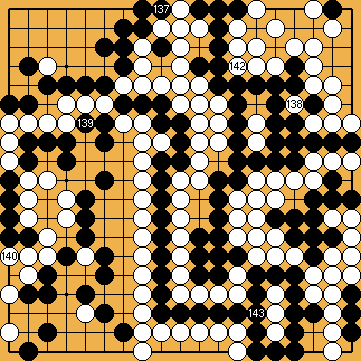
White's group has six liberties left, so Black must not occupy a shared liberty instead. White's re-capturing of the ko would reduce Black' group below the Punishment Semeai Liberty Level, and force Black to connect the hanezeki's tail at a moment, when White's group has too many liberties (with respect to the semeai with Black's connected group on the lower edge).
Ko: ; ;
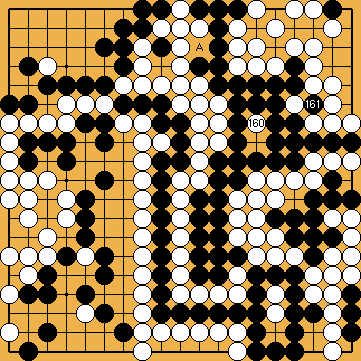
:
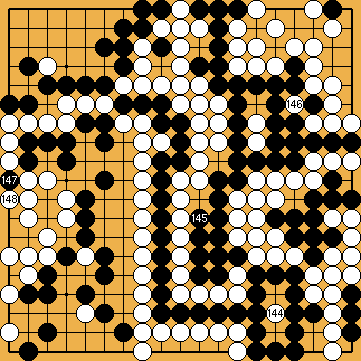
White cannot pre-empt Black's atari at , and loses the game. Black simply had too many ko-threats on the left side.
 (C)
(C)  (B)
(B)  (A)
(A)  (D)
(D) 

 251
251
 ;
;  ;
; 
 ,
,  :
:
 ;
;  ;
;  ;
; 
 :
:

 ,
,  :
:

 :
:
 ;
;  ;
; 
 :
: , and loses the game. Black simply had too many ko-threats on the left side.
