New Story Line 2022
Jérôme Hubert's Correction of the Mutual
Occupation of Opponent's Liberties
|
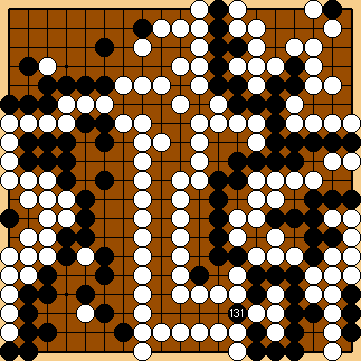
We present the classical sequence chosen by Fujisawa Hideyuki 9p for mutually occupying opponent's liberties in the final stage of the Main Semeai. We explain in great detail when Fujisawa Hideyuki played at worthless points although there were still valuable endgame points available. As a consequence, Fujisawa Hideyuki had to occupy some remaining valuable points in the course of the hanezeki's dissolution, which may have led him to overlook Joachim's Rediscovered Oki. Several years later, Cheng Xiaoliu 6p published his suggestion for the final endgame on the left side of the board, which Fujisawa Hideyuki had left in the dark. As Joachim Meinhardt later discovered, however, he had made a one-point mistake in doing so. Jérome Hubert 3d developed his own solution to resolve the eclipse, which ultimately enabled Joachim Meinhardt 4k to rediscover the crucial oki in the hanezeki. We will discuss different variations of the following endgame to illustrate how difficult it is in Igo Hatsuyōron 120 to avoid one-point mistakes, even when there are no more serious complications to calculate at the very end of the game. | |
|
Referenced by ( Let's go back to the dawn of time.... |
|
In this respect, Black would have been better off defending his territory in the lower left corner with a move at e.g. For further details of our analysis at the time, please refer to the history of our investigations ... |
|
Building on Jérôme Hubert's earlier findings on the correct order of White's (later) moves on the right side of the board, Joachim Meinhardt suggested playing at |
|
Again, a move at |
|
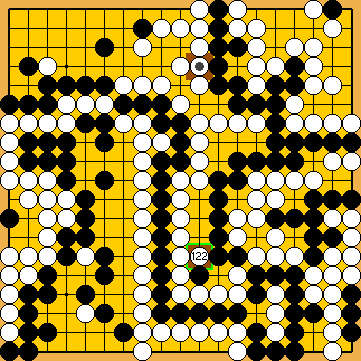
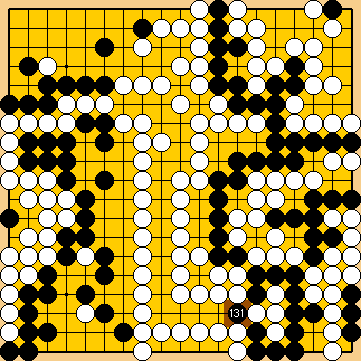
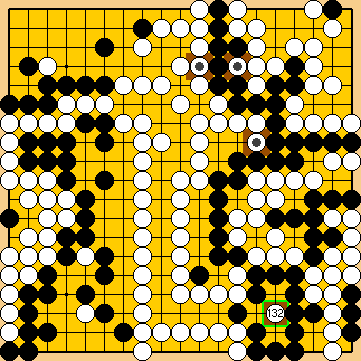
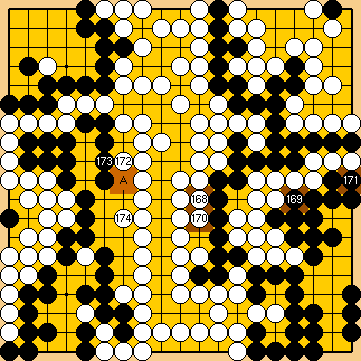
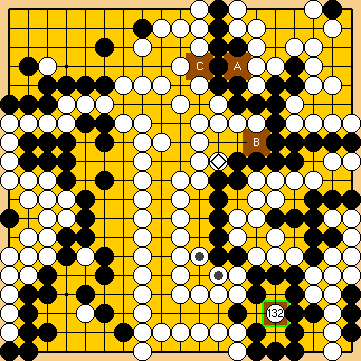
Jérôme Hubert played at Taking profit in the right centre already during the mutual occupation of opponent's liberties was the decisive difference from the "classical" sequence of Fujisawa Hideyuki that finally led Joachim Meinhardt to rediscover the decisive oki in the hanezeki. For further details, please refer to section "Joachim's Rediscovered Oki in the Hanezeki" ( |
|
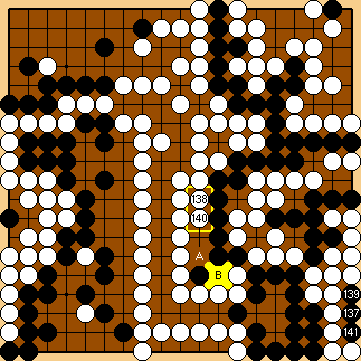
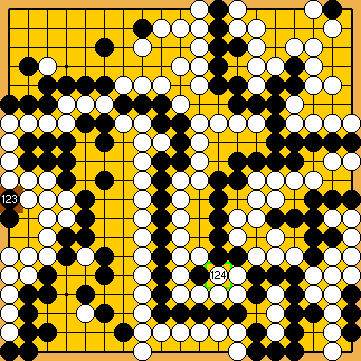
Again, it would have been technically better to give atari at
|
|
Thereafter,
|
|
|
|
|
|
Joachim's Rediscovered Oki For further details, please refer to section "Joachim's Rediscovered Oki in the Hanezeki" (
|
|
|
|
In contrast to White's previous move, she could do without this connection (and play
In his commentary, he only mentions that the endgame on the left side will continue with As a matter of course, White will capture with Fujisawa Hideyuki gives the final result of the game as a two-point win for Black. |
|
Let's take a short detour to China ... |
|
Referenced by (
White threatened to destroy three points of Black's territory in sente by playing at
But he apparently overlooked White's atari at |
|
|
|
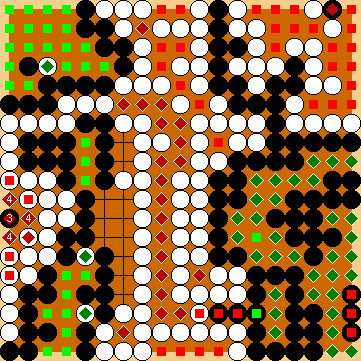
Capture Variation: Black's territory:
= 102 points of territory in total. White's territory:
= 98 points of territory in total on the board. Black wins the game by three points. |
|
Let's enter the world of amateurs for some corrections ... |
|
This move, apparently overlooked by Cheng, will benefit her by one point overall.
It would not affect the outcome, if he pushed with |
|
Capture Variation: Compared to the superordinate variation, ...
White gained one point. Black + 3 => Black + 2 |
|
Let's go back in the history of amateur investigations ... |
|
Referenced by (
This move starts Jérôme Hubert's continuation of the Main Semeai and the later endgame on the left side of the board. Please note that he had also played once at a worthless point with |
|
This is the second move that differs from Fujisawa Hideyuki's sequence. |
|
|
|
|
|
|
|
He also missed Joachim's Rediscoverd Oki at For further details, please refer to section "Joachim's Rediscovered Oki in the Hanezeki" (
He is unable to play the large endgame move of
|
|
White already got all the profit in the right centre, and so could happily start the endgame on the left side of the board with |
|
|
|
Referenced by (
Even if Black was able to play at
|
|
Capture Variation: Compared to Cheng's original Capture Variation, ...
In total, White gained one point. Black + 3 => Black + 2 This is the same final score as was given by Fujisawa Hideyuki. Please note that Jérôme Hubert gave his result as "Black + 1", which, however, is an obvious mistake. |
|
After a short detour to the dawn of time again in the world of amateurs ... |
|
Even without Jérôme Hubert's correct sequence for occupying Black's liberties at the right, Joachim's Rediscoverd Oki In this respect, it remains a mystery that neither Fujisawa Hideyuki nor Cheng (in his 1988 book) used this move during the dissolving of the hanezeki. |
|
|
|
However, as we discovered later, White could do even better by doing without this (unnecessary) kikashi, but by starting the endgame with |
|
Cheng's Tenuki to
|
|
You will easily realise that White would have gained by occupying this point much earlier.
|
|
Cheng's Bump
|
|
Capture Variation: Compared to the superordinate variation, ...
In total, White gained two points. Black + 3 => Black + 1 This is one point better than the (supposed) sequence of Fujisawa Hideyuki. |
|
After a short detour to the dawn of time again in the world of amateurs ... |
|
White plays Joachim's Rediscovered Oki in the hanezeki. |
|
|
|
Here in this variation, Cheng's Tenuki to
|
|
Capture Variation: Compared to the superordinate variation, ...
In total, White gained three points. Black + 2 => White + 1 |
|
After a short detour to the dawn of time again in the world of amateurs ... |
|
As before, White plays Joachim's Rediscovered Oki in the hanezeki. |
|
|
|
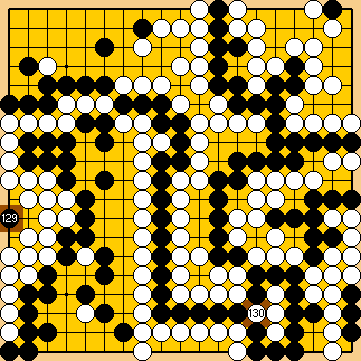
As we will see below, Cheng's later Bump It would be better for Black to play tenuki here, in order to defend his territory in the upper left corner with a move at |
|
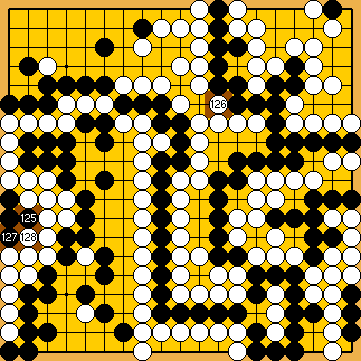
White must play Cheng's Bump
A move at |
|
Capture Variation: Compared to the previous subvariation, there is no difference. White + 1 => White + 1 |
| |
 2042
2042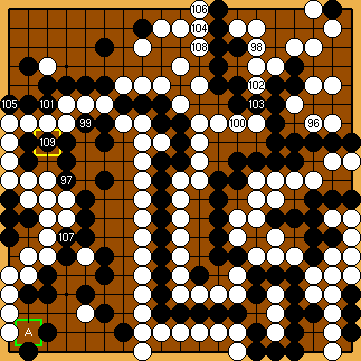
 : (
: ( 2022MainLine
 :
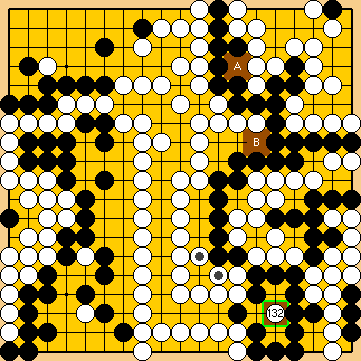
: :
: .
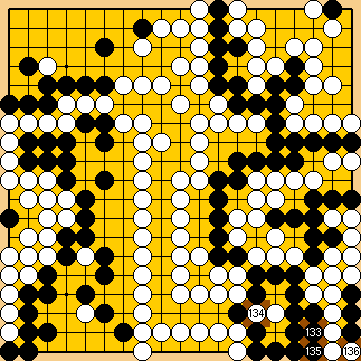
. 783
783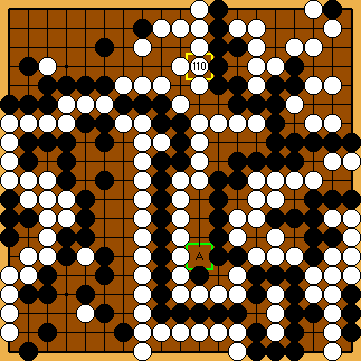
 : (
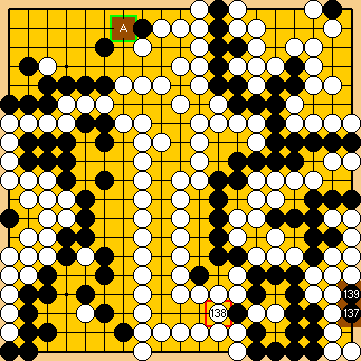
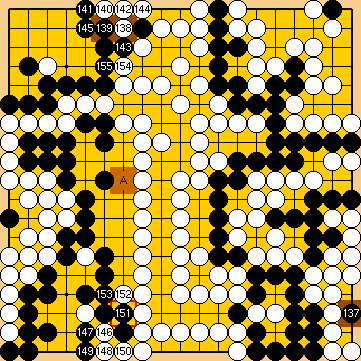
: ( A
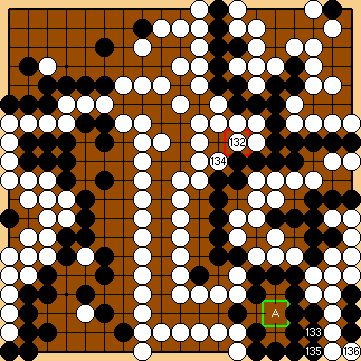
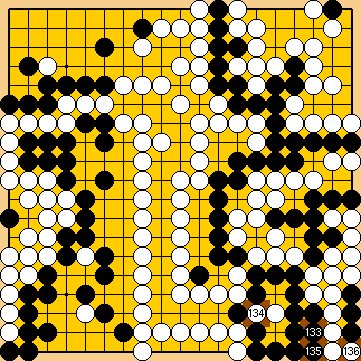
A  2041
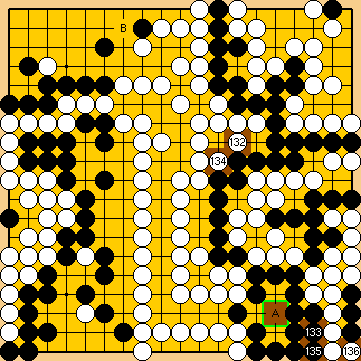
2041 , instead, giving atari at Black's single stone in the lower right.
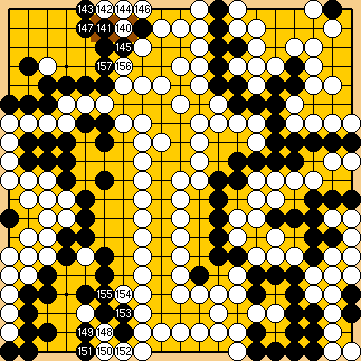
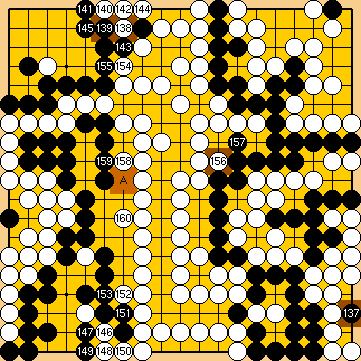
 :
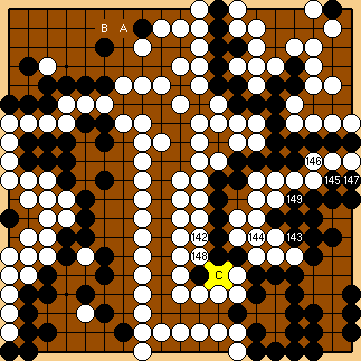
: (or at
  ) would have been preferable.
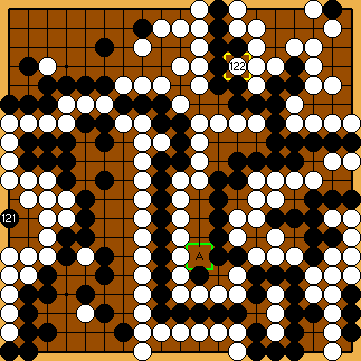
 : (
: ( 2042
2042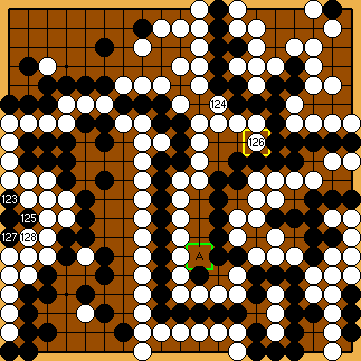
 :
: :
:
 :
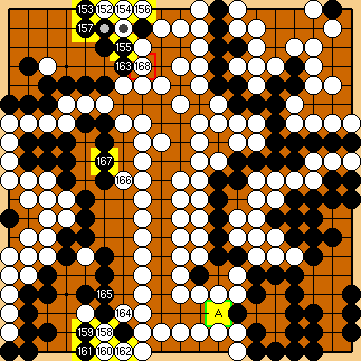
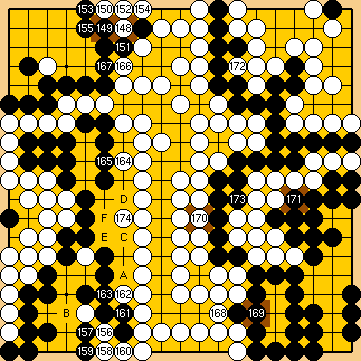
: will start his Capture Variation.
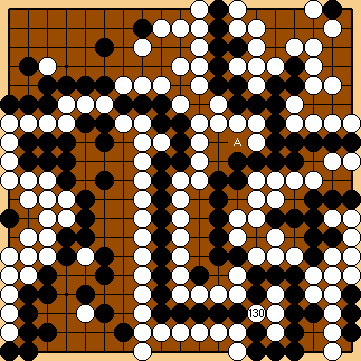
 :
:
 :
:
 : (
: ( :
:
 ;
;  :
: :
:
 :
: :
: :
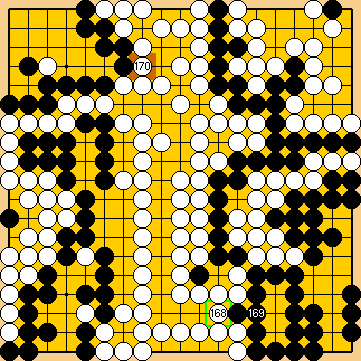
: immediately, instead), since Black would then have to take her two stones off the board.
  :
: , but dispenses with all the details of the concrete sequence he had in mind.
 in the lower right much later.

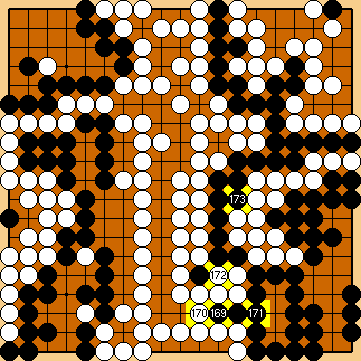
 :
: ,
,  ), most of which had also been developed by Jérôme Hubert (
 :
: :
: :
: :
: .
. :
: :
: herself.
 : (
: (
 :
:
 2041
2041 at the top, instead.
 :
:
 : (
: ( :
: :
:

 :
: :
: :
: himself, he would not get additional territory in this area.
 :
: .
. , White is able to force at the top.
 :
: ,
,  ,
,  ,
,  ).
).
 :
: :
:
 :
:
 :
: : (156
  at the top would not make a difference here in this line.
 :
:
 :
:
 : (154
  at the top does not favour Black.
 instead of
  played by Fujisawa Hideyuki) of Jérôme Hubert's proposal (
 :
:
 in the upper right centre.