Variations of Our Solution (Ib)
KataGo's 2021 Solution
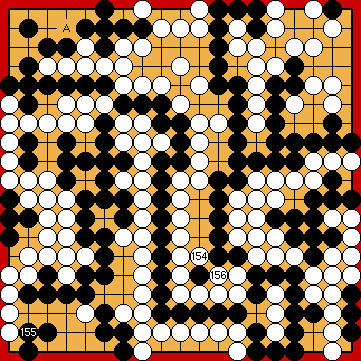
VAR 
 (.3)
(.3)  (.3)
(.3)
|
|
|
She has another valid option for doing so.
Alternatively, he might consider defending his weaknesses in the left centre just now.
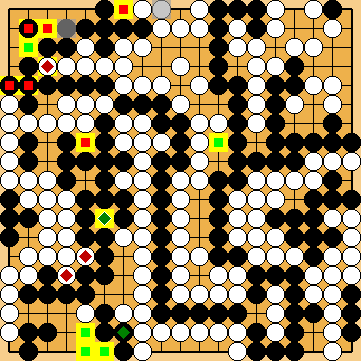
This early connection - which is not mandatory at all - is the game-deciding mistake. White must never ever connect her two stones, as long as the position in the upper left corner is still open.
Choosing the defensive move of
|
|
Please note that Black has already strengthened his formation in the left centre. Therefore, this wedge does not make a difference, compared to KataGo's bad-shape move in this area.
|
|
Her connection with
Her "standard" answer would have been at
|
|
This move was the second "false positive" in this subvariation (I analysed from back to front), after I had found the mistake in my continuation after the first one below. Nevertheless, White would benefit in the Semeai Varaition, if she connected her single stone in the right centre, instead.
|
|
But after a closer inspection of the alternative continuation I had to admit that I was too hasty in the very beginning. The status of this move changed to "false positive". Nevertheless, White should not let capture her stone in the left centre. She would benefit in the Semeai Variation
|
|
|
|
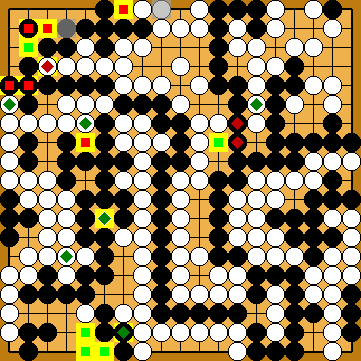
Black must not play any reduction. Before the end of the game, Black will have to connect at |
|
Capture Variation: Compared to the superordinate variation, ...
In total, White gained three points. Black + 2 => White + 1 |
|
Semeai Variation: Compared to the superordinate variation, ...
In total, White lost five points. Black + 2 => Black + 7 |
|
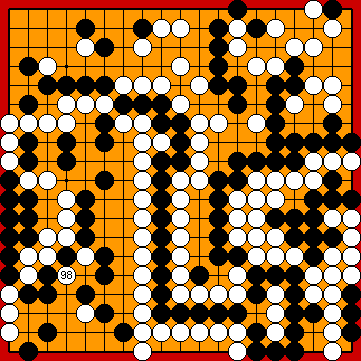
 58ap
58ap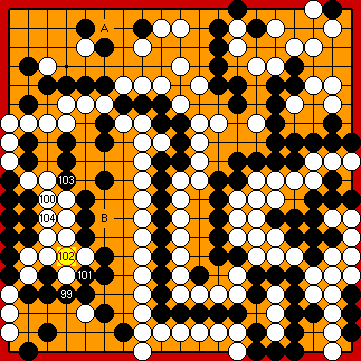
 :
: : (104
  58bc
58bc : (103
  : (
: ( A
A  just now - capturing the nakade before seems to be a matter of taste - and play this connection after Black's (correct) reply in the upper left corner.
 : (B
: (B  , instead, would be a grave mistake after White's previous connection in the lower left.
 :
:
 :
: :
: :
: ), so Black chooses the atari at the outside, punishing White for her earlier mistake.
 :
: :
:
 :
: :
: :
: :
: :
: :
: :
: :
:
 : (
: ( :
: :
:
 : (
: ( :
:
 :
: :
: .
. ;
;  :
:
 .
.