Variations of Our Solution (IIIb)
Tricking KataGo (Triple-Ko)
VAR  (C)
(C)  (A)
(A) 
 (.2)
(.2)
|
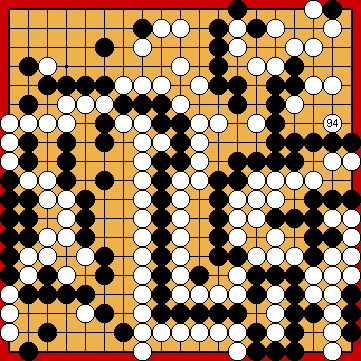
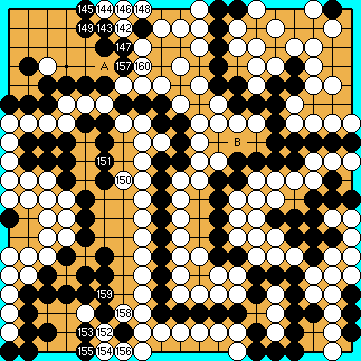
She will gain two points overall, compared to the solution, wherein Black played the guzumi much earlier. This White move is the proof that Black should not delay the guzumi as long as KataGo's 2019 special network seemed to "believe". |
|
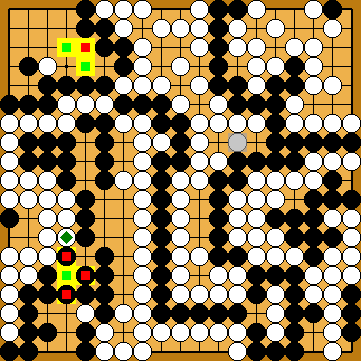
However, he should have inserted Michael Redmond's kikashi
If he connected at the upper edge, he would fall below the Punishment Semeai Liberty Level. |
|
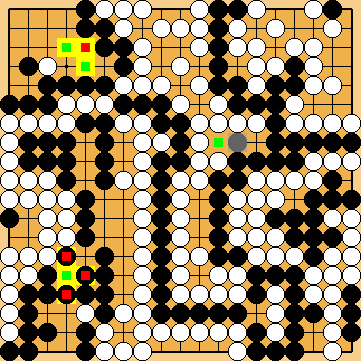
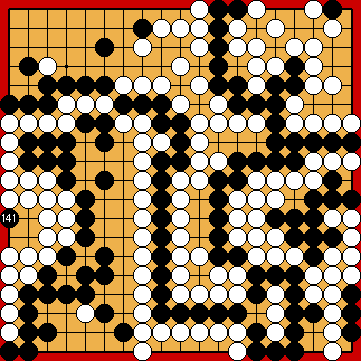
///: This is the position at White's decision point. Currently, Black is par with the Punishment Semeai Liberty Level, so he is able to finish the following endgame sequences in gote. |
|
It is well known that choosing Yamada Shinji's tsuke at
Alternatively, she might consider continuing with Playing the "silent" connection of Please note that Black will play at |
|
Capture Variation: Compared to the super²ordinate variation ...
In total, gains and losses compensate for each other. White + 2 => White + 2 |
|
Semeai Variation: Compared to the super²ordinate variation ...
In total, White lost one point. Black + 3 => Black + 4 |
|
 222aa
222aa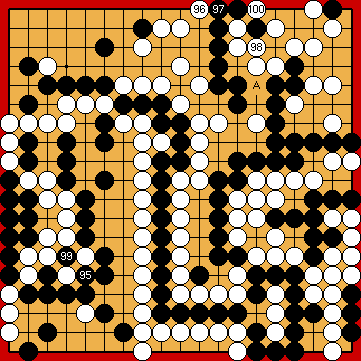
 : (
: ( A
A  222ao
222ao in the bamboo joint before, denying White four points of additional territory in the upper right corner.
 :
: :
:
 : (
: ( would be better for White.
 : (152
  at the lower edge, or playing the wedge of
  at the top.
 , however, would be one point worse overall.
 in the right centre in the Capture Variation only.