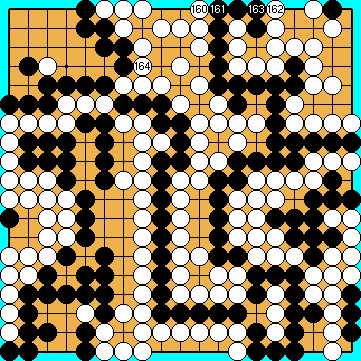
Variations of Our Solution (IIIb)
Tricking KataGo (Triple-Ko)
VAR  (C)
(C)  (A)
(A) 
 (.2)
(.2) 
|
|
|
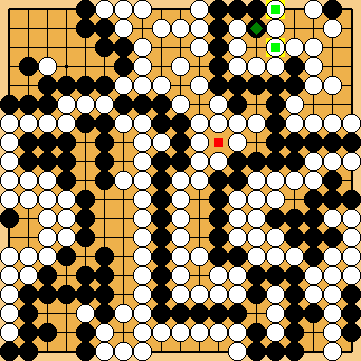
Please note Black's upper left corner is still untouched.
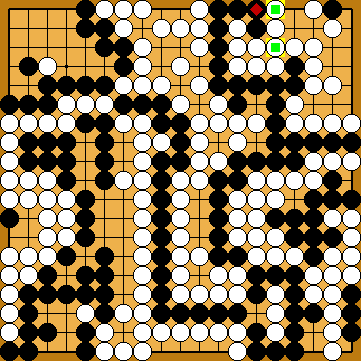
White might want to start the endgame early, instead. If she did, choosing Yamada Shinji's tsuke However, the final scores of the game will not be affected by White's timing of starting the endgame just now. Therefore, it may be more comfortable for her to start the endgame only two moves later, in order to avoid complications. A move at
Black might consider defending his territory in the left centre with a move at
However, she might want to start the endgame at the left side of the board "early", as long as Black's upper left corner is still open at both edges, and the left centre is also still untouched. |
|
///:
This is the position at White's decision point. Please note that - in the initial stages of our investigation of this "classical" line of play without Black's guzumi - we were not yet aware of all the so far hidden weaknesses of both sides.
As we know for long, playing Yamada Shinji's tsuke at |
|
... |
|
Capture Variation: Compared to the superordinate variation ...
In total, Black gained three points. White + 2 => Black + 1 |
|
Semeai Variation: Compared to the superordinate variation ...
In total, gains and losses compensate for each other. Black + 4 => Black + 4 |
|
 222an
222an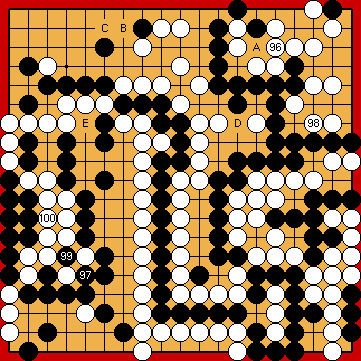
 : (A
: (A  222ap
222ap , instead, Black would take the large endgame point of
  , defending his territory in that area.
 :
: : (B
: (B  C
C  would be better than playing the "classical" atari
  .
. , instead, frustrating Black's hopes on a semeai with White's centre group, would be one point worse overall, due to the then remaining weakness in the guzumi area.
 : (E
: (E  , instead. Choosing this alternative line of play will result in unchanged final scores of the game.
 : (B
: (B 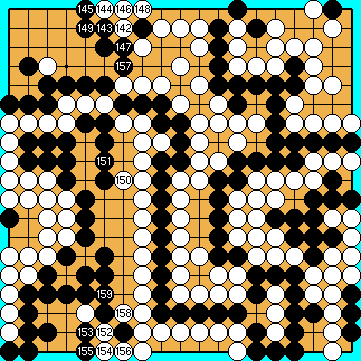
 : (
: ( would be preferable.