Variations of Our Solution (IIIb)
Tricking KataGo (Triple-Ko)
VAR  (C)
(C)  (A)
(A) 
|
|
|
|
|
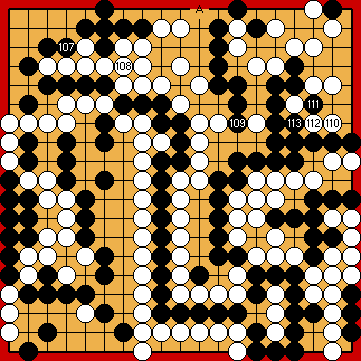
A detailed explanation of its variations after a "late" start of the endgame will be given later (
White might consider following the "classical" line of play, by choosing the atari at
In order to punish Black's delay with the guzumi, it is best for White to occupy the guzumi point herself, before attacking Black's upper left corner. Black will counter with the kikashi
If White wanted to pre-empt this kikashi, she could play the peep of
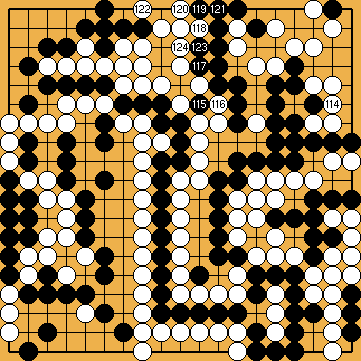
Please note that this crosscut must not be played in the case of a "late" endgame (
Drawing back to However, pre-empting the Guzumi Exchange just now will allow us to include a detailed analysis of the variation tree for Yamada Shinji's tsuke in the upper left corner in the classical line of play into this update of our website.
After a long analysis, it was quite surprising to us that giving atari at
Giving atari at Black's other stone at the second line, with |
|
It is not necessary for White to complicate the issue by extending into Black's corner with a move at
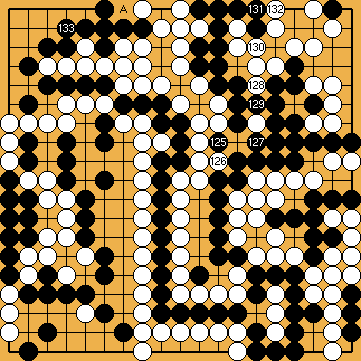
However, as we now know, Black's atari in the corner is in danger of becoming a lost move. It would be better for Black to play at
Please note that this move does not lose a tempo in the Main Semeai, as it creates an approach-move liberty for her group at the left side in the corner, due to Black's weaknesses at
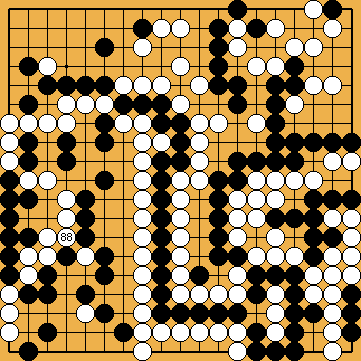
White's single stone in the upper left corner is not that important. White's best option here is to occupy the guzumi-point with
Connecting at
If White only wanted to frustrate Black's intention of entering Joachim's Ko-Semeai, she could play the peep of
However, it would be better for him to play the guzumi, instead.
However, as two moves earlier, White's best option here would be to stop Black from playing the guzumi.
Similar, if White only wanted to frustrate Black's intention of entering Joachim's Ko-Semeai, she could play the peep of |
|
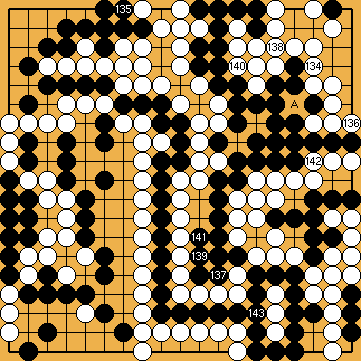
However, connecting is not mandatory for White, so Black should have played the guzumi again.
As with her two previous moves, White should have taken the guzumi point from Black.
Playing the peep of
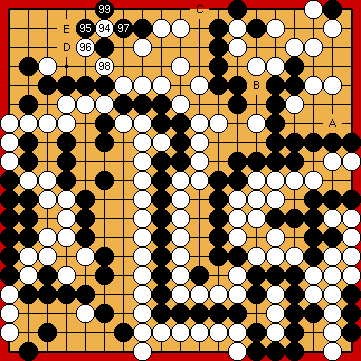
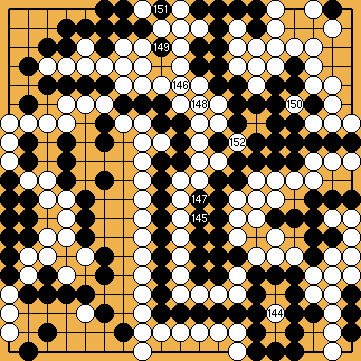
As a matter of course, Black could have kept the game countable by playing the guzumi - at the last possible moment now. Concerning the Main Semeai, Black has only six liberties left after this move. As he does not intend to choose this line of play, we will stop colouring the edges of the board here. |
|
|
|
|
|
Capturing the ko in the upper right "early" does not help here, as White does not have the time to connect this ko thereafter.
Under Japanese Rules, White might consider capturing the hanezeki's tail just now - quite contrary to the "original" Joachim's Ko-Semeai.
|
|
|
|
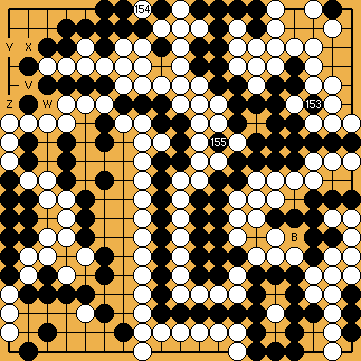
Neither side can stop capturing in this triple-ko. Therefore, under Japanese Rules ... The game will end with "no result".
Please note that under Chinese Rules (also used by KataGo 1.2) White would win the game by a large margin. By playing elsewhere, either side could release this ban.
However, Black has only one valid ko threat with |
|
 221
221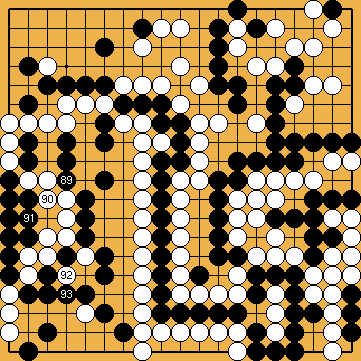
 :
: :
: :
: :
: :
:
 : (97
: (97  222ab
222ab A
A  222fw
222fw . She would become one point better than in Our Solution, but still remain one point behind the alternative subvariation.
 of Michael Redmond in the bamboo joint, but in the end White will be two points better than in Our Solution.
 at the upper edge first. However, she would provide Black with the chance of playing the guzumi, therewith returning to the score level of Our Solution again.
 : (97
: (97  : (
: ( , instead, did not produce a better overall result either - a correct continuation of both sides provided.
 :
: from the corner, would be a grave mistake.
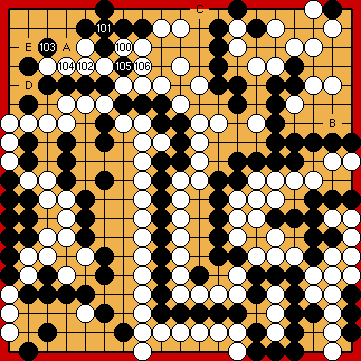
 : (A
: (A  .
. : (
: ( : (
: ( and
and  .
. . White should take this chance just now, as she will become limited in her choices after she connected her single stone in the upper left and five of her stones were in atari thereafter.
 would also be preferable, compared to the connection at
  : (
: ( : (
: (
 : (
: ( : (
: ( at the upper edge would also destroy Black's intention of getting into Joachim's Ko-Semeai. However, this move would result in a loss of one point, compared to the alternative subvariation.
 :
:
 :
: :
: :
: :
:
 ;
;  :
: :
:
 :
: : (143
  :
:
 :
:
 :
: , Black would connect there, and win the remaining double-ko, because the ko capture at
  . If White connected at this point, she would win the remaining double-ko, as the ko capture in the centre would become atari at Black's group at the right.
 ,
,  ,
,  ,
,  ,
,  ,
, 
