Variations of Our Solution (IIIb)
Tricking KataGo (Triple-Ko)
VAR  (C)
(C)  (A)
(A) 
 (.2)
(.2)
|
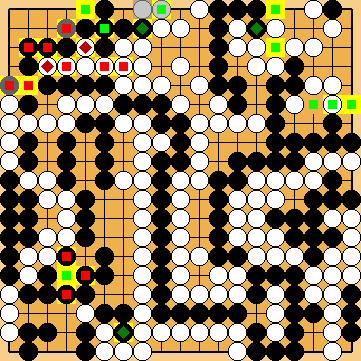
However, Black gets the opportunity to play the guzumi, which will slightly increase the overall result of the game in his favour. |
|
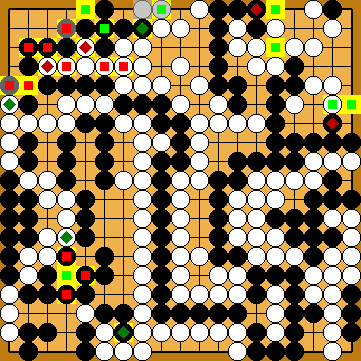
If he immediately connected with Protecting his cutting point at the upper edge indirectly with
It will be a mistake for White to complicate the matter by cutting with
Capturing White's five stones in the upper left with |
|
White's connection was not sente, but created an approach-move liberty for her left-hand group. Therefore, Black is unable to play e.g. the large endgame move of
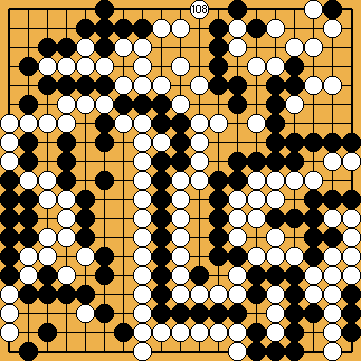
However, she must not let Black defend his territory in the left centre, and so play the wedge in the left centre, instead. |
|
For White, it does not make sense to push again at |
|
Black must not play any reduction. After her decision point, White will hane at |
|
Capture Variation: Compared to the super²ordinate variation ...
In total, gains and losses compensate for each other. White + 2 => White + 2 |
|
Semeai Variation: Compared to the super²ordinate variation ...
In total, White gained three points. Black + 3 => Jigo |
|
 222mw
222mw 222aa
222aa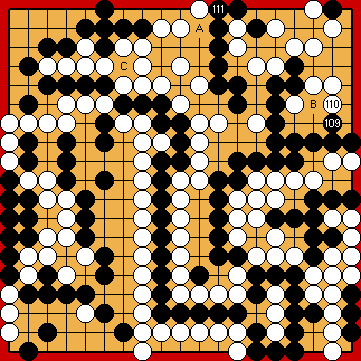
 : (111
  222nx
222nx , he would not get the chance to play the guzumi later, so losing several points overall.
 (having his intention in mind to initiate Joachim's Ko-Semeai here), however, would be a grave mistake.
 : (111
  , so letting Black live at the right after
  . We assume that White would lose some points overall.
 , instead, is out of the question. Black would fall prey to the Punishment Semeai thereafter.
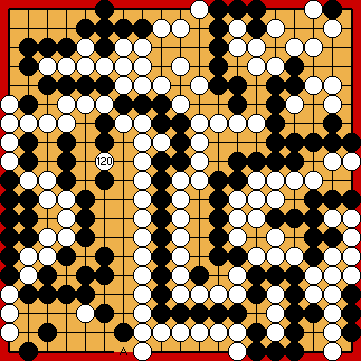
 :
: :
: :
: :
: :
: :
:
 : (
: ( A
A 
 :
: at the left edge, as this move costs one tempo in the Main Semeai. Therefore, Black would get compensation in the upper right corner.
 , after Black connected at