Variations of Our Solution (II)
VAR  (C)
(C)  (B)
(B) 


|
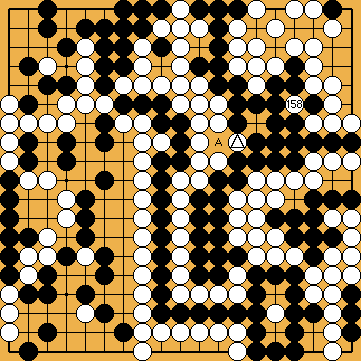
It may be tempting to play here, but it is not correct technically. This is also shown in the theory chapter as FLAG 8a2 ( |
|
|
|
|
|
|
|
|
|
|
|
|
|
|
|
|
|
(C) (B)
|
It may be tempting to play here, but it is not correct technically. This is also shown in the theory chapter as FLAG 8a2 ( |
|
|
|
|
|
|
|
|
|
|
|
|
|
|
|
|
|
 318
318 1043
1043
 :
: .
.
 :
:

 :
:
 ;
; 
 :
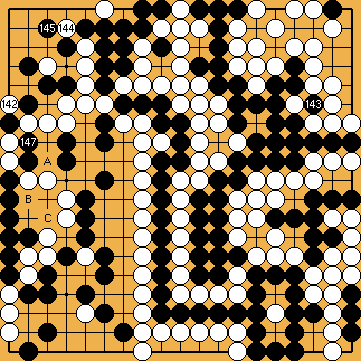
: . White loses a liberty by Black's answer, so her net advantage on the left side of the board is three ko-threats.
 :
:

 :
: , instead, would provide Black with a third, and additional, ko-threat (at
  , after
  ).
).
 ;
; 
 :
: ) at
) at  .
.
