Variations of Our Solution (IIIa)
No Early Kikashi
VAR  (.1)
(.1)  (.1)
(.1) 
|
|
|
Please note that this move is gote in itself, so White should think twice before playing it if there were still valuable spots outside the Main Semeai area on the board. |
|
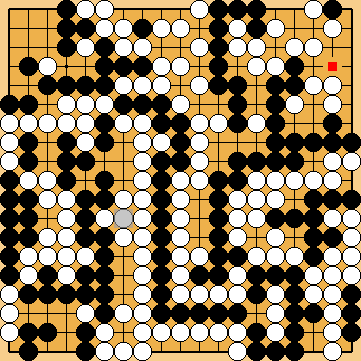
White might want to not lose two Main Semeai Liberties by choosing Dany's Sacrifice, instead. Joachim's Final Ko in the Semeai Variation, which is explained in the subvariation below, would not be possible then. |
|
Black plays 2/5 reductions.
Joachim found that reducing White's territory in the upper right by another move would be favourable for Black; he would gain one point overall. With 5/5 reductions, the final scores would be Black + 1 / White + 6 White will connect at White will start the Semeai Variation with her forcing sequence |
|
Capture Variation: Compared to the superordinate variation ...
White + 1 => White + 2 |
|
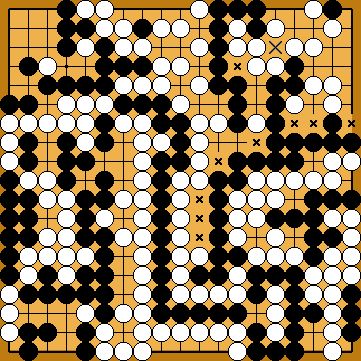
Semeai Variation: At White's decision point, Black will have 10 effective liberties left, e.g. nine direct liberties and one approach-move liberties, as marked here. Therefore, White will be unable to kill his large group in the upper right. Black will win by a very large margin. |
|
 648ac
648ac
 :
:
 : (134
  648af
648af
 : (
: ( A
A  after her decision point.
 ,
,  in the hanezeki.