Variations of Our Solution (IIIa)
No Early Kikashi
VAR  (.1)
(.1)  (.4)
(.4) 

|
|
|
Black will lose two points overall - and let White win the Capture Variation again - if he does without this throw-in, and continues e.g. with his push at
She might also play elsewhere, giving Black the opportunity to fall into an unexpected trap. |
|
|
|
|
|
... |
|
She will not benefit from fighting the ko at the left edge, instead.
If she does without, Black will take this point - at due time - and she might be unable to give double-atari with |
|
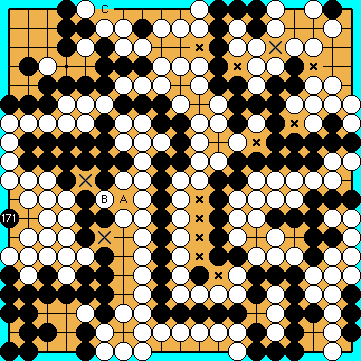
We will continue with the mutual occupation of opponent's liberties in the Main Semeai under the assumption that none of the surrounding groups (i.e. Black's in the left centre) can be captured, even if being in atari. |
|
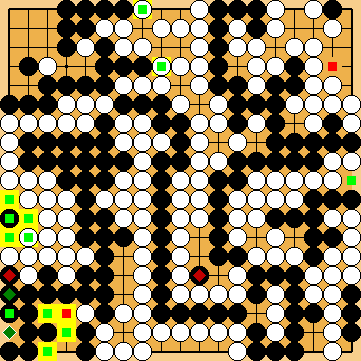
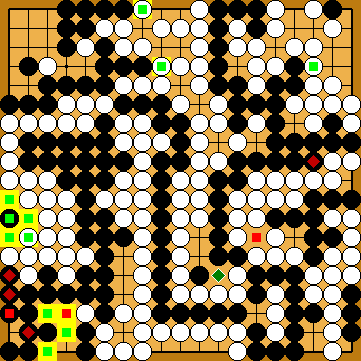
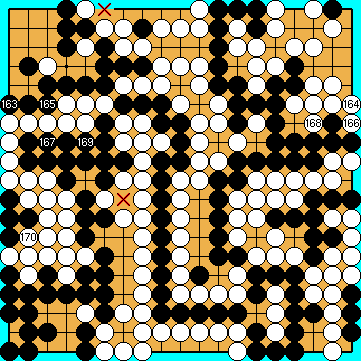
Two Black moves are still missing in the left centre; there are two options for executing them.
On the right, Black has eleven liberties, ten direct liberties ( In total, we can count nine Main Semeai Liberties for Black. |
|
As has been shown in the subvariation for
|
|
|
|
((Capture Variation:)) Compared to the superordinate variation ...
In total, White lost ten points. White + 1 => Black + 9 |
|
Semeai Variation: Compared to the superordinate variation ...
In total, White lost two points. White + 1 => Black + 1 |
|
 648eb
648eb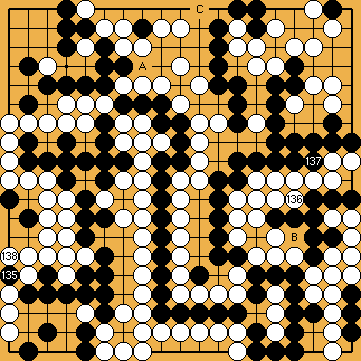
 : (A
: (A  648ee
648ee at the top, instead.
 :
: .
. : (C
: (C 
 :
: :
: :
:
 :
:
 : (A
: (A  :
: .
.
 :
:
 :
: , Black needed also two moves for connecting at the marked cutting points (
 ), which are approach-move liberties for White's group.
 ), and one approach-move liberty (
 :
: :
: above, Black might benefit by one point from capturing (& connecting) Dany's Ko, instead.
 :
: :
:
 :
: :
: ;
;  :
: