Variations of Our Solution (IIIa)
No Early Kikashi
VAR  (.1)
(.1)  (.4)
(.4) 


|
We will assume in this subvariation that - in principle - Black does not want to return to the throw-in of |
|
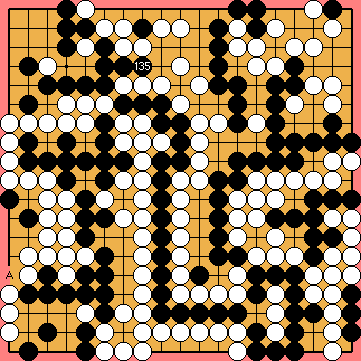
It might be tempting to insert her kikashi in the lower left corner - what is often advantageously possible after Black's push at the top - but this move will be a grave mistake here.
|
|
Please note that neither side will touch the hanezeki before White's decision point. |
|
Black plays 2/4 reductions. White will start the Semeai Variation with her kikashi |
|
Capture Variation: Compared to the super²ordinate variation ...
In total, Black gained one point. White + 2 => White + 1 |
|
Semeai Variation:
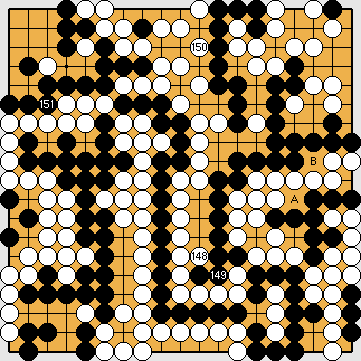
At White's decision point, Black's large group in the upper right will have nine liberties, eight direct ones ( Black will win the game by a large margin. |
|
 648ed
648ed in the nakade at the left edge.
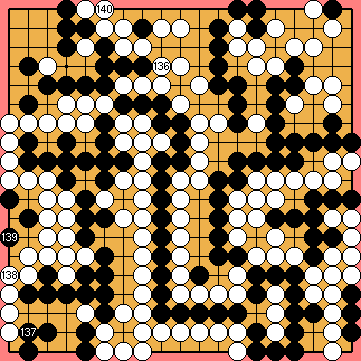
 : (137
  648ef
648ef :
: :
:
 :
: :
:
 ,
,  in the hanezeki.
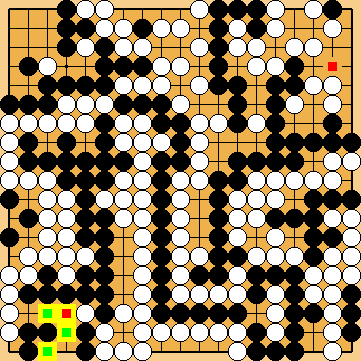
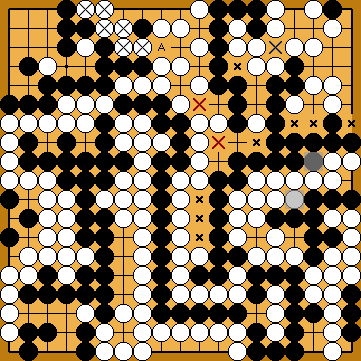

 ), and one approach-move liberty (
 ).
). 648ag
648ag ), and Black's large ko threat at
