Variations of Our Solution (IIIa)
No Early Kikashi
VAR  (.4)
(.4)  (.2)
(.2)
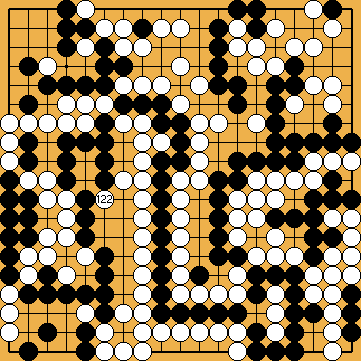
|
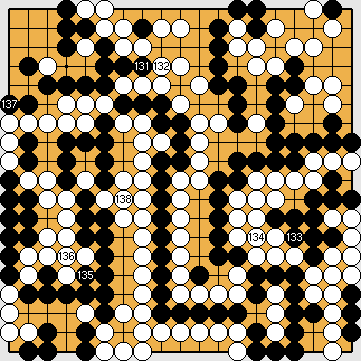
Please note that this move is played outside the Main Semeai area, and so loses a tempo therein. |
|
However, we will see later that starting a ko fight here does not really make sense. White will be worse in the Semeai Variation, if she connected the ko. Therefore, she might simplify the issue by connecting at
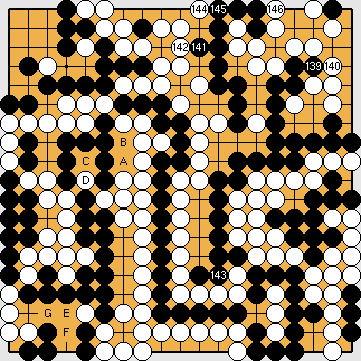
In principle, Black loses two Main Semeai Liberties by this move. But |
|
He might connect at |
|
White's throw-in is also an atari, so it does not make sense to fight a ko by capturing at
|
|
She would lose one point overall, if she chose Dany's Sacrifice, instead.
She would be worse overall, if she allowed Black to capture and connect, instead. |
|
Black plays 4/6 reductions. White will insert the forcing sequence from |
|
Capture Variation: Compared to the superordinate variation ...
White lost one point. White + 2 => White + 1 |
|
Semeai Variation:
At White's decision point, Black's large group in the upper right will have nine liberties, eight direct ones ( Black will win the game by a large margin. |
|
 648hm
648hm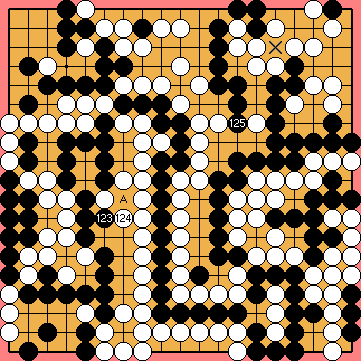
 :
: .
. :
: becomes an approach-move liberty of his group, so the net effect of this move is a loss of one Main Semeai Liberty.
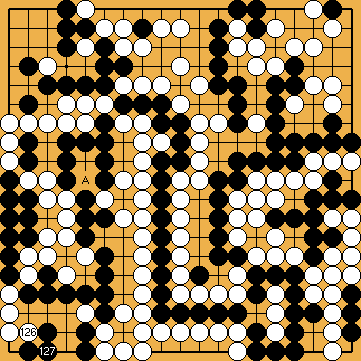
 :
: : (A
: (A  648hy
648hy immediately, instead.
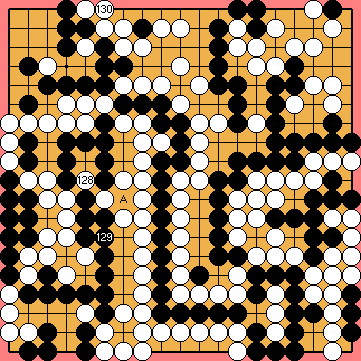
 :
: :
: :
:
 :
: :
: :
:
 soon, so that Black will have to capture with
  before the end of the game.
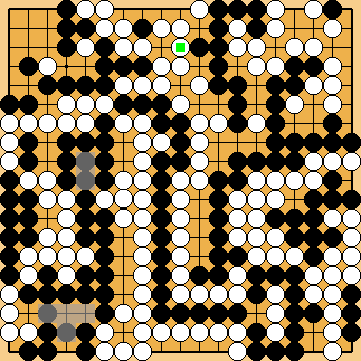


 ), and one approach-move liberty (
 648ag
648ag ), and Black's large ko threat at
