Variations of Our Solution (IIIa)
No Early Kikashi
VAR  (.1)
(.1)  (.1)
(.1)
|
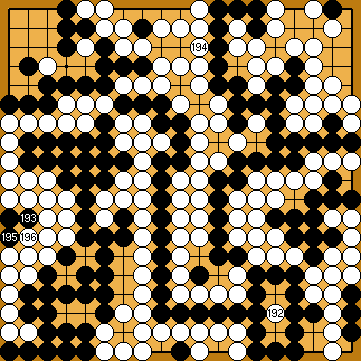
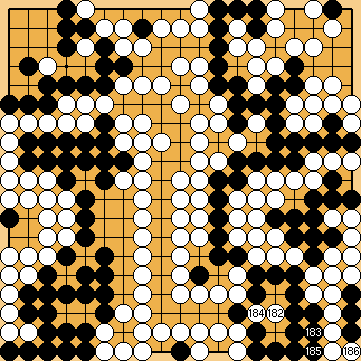
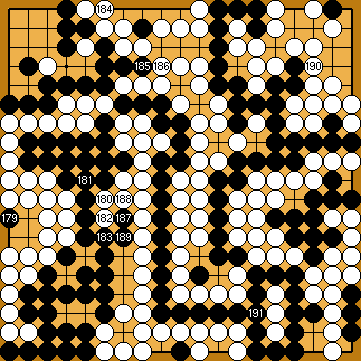
This throw-in generated an approach-move liberty for her group. |
|
She might also block at the top with
Black is par with the Punishment Semeai Liberty Level, so pushing with |
|
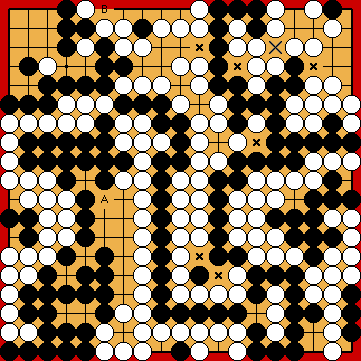
At this moment, with the open points lA and lB (and lC), it might be difficult to decide what else might be possible for Black. Play ONLY moves that are part of the Main Semeai, until you reach White's decision point. |
|
|
|
... |
|
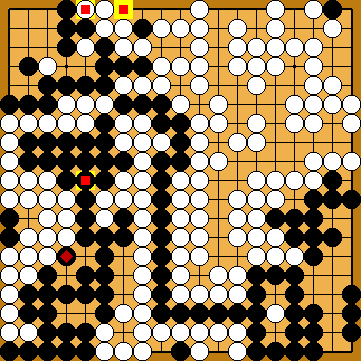
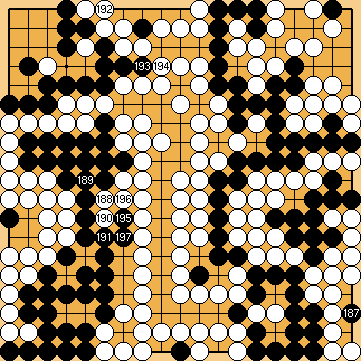
However, this is the moment to identify the number of liberties of Black's large group in the upper right. This will be the basis for considerations about moves especially on the left half of the board, where several spots are still open. |
|
Black's group in the upper right has six direct liberties ( In total, Black's group has seven liberties. This is barely enough to survive the Punishment Semeai. |
|
|
|
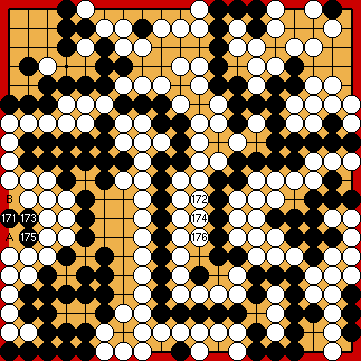
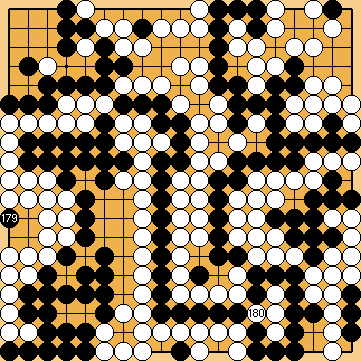
Capture Variation:
|
|
|
|
|
|
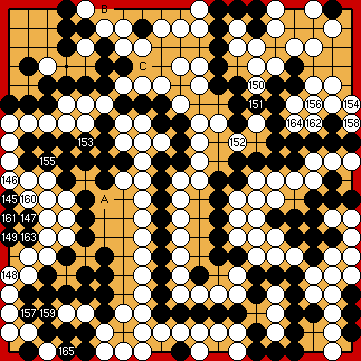
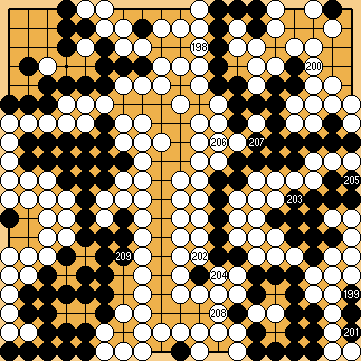
White could also play at
Now, after White lost one tempo in the Main Semeai, the time has come for Black's push at the top.
|
|
Please note that this might be necessary to ensure SGF editors to calculate the final score correct, when using (or being based on) area scoring (i.e. Chinese counting). |
|
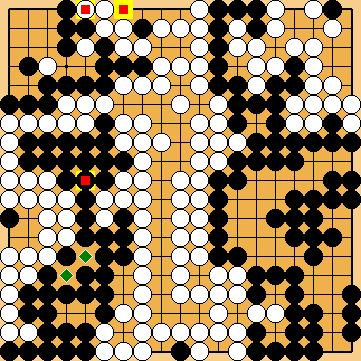
Compared to the superordinate variation ...
In total, White lost one point. White + 2 => White + 1 |
|
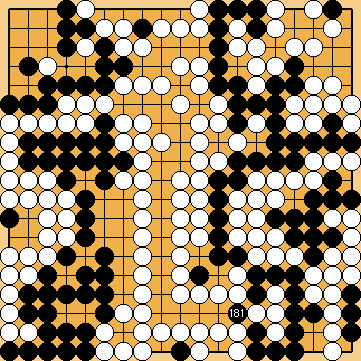
///: Semeai Variation:
Again, Black is able to play the push at the top, after White lost one tempo in the Main Semeai by her connection at
|
|
... |
|
... |
|
|
|
Compared to the superordinate variation ...
In total, White gained five points. Black + 4 => White + 1 |
|
 648of
648of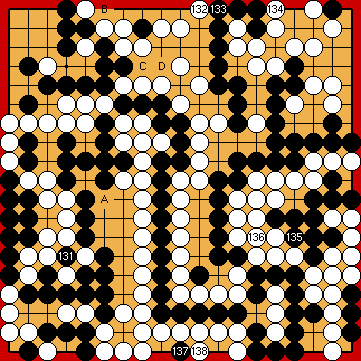
 :
: : (C
: (C  648oh
648oh , or play Dany's atekomi
  in the centre, achieving the same final scores as herein.
 , however, will be worse for her.
 :
: :
:
 at the top (expecting White to answer at
  ) would be a grave mistake, but which is not necessarily very obvious. Please refer to (
 648ap
648ap at the lower edge as a means that allowed us to keep the move numbers in many of the following diagrams stable, after we deleted our hitherto existing moves at
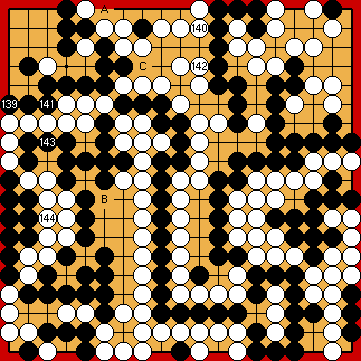
 :
:
 :
: in the left centre, or
  (and
(and 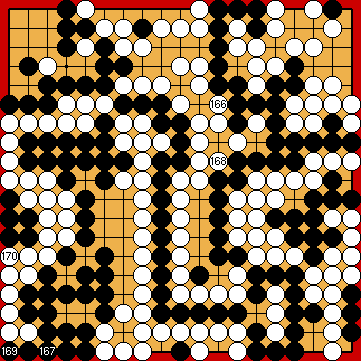
 :
:
 ), and one approach-move liberty (
 ), due to Black's eye.
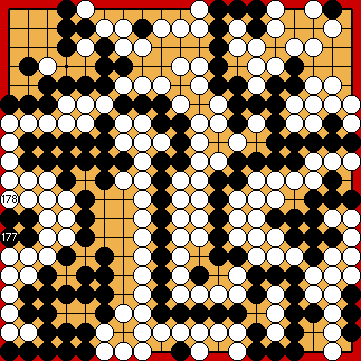
 :
:
 :
:
 :
:
 :
:
 :
: :
: in the centre, letting Black capture at
  . The final scores would remain unchanged.
 :
: :
:
 ...
...  :
: :
:
 :
: .
. :
: :
: