Timing of the Guzumi (2022)
Overview
|
Referenced by (
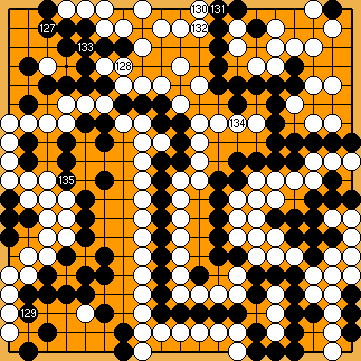
The hanezeki's tail This is also the moment when KataGo starts to seriously consider my Guzumi In the early days of our intensive analyses of the problem, the optimal moment for playing my Guzumi was for a long time an unresolved question. With our inadequate resources, we made an estimate of this at the time, ... ... which culminated in the perception that the "best" moment would probably be immediately before the start of the Crosscut-Sequence in the left centre. Below we present KataGo's "opinion" on this complex of issues in detail. |
|
|
|
///: We will start the story of KataGo's evaluations with Black's moves in the upper right corner. In the next chapter of our website you will find a comparable analysis of the position without previous Hasami-Tsuke Sequence. (
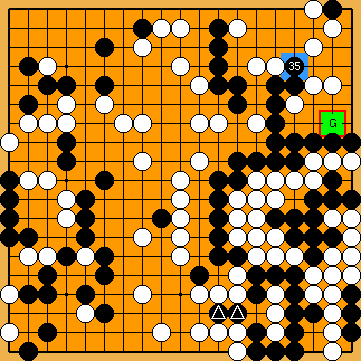
This is the second moment when KataGo seriously considers playing my Guzumi. KataGo's assessment is not that reliable here. The subvariation for Below you will find a corresponding illustration for the case after Harry's Hasami-Tsuke Sequence. |
|
A Black move at the Guzumi Point |
|
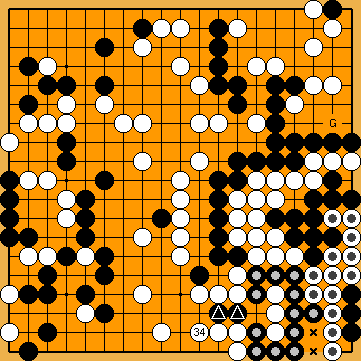
KataGo assigned my Guzumi a win rate of about 40% (in Analysis Mode; with komi = -1). If a Black move at In these self-play games, KataGo mistakenly blocked the path of the hanezeki's tail with a move at |
|
KataGo assigned my Guzumi a win rate of about 20% (in Analysis Mode; with komi = -1), apparently having realised that this move was a mistake. If a Black move at This made me aware of the change in the order of moves |
|
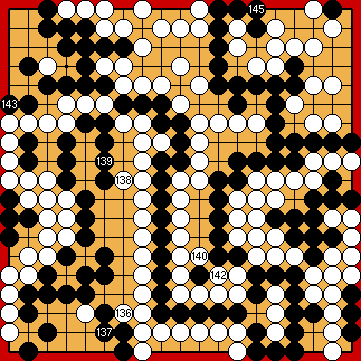
Choosing my Guzumi at this point of the game leads to the variation of Our Solution (2021); please refer to ( 0009.htm#ü2021) for details. |
|
KataGo assigned my Guzumi a win rate of about 25% (in Analysis Mode; with komi = -1), apparently having realised that this move was a mistake. However, if a Black move at |
|
|
|
Referenced by (
|
|
KataGo assigned my Guzumi a win rate of about 45% (in Analysis Mode; with komi = -1). However, as you will see in the subvariation, choosing my Guzumi would complicate the game unnecessarily. |
|
KataGo assigned my Guzumi a win rate of about 30% (in Analysis Mode; with komi = -1). However, as you will see in the subvariation, choosing my Guzumi would complicate the game unnecessarily. |
|
Please note that - with Harry's Hasami-Tsuke Sequence |
|
Referenced by (
As you will see below, continuing the Nakade Sequence with |
|
Alternatively, White might immediately capture in the lower left with |
|
Referenced by (
|
|
|
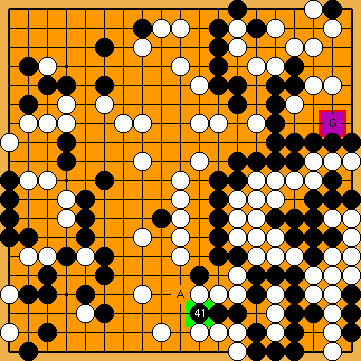
|
|
|
Referenced by ( ... |
|
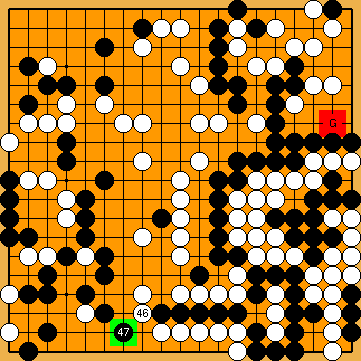
Black must not play any reduction. |
|
Capture Variation: Compared to Our Solution (2021), ...
In total, Black lost one point. White + 2 => White + 3 |
|
Semeai Variation: Compared to Our Solution (2021), ...
In total, Black lost four points. Black + 4 => Jigo |
|
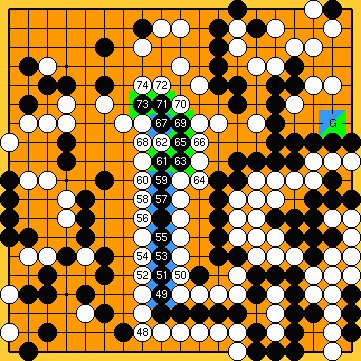
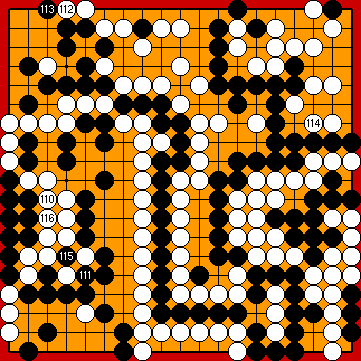
 2022MainLine
 :
: has reached its minimum length of two stones, caused by the two shared liberties
  of the large hanezeki groups
  and
and  in the corner.
 for Black again.
 813
813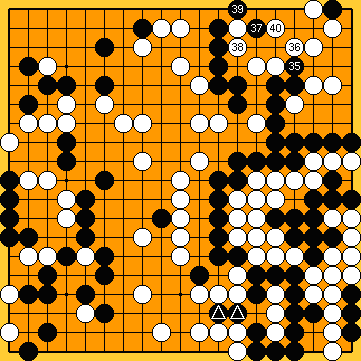
 :
: :
: :
: :
:
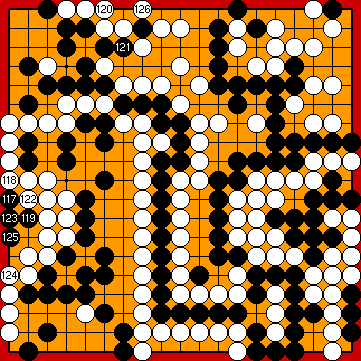
 1863
1863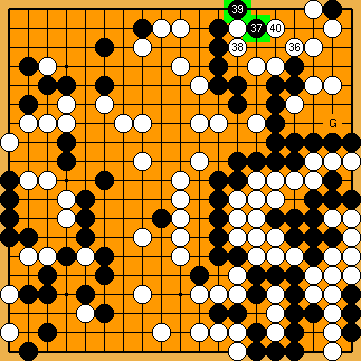
 :
:
 :(
:( G
G  1814
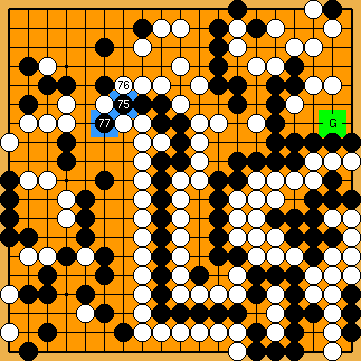
1814 immediately.
 was hidden behind KataGo's event horizon.
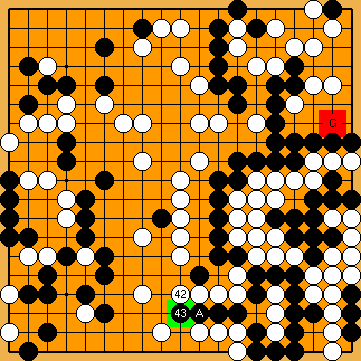
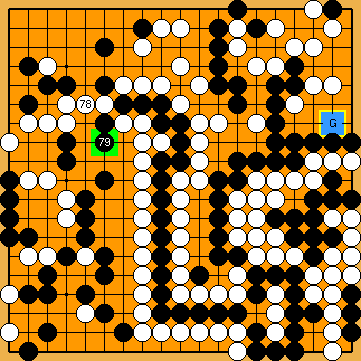
 : (
: ( immediately.
 ,
,  (most likely played much later),
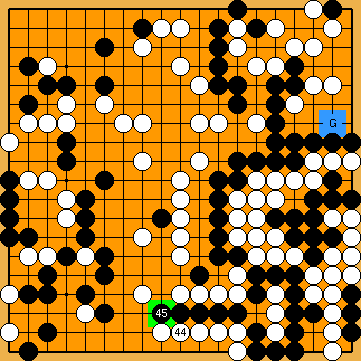
 :
:
 : (
: (
 :
: :
: :
:
 :
:
 : (G
: (G 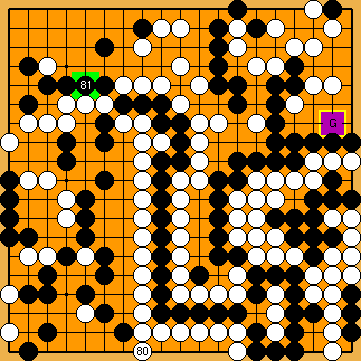
 : (G
: (G 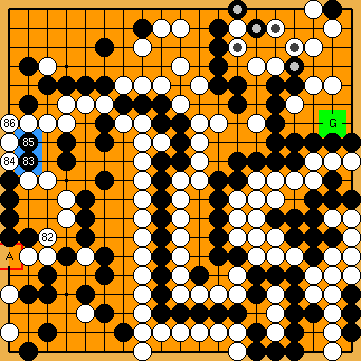
 : (A
: (A 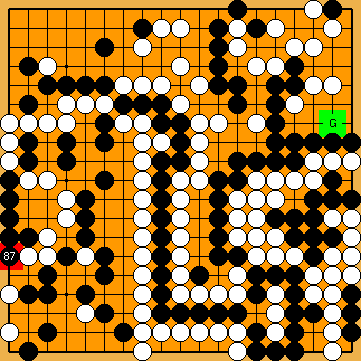
 :(
:( G
G 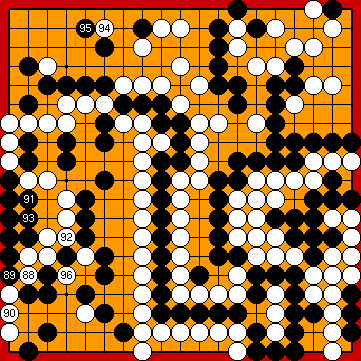
 :
: :
: :
: : (96
: (96  , not affecting the outcome of the game.
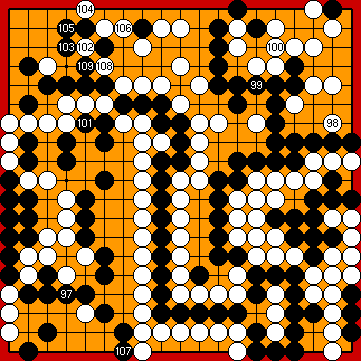
 :
: :
:
 :
: :
: :
: :
:
 :
: ;
;  :
:
 :
: