The Further Evolution of Amateurs' Knowledge
(2011 - 2014)
2011 - Timing of the Guzumi
|
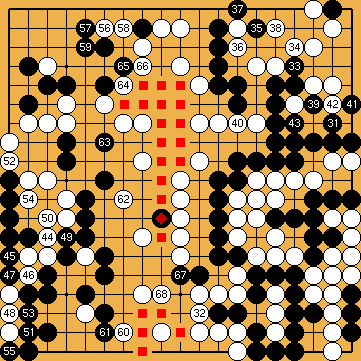
(Referenced by Guzumi @ !!! In this section White basically gives atari on the hanezeki's tail after Black's guzumi. All other moves will lead to a change in the order of moves for a later played guzumi. !!! We are not convinced that our endgame is optimal. However, we tried to apply it equally to the different variations. In our opinion, White wins clearly here, perhaps by about ten points. We marked the approximately 20 points of White territory ( Please understand the order of moves shown here - with the guzumi first, then the push, then the hasami-tsuke late - in the historical context. |
|
/// Guzumi @ We think that Black now wins by a very small margin. |
|
/// Guzumi @ So, White will not really play at |
|
However, Black's further destruction of White's territory with |
|
|
|
/// Guzumi @ |
|
If Black insisted on saving his nakade stones, he would not be able to withstand White's forceful moves in the upper left corner successfully. Black would lose the game unnecessarily by about five points ( |
|
/// Guzumi @ Once the Crosscut Sequence has been completed, Black no longer has any option; he loses his |
|
|
|
... the second one with |
|
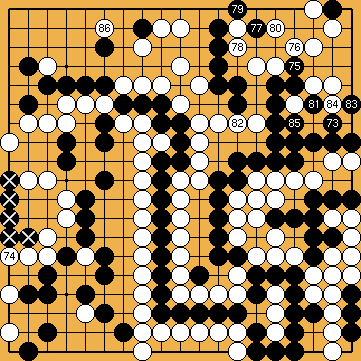
/// Guzumi @ Conclusion: Around move If the hanezeki's tail comes very close to the upper left corner, White gains more by the resulting potential threats than she loses in territory. With the Crosscut Sequence, Black loses many of his earlier options, because this fixes the shape. White is now almost always expected to win, because her previous moves are found to be of more value for the endgame than Black's. The conclusion remains that the most favourable moment for playing the guzumi is indeed with move |
|
 191
191 :
: /
/ ), which will disappear during the journey of the hanezeki's tail across the board.
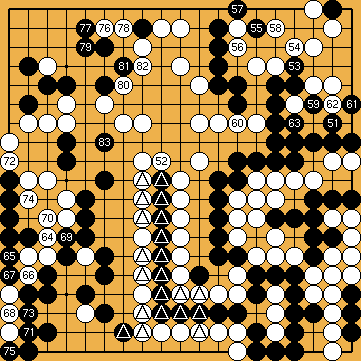
 :
: ), Black has run through White's potential territory on the lower edge, and in the centre. By contrast, with her moves White has occupied mostly neutral points (
 ).
).
 :
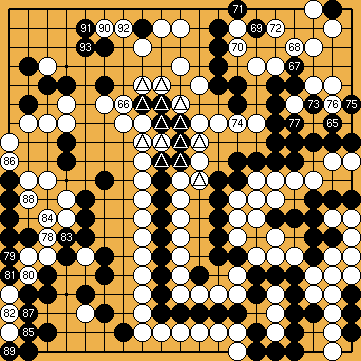
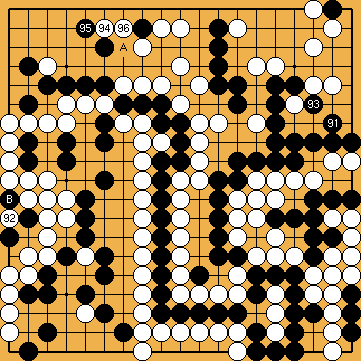
: here, but must respond to the guzumi, with a move at
  . Black then continues with the "usual" Crosscut Sequence, starting with a move at
  ; this will result in a change in the order of moves with our solution (that Black wins by only three points).
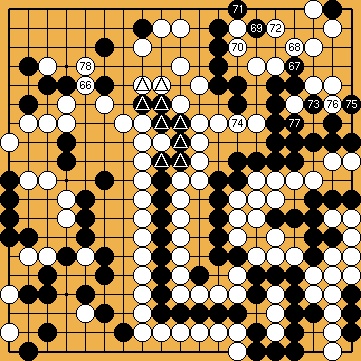
 . As shown earlier (
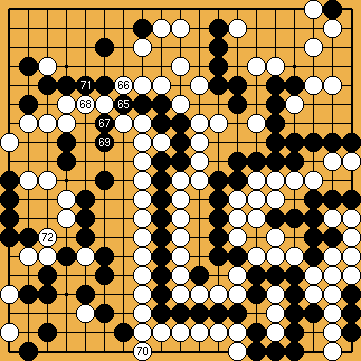
 :
: rescues one stone only, while
  threatens the lower left corner. And, with
  , Black saves only his single stone to the right, while White, with
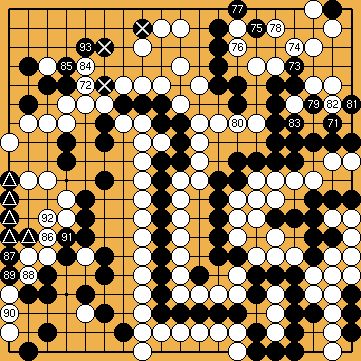
 ) in the upper left corner. The top left corner is bigger than the left side, so Black has to discard his nakade stones, if he ever wanted to win the game. Our trials with the endgame always ended with a very close result, but we feel that it is more likely that Black will win, probably by about two points (
 :
:
 :
: , unforced capturing Black's nine nakade-stones; ...
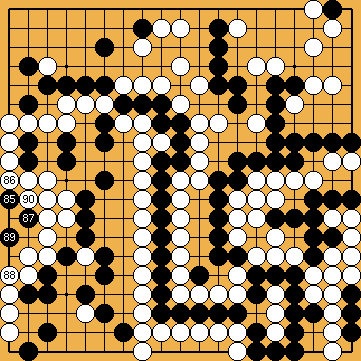
 :
: , Black has the choice between
  , and
, and  , neither of which will end successful for him.
 , the tables will turn. Black still destroys White's territory, while White occupies mostly neutral points. Probably White will answer the guzumi locally, because this leads to a change in the order of moves with our solution, and so to a better final result for her.
