New Story Line 2022
Michael Redmond's Kikashi
in the Bamboo Joint
|
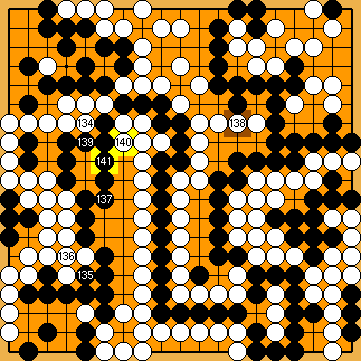
Michael Redmond 9p once discovered a Black follow-up move to Harry's Hasami-Tsuke Sequence in the upper right corner: his Kikashi in the Bamboo Joint. In principle, this Kikashi presents White with the choice between profit or Main Semeai Liberties. An unexpected interaction with KataGo's new moves on the left side of the board, however, now leads to KataGo evaluating this move as a two-point mistake. In the "classical" environment of the problem (i.e. with White occupying the Guzumi Point), Michael Redmond's Kikashi retains its significance, for it continues to favour Black in it. Within Harry's Hasami-Tsuke Sequence, however, KataGo has a White tesuji up its sleeve that makes it imperative to play Harry's Hasami-Tsuke "early" in the course of the "classical" solution sequence. | |
|
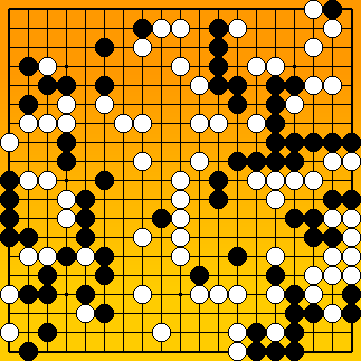
Let's go back in time and enter the world of amateurs seeking professional assistance ... |
|
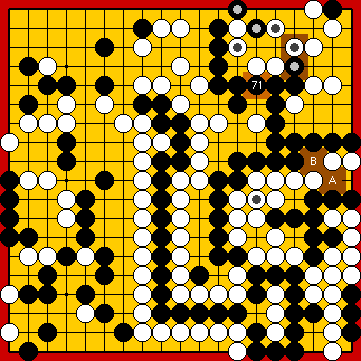
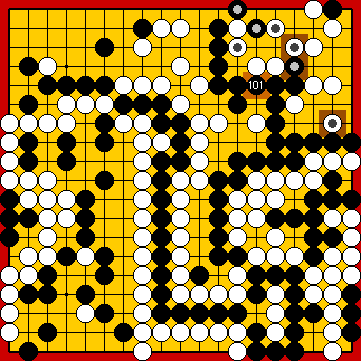
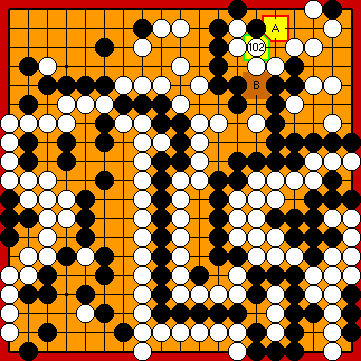
He outlined some aspects that were previously escaped our attention, when evaluating the pros, and cons, of Harry's Hasami-Tsuke Sequence Michael Redmond suggested his Kikashi in the Bamboo Joint Please note that we utilised my Second Throw-in |
|
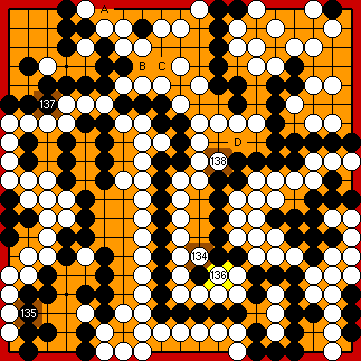
Michael Redmond explained the atari A - The atari: B - The solid connection: For further details of our analysis at the time, please refer to the history of our investigations ... |
|
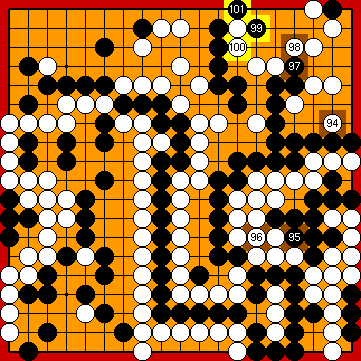
Let's try to find out what KataGo thinks about this matter ... |
|
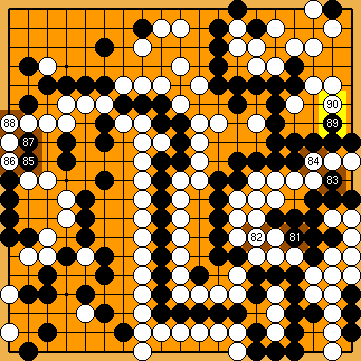
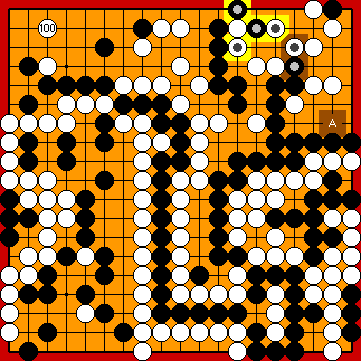
Please note that this move loses one tempo in the Main Semeai, so White must not give Black any opportunity for playing tenuki. |
|
|
|
For further details, please refer to CHAPTER "Timing of the Guzumi (2022)" ( |
|
|
|
|
|
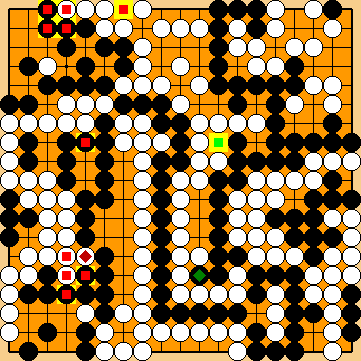
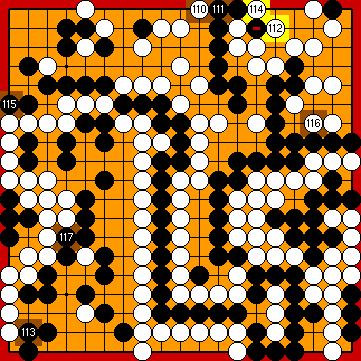
It is best for Black to connect his pivotal hasami-tsuke stone, which limits his loss to two points. Blocking the upper left corner with
|
|
|
|
Playing at |
|
Black plays 3/3 reductions. |
|
Capture Variation: Compared to Our Solution (2015 / 2017), ...
In total, Black lost nine points. Black + 5 => White + 4 |
|
Semeai Variation: Compared to Our Solution (2015 / 2017), ...
In total, Black lost four points. Black + 3 => White + 1 |
|
Let's return to the world of amateurs, arriving a few years after Michael Redmond's kind advice ... |
|
Referenced by (
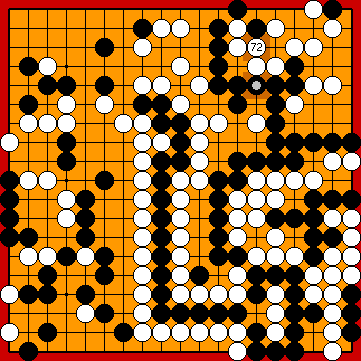
Please note that White occupied the Guzumi Point |
|
Again, White has to make her choice between territorial profit (with the atari at For further details of our analysis at the time, please refer to the history of our investigations ... |
|
Let's try to find out what KataGo thinks about this matter ... |
|
|
|
KataGo is very aware of the territorial disadvantage (of two points overall, as we will see below) that would result from Michael Redmond's Kikashi This implies that Black should have played Harry's Hasami-Tsuke sequence much earlier in the game ( |
|
|
|
|
|
|
|
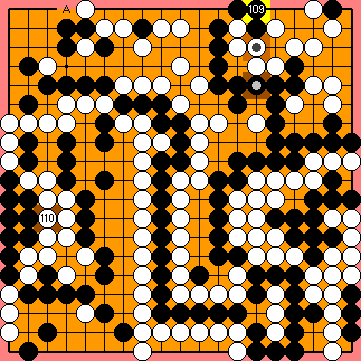
Black must not play any reduction. Just before her decision point, White will connect her single stone at the upper edge with If she mistakenly waited until after her decision point, Black would not sacrifice the additional stone at |
|
Capture Variation: Compared to Our Solution (2015 / 2017), ...
In total, Black lost nine points. Black + 5 => White + 4 |
|
Semeai Variation: Compared to Our Solution (2015 / 2017), ...
In total, Black lost four points. Black + 3 => White + 1 |
|
After a short stopover in the world of amateurs, where they were advised to adjust their timing, we are back in the era of KataGo again ... |
|
(
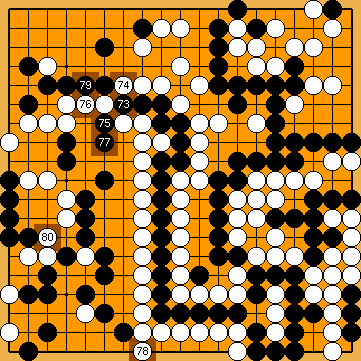
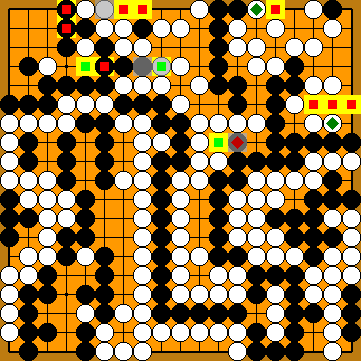
White might also start with the occupation of the Guzumi Point |
|
|
|
|
|
|
|
|
|
|
|
|
|
Black must not play any reduction. |
|
Capture Variation: Compared to the previous variation, ...
In total, Black gained two points. White + 4 => White + 2 |
|
Semeai Variation: Compared to the previous variation, ...
In total, Black gained two points. White + 1 => Black + 1 |
| |
 : (
: ( 2022MainLine
 ,
,  in the upper right corner.
 ,
,  later in the game.
 and the solid connection
  .
. thereafter.
 390
390
 :
:
 :
: :
:
 ;
;  :
: :
: :
: 1813
1813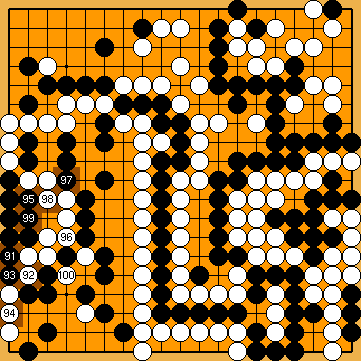
 :
: :
:
 :
: :
: :
:
 :
: :
:
 :
: :
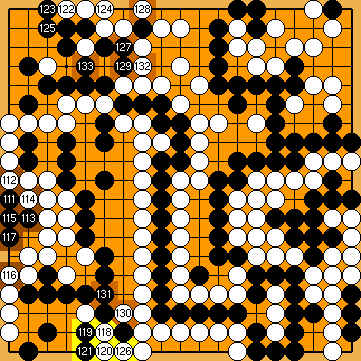
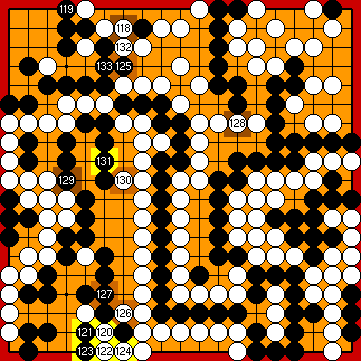
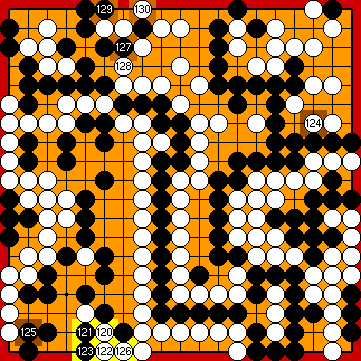
: in the lower left is gote locally.
 :
: :
:
 :
: :
: in the right centre, instead, would not affect the outcome of the game, but lose one point in the Semeai Variation only.
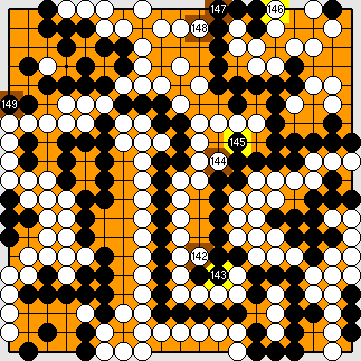
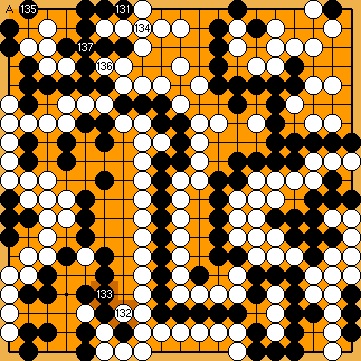
 2024
2024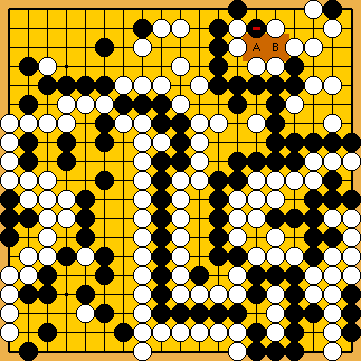
 :
: :
: :
:
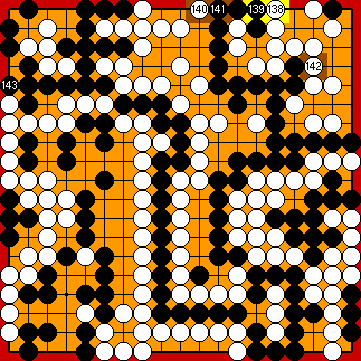
 , should White play the "usual" move at
  2032
2032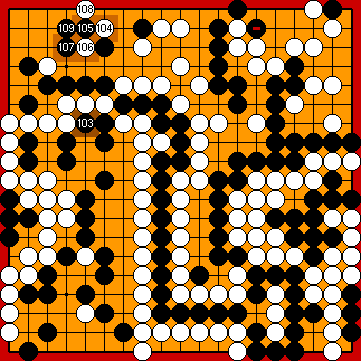
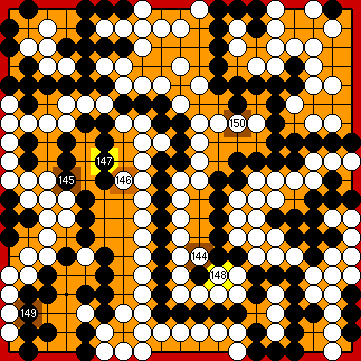
 :
: :
:
 :
: :
: ;
;  :
:
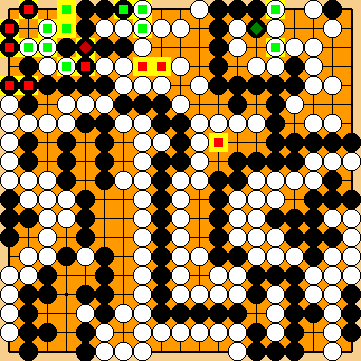
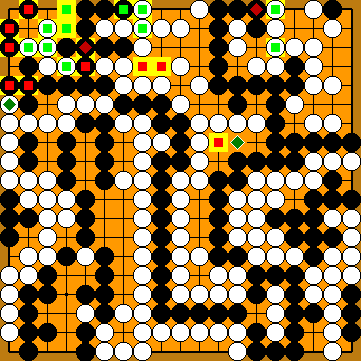
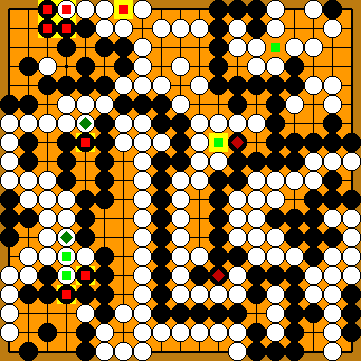
 at the top, before occupying the last valuable point of
  in the right centre.
 in the Semeai Variation, so gaining one point therein.
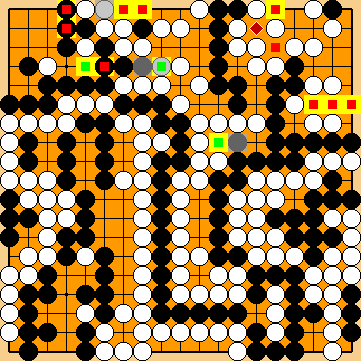
 2032
2032 : (A
: (A 
 :
: :
:
 :
: :
: :
:
 :
: :
: :
: .
.
 :
:
 :
:
 :
: