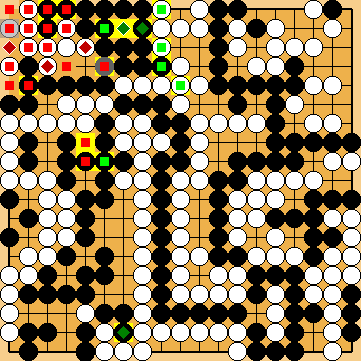
Variations of Our Solution (IIIb)
Tricking KataGo (Triple-Ko)
VAR  (C)
(C)  (A)
(A) 
 (.2)
(.2) 

 (.2)
(.2)  (.2)
(.2)
|
(Referenced by
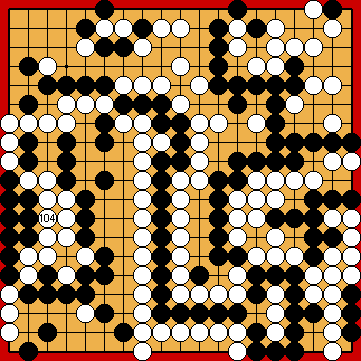
The comparable position in the modern line of play, i.e. after the Guzumi Exchange, can be found later ( |
|
Extending to Giving atari at Trying to connect his troops along the edge of the board by jumping to |
|
Please note that this move could also be played a bit later.
The connection at Connecting at |
|
Otherwise, Black would be able to cut through at the top.
If he captured at |
|
|
|
|
|
|
|
Black must not play any reduction. Before the end of the game, some moves must be played in the upper left corner. |
|
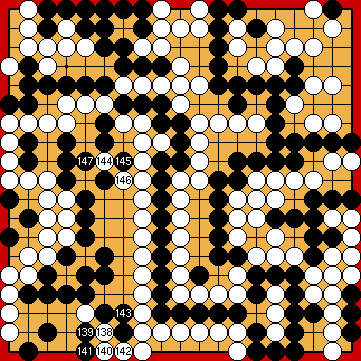
Capture Variation: Compared to the super²ordinate variation ...
In total, White gained eleven points. Jigo => White + 11 |
|
 222gn
222gn 222bb
222bb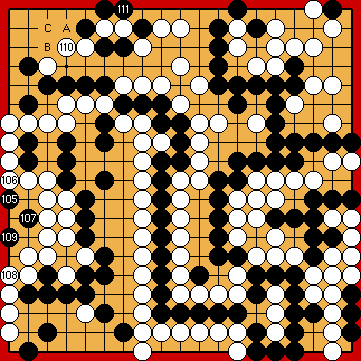
 :
: :
: : (B
: (B  222dt
222dt , instead, will result in a change in the order of moves.
 in the corner will result in a loss of three points.
 is a bit better for Black, White will benefit by "only" two points.
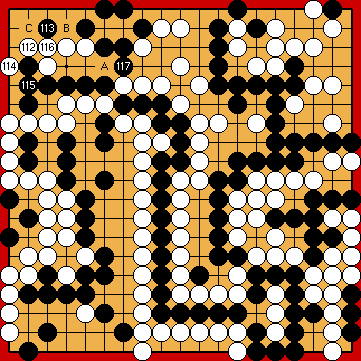
 :
: :
: :
: : (A
: (A 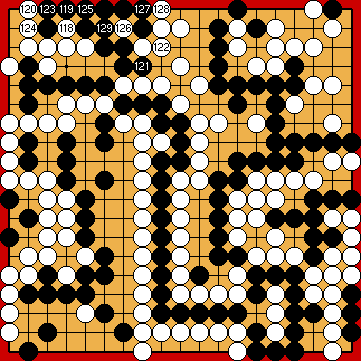
 :
: :
: :
: :
: :
: :
: :
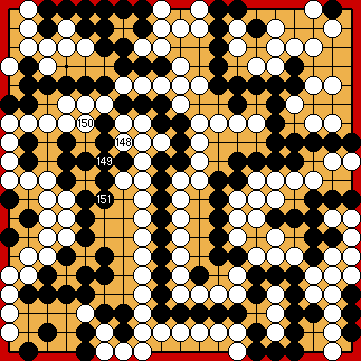
: , instead, White would also descend to
  , forcing Black to connect at
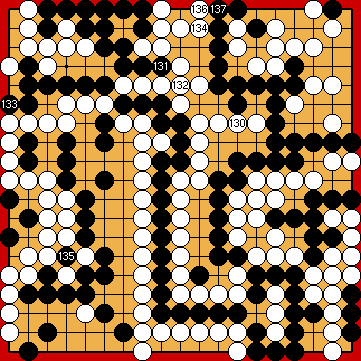
 :
: :
: :
:
 :
: :
:
 :
: :
:
 , or White connects at
  , also forcing Black to sacrifice a stone e.g. with
  .
.