Variations of Our Solution (IIIb)
Tricking KataGo (Triple-Ko)
VAR  (C)
(C)  (A)
(A) 

 (.2)
(.2)  (.2)
(.2)  (.2)
(.2)
|
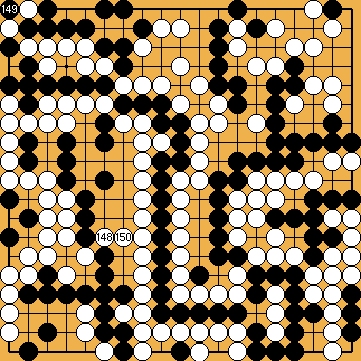
Please note that this move is the third successive mistake, making it a bit unlikely for KataGo (2020) to encouner this position during the selfplay-training of the net with the frequency necessary for extensive analysis. |
|
(Referenced by
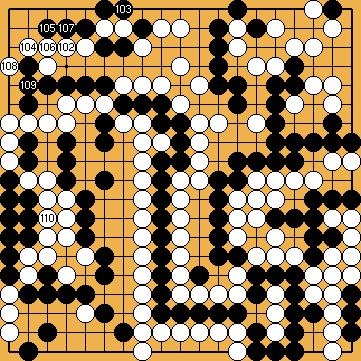
This invention, made by Joachim, significantly improves White's position on the left in preparation of the forthcoming ko fights in the upper left corner. In the further course of the filling of the nakade, White will connect all her partial groups at the left, and so get rid of some shortage of liberties that otherwise might hinder her in the fight to come soon. If this move is played later, even by only one move, Black might take the opportunity to play tenuki. During the later ko fights, capturing the nakade might not even be a valid ko threat. The comparable position without the Guzumi Exchange (i.e. in the classical line of play) has been discussed earlier ( |
|
Extending to However, we found that it would be better for Black to give atari at White's single stone in his corner first, with a move at Jumping to |
|
However, KataGo (2021i) found that immediately connecting his partial groups in the upper left corner with A move at
He will be unable to fight - and win - the ko after giving counter-atari with |
|
(Referenced by
Alternatively, White might also start another ko fight in Black's upper left corner by playing the hane at White's peep White's connection at KataGo's (2020) fondness for White's connection at
Descending to
|
|
Please note that we will not adjust the colours of the boards' edges during the ko fights.
Alternatively, he might consider connecting at |
|
|
|
Please note that Black is unable to use his kikashi in the hanezeki as ko threats, as this would hurt the liberty count of his large group in the upper right decisively.
However, as we found out, it would be better for White to ignore Black's previous move, and to end the ko fight in the upper left corner by connecting with
|
|
|
|
|
|
If he ignored White's atari, he would have a ko threat at |
|
She will have to capture the hanezeki's tail with Thereafter, White will win the final ko ( White will win the game by 13 points. |
|
 222gm
222gm
 222ds
222ds
 : (A
: (A  222go
222go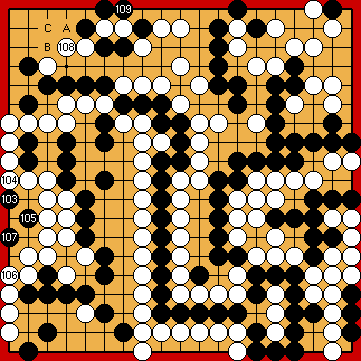
 :
: :
:
 : (
: (
 , instead, would revert to the sequence below.
 .
. at the second line is another idea, but slightly worse than
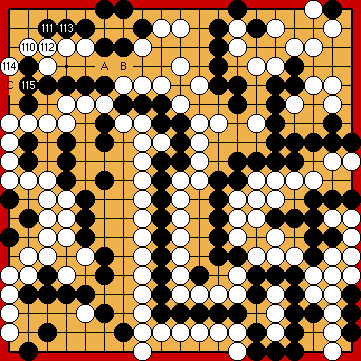
 :
: :
: :
: : (
: ( :
:
 :
: :
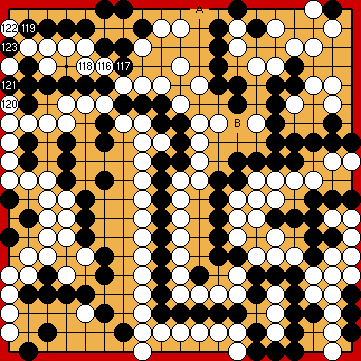
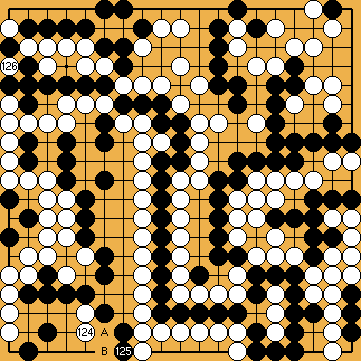
: , Black blocks the corner from above.
 : (122
  ), as her push creates an approach-move liberty for her left-hand group in the corner.
 .
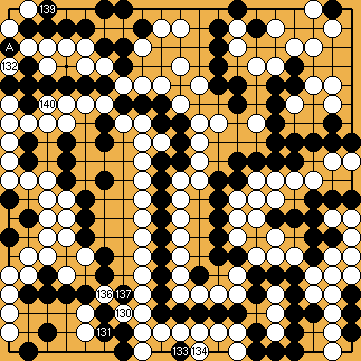
. at the upper edge is apparently underestimated by KataGo (2020). It will also ensure a large White win, and thereby give Black the opportunity to avoid a ko fight in the upper left corner.
 in the upper right is favoured by KataGo (2020) with komi for White and with small reverse komi for Black, but a grave mistake. With correct play of both sided, White will achieve a drawn game only.
 at the left edge in the upper left corner - when the komi is set to 0 - is also triggered by wishful thinking. After this mistake, Black will win the game.
 , instead, would enable him to capture White's cutting stones, but at the cost of losing one tempo in the Main Semeai. He is alredy par with the Punishment Semeai Liberty Level, and so does not have this extra liberty to spend.
 :
:
 :
: :
:
 :
:
 ;
;  ;
; 
 :
: :
: : (
: ( :
:

 :
: :
:
 :
: :
: :
:
 :
: ;
;  :
: :
: at his disposal, but which he does not need here in this fight.
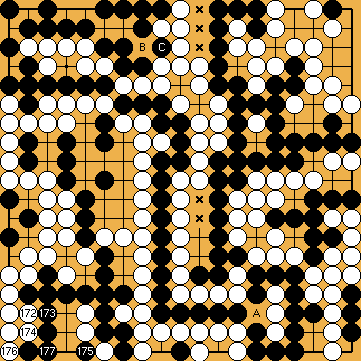
 :
: ).
). ) at the top.
