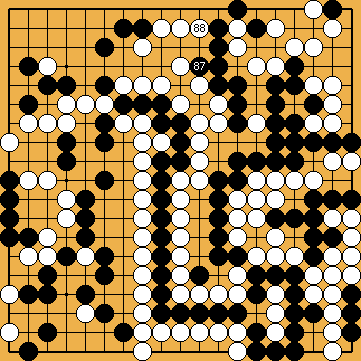
Variations of Our Solution (II)
VAR  (C)
(C)  (B)
(B)  (C)
(C)
|
|
|
Playing at |
|
|
|
Alternatively, he could try to block at |
|
|
|
|
|
|
|
|
|
(C) (B) (C)
|
|
|
Playing at |
|
|
|
Alternatively, he could try to block at |
|
|
|
|
|
|
|
|
|
 228
228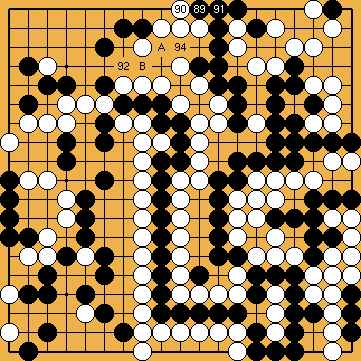
 : (A
: (A  303
303 .
. , instead, will result in a change in the order of moves. With
  ,
,  , we get the same situation as with the cut at
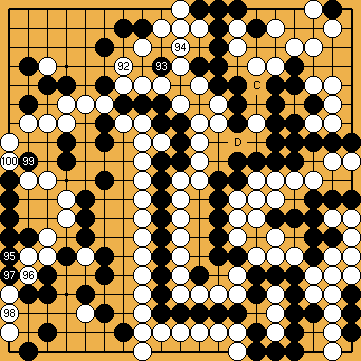
 : (D
: (D  1034
1034 in the bamboo joint has not been played, White cannot play at
  , instead, to minimize Black's eye from below.
 : (104
  , in order to achieve at least a "late" ko.
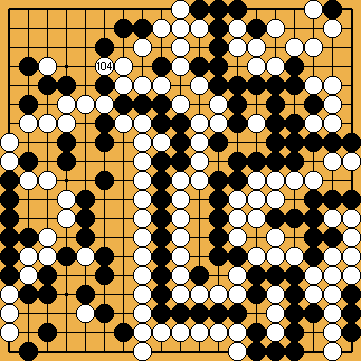
 :
:
 :
: , instead. White will capture at
  in sente, thereafter killing parts of Black's top left corner, which is sufficient to get a clear win on territory.
 :
:
 :
:
