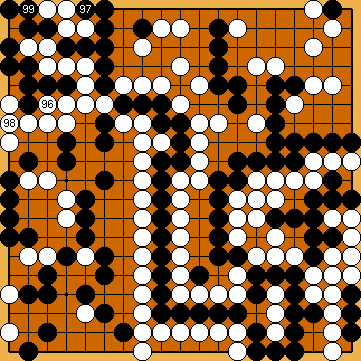
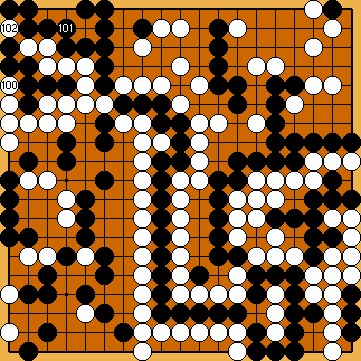
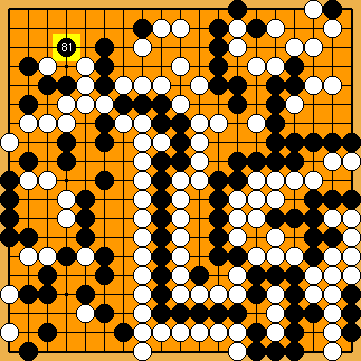
New Story Line 2022
Joachim's Capture of White's Left Side
|
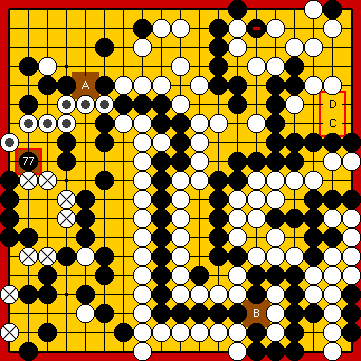
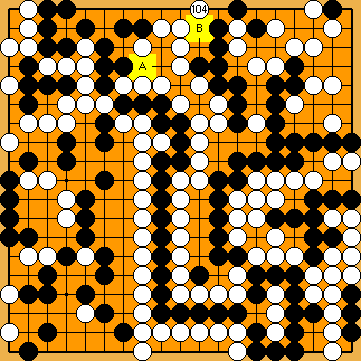
We will present Joachim Meinhardt's alternative move suggestions, which basically capture all of White's stones at the left side of the board, but leave Black's upper left corner vulnerable to attack, due to the unfinished Crosscut Sequence in the left centre. We will also address a topic here that should comfort many amateurs: Even professional tsume-go specialists do not always succeed in having all the specific mechanisms of the problem consistently at hand. KataGo - as usual - has some sharper moves on offer, but in principle fully confirms the validity of Joachim's considerations for handling the semeai in the upper left corner, which, despite all their efforts, ultimately end in Black's defeat. | |
|
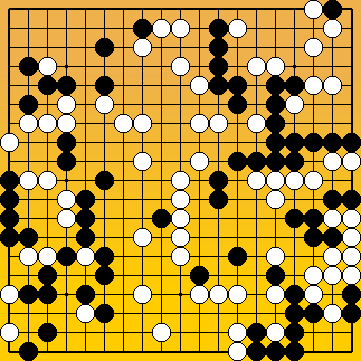
Let's go back in time and enter the world of amateurs ... |
|
Please note that White's Please also note that the forthcoming fight for life and death may not be limited to the upper left corner, but could spread to the upper side of the board and eventually result in a semeai between White's centre group and Black's large group in the upper right. |
|
As you will see further below ( Black might consider blocking at |
|
So let's take a detour to China first ... |
|
However, we found that his corresponding sequences were erroneous, which is understandable considering that solutions to 203 other problems still had to be addressed for the new edition of his 1988 book. Further details of our analysis at that time can be found at ... |
|
|
|
Cheng also showed a few variations after KataGo's favourite |
|
In each case, KataGo favours
Again, KataGo favours Playing the hane |
|
Capturing White's just played stone with
For another time, KataGo favours |
|
KataGo favours |
|
|
|
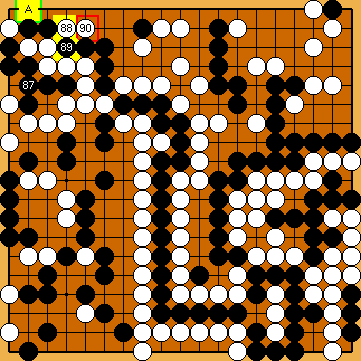
As Joachim discovered, Black must play at |
|
|
|
He is unable to connect at
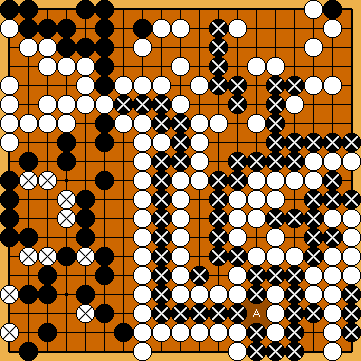
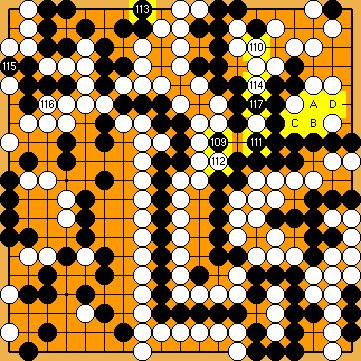
Please note that Black cannot hope on a semeai between his large group in the upper right and White's centre group. |
|
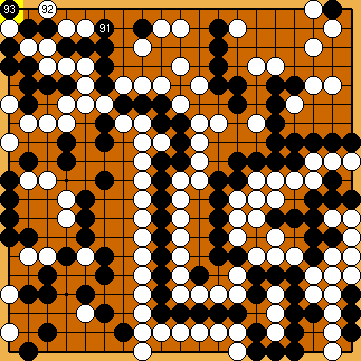
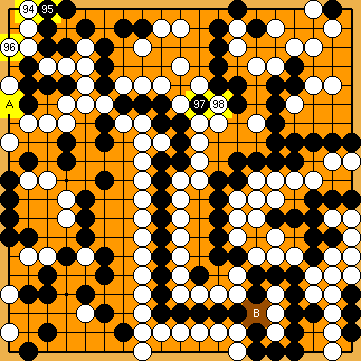
All of Black's Please note that White willnot capture the hanezeki's tail with a move at White will win the game by a large margin. |
|
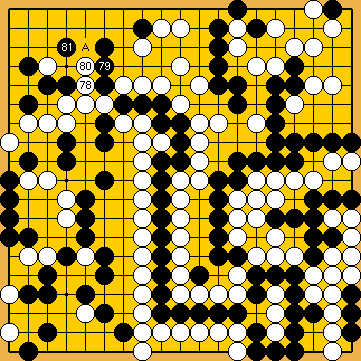
And now let's find out what KataGo thinks about this matter ... |
|
Referenced by (
|
|
White pushes into Black's formation at the top, aiming at creating cutting points.
|
|
Alternatively, she might consider immediately occupying a liberty of these stones with a move at
White's group in the upper left is independently alive, so Black now sets his hopes on a semeai with White's centre group, aiming at forcing her to capture the hanezeki's tail with a move at This starts a variation of Joachim's Ko-Semeai, in principle. For further details, please refer to section "Joachim's Hiki at the Upper Edge (Joachim's Ko-Semeai #1)" (
|
|
|
|
Joachim answered Black's previous push by immediately blocking at |
|
|
|
Not playing
|
|
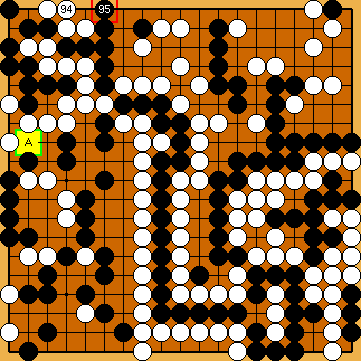
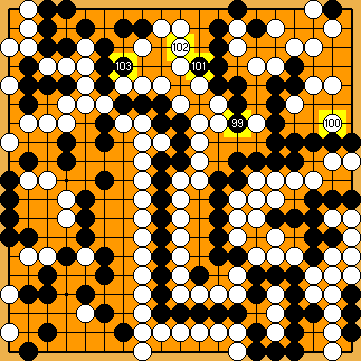
The outcome of the semeai in the right half of the board is yet decided. |
|
White will win the game by a large margin. |
| |
 : (
: ( 2022MainLine
 group on the left side with
  .
. group in the upper right must seek independent life, as capturing the hanezeki's tail with
  in the case of emergency will not lead to success overall.
 ,
,  .
.
 :
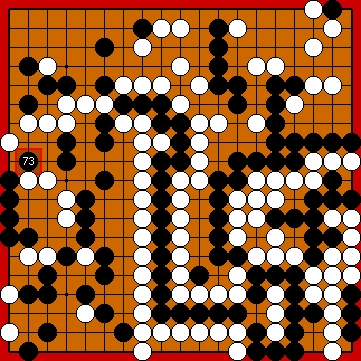
: :
: :
: : (A
: (A  2035
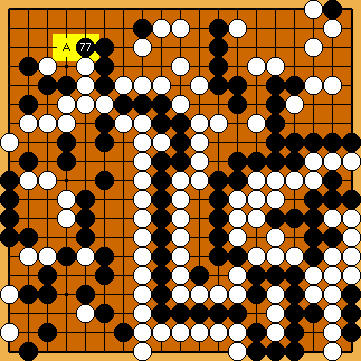
2035 2035
2035
 :
: 363
363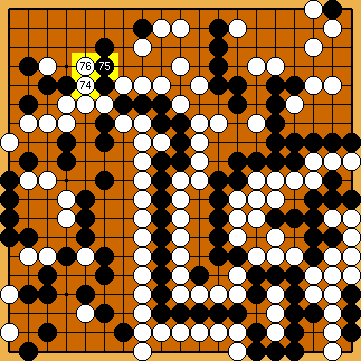
 ,
,  ,
,  :
:
 2035
2035 in his 2010 book.
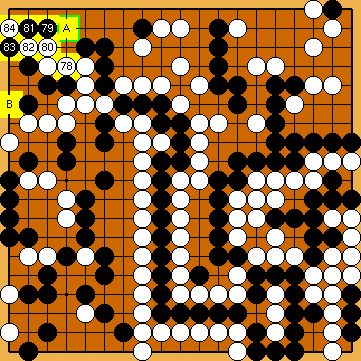
 :
: : (
: ( A
A 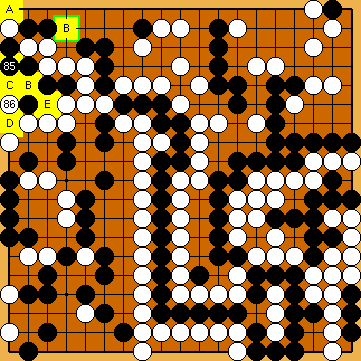
 :
: :
: .
.
 :
: :
: : (
: (
 :
: :
:
 :
: : (
: (
 :
: :
:
 :
: :
: , instead, as White would continue with giving atari at
  , killing the entire corner.
 :
:
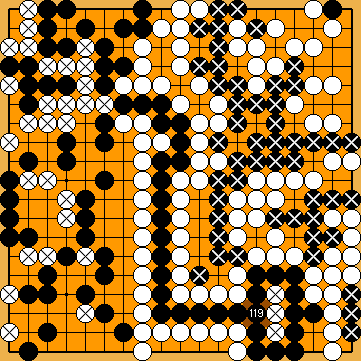
 groups in the centre and the right half of the board are dead, so this would be a great success for White.
 .
.
 2035
2035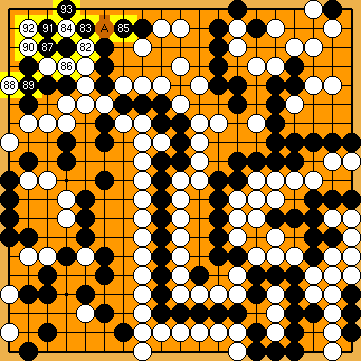
 , could also be played a bit later.
 .
.
 :
: .
. :
:
 :
:
 :
:
 :
: :
: :
:
 :
: :
: :
:
 :
:
 :
:
