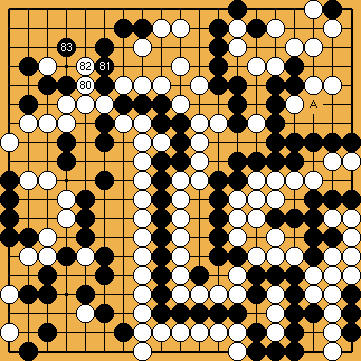
Variations of Our Solution (II)
VAR  (C)
(C)  (B)
(B)  (A)
(A)
|
However, the endgame seems to become extremely close. The hanezeki in the lower right corner will remain stable, so the two prisoners that White got with Black's earlier double throw-in might become a decisive factor for White's success. Michael Redmond was so very kind to adjust several technical incorrectness in our previous sequences, which followed the sub-variation for |
|
End of 2014, Joachim found out that Black is able to win by saving his nakade stones on the left side ( |
|
|
|
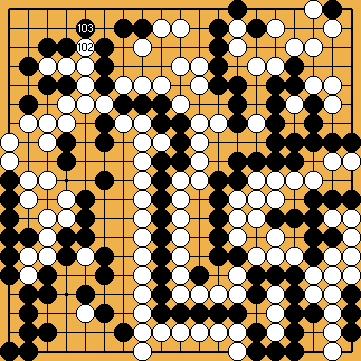
Reducing Black's group in the upper right to one eye only, by taking the guzumi point of |
|
|
|
|
|
 287
287 227
227 (=
(=  ) below, and also provided us with some very surprising variations, concerning the correct play in the upper left corner.
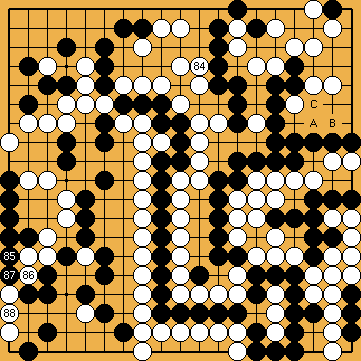
 : (A
: (A  271
271 , instead, she will lose the ensuing semeai with her group at top.
 , she will lose clearly on territory, when she does not return to the following sub-variation of Joachim's Ko-Semeai here.
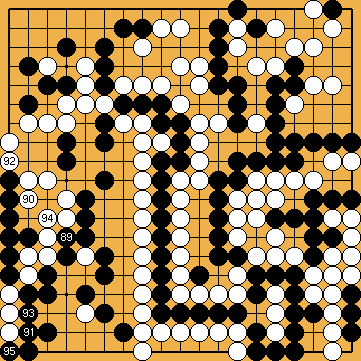
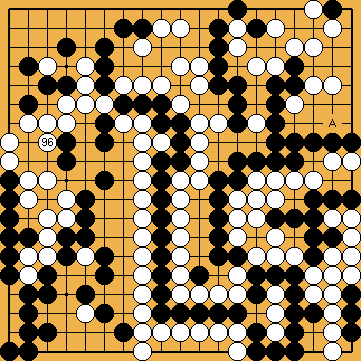
 : (A
: (A 
 :
:
 :
:
