Variations of Our Solution (IIIa)
No Early Kikashi
VAR  (.3)
(.3)  (.1)
(.1)
|
|
|
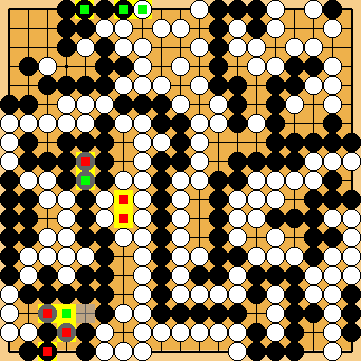
Playing the wedge at
Playing KataGo's solid connection
White does not have any better option here. Playing the central attachment at
Black is able to play KataGo's solid connection |
|
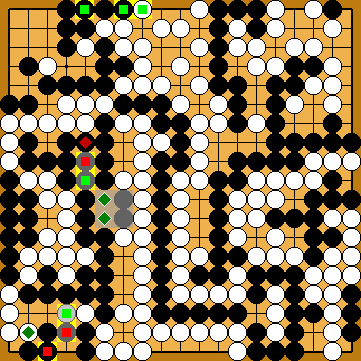
Playing Dany's atekomi, instead, will be worse for her.
Black might consider destroying White's potential territory in the centre with a move at |
|
Blocking at
Otherwise, Black will connect there, enhancing the final scores in his favour. |
|
Black plays 3/5 reductions. Please assume the rejection of Dany's Sacrifice ( With 5/5 reductions, the final scores would be Jigo / White + 4. In the left centre - after
At White's decision point, Black's large group in the upper right will have nine liberties, eight direct ones ( |
|
Capture Variation: Compared to the superordinate variation ...
In total, Black lost one point. White + 1 => White + 2 |
|
Semeai Variation: Compared to the superordinate variation ...
In total, Black gained six points. White + 1 => Black + 5 |
|
 648ix
648ix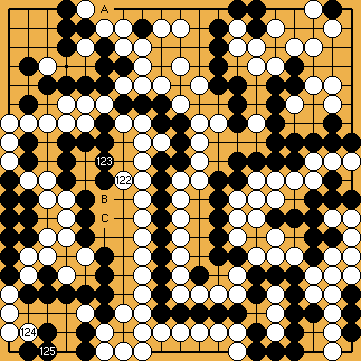
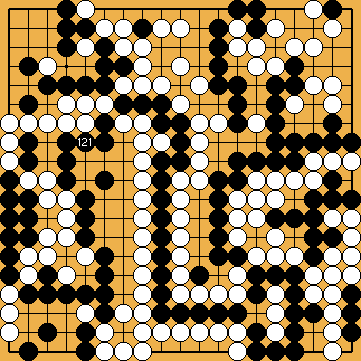
 : (123
  648iz
648iz , instead, is mistaken.
 : (B
: (B  , instead, is a mistake, losing one point overall (compared to the correct line of play below).
 : C
: C  immediately, or connecting her single stone at the upper edge with
  , will result in the same final scores (compared to the correct line of play below).
 : (
: ( B
B 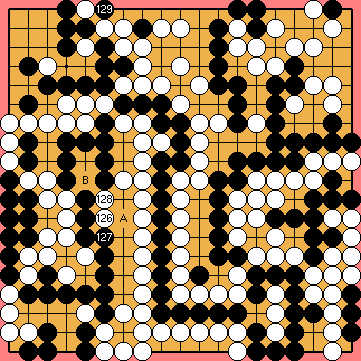
 : (128
  : (A
: (A  , or immediately connecting at
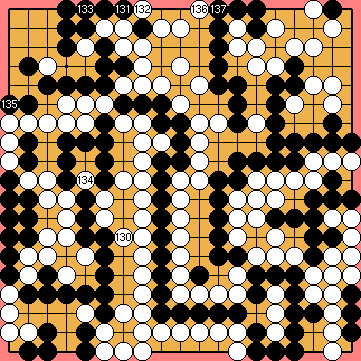
 : (131
  , or throwing-in at
  , instead, will be worse for her.
 : (134
  are miai.
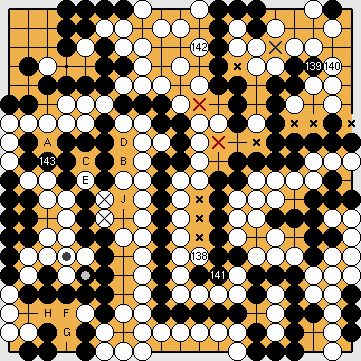
 ,
,  ) played before.
 to
to  .
. ,
,  , so that Black will have to capture at
  before the end of the game in the Capture Variation.
 ), and one approach-move liberty (
 ).
). 648ag
648ag ), and Black's ko threat at
  in the left centre.