New Story Line 2022
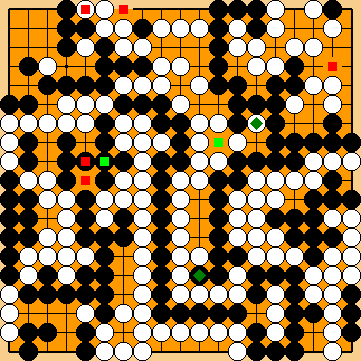
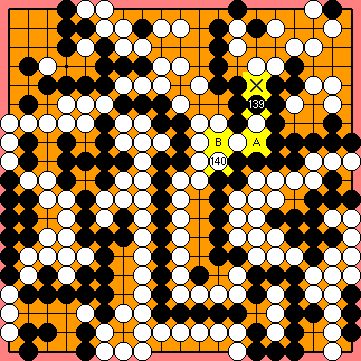
KataGo's Bad-Shape Move in the Left Centre
VAR 
|
Referenced by (
Seen historically, it was originally played two moves earlier, before Black's kikashi We decided to present it in the current position, in order to simplify the presentation. |
|
Liberties: Black's move loses two tempi in the Main Semeai. On the one hand, However, White's captured stone Black has effectively "only" lost one Main Semeai Liberty. |
|
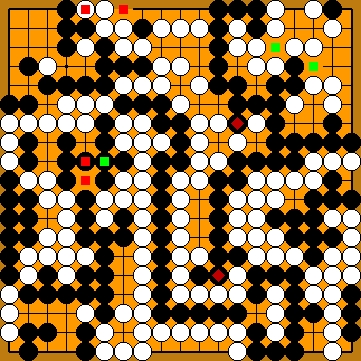
Territory (in the Capture Variation): Compared to the superordinate variation, ...
In total, Black gained three points locally by capturing White's single stone. However, losing one Main Semeai Liberty implies the loss of one point of territory in the Capture Variation. Thus, ... Joachim's Tenuki has effectively gained two points for Black. |
|
Let's return to the world of KataGo as of 2019 for the continuation ... |
|
Please note that Black's two Please also note that the overall shape of Black's large group at the left side of the board is much weaker than it seems at first sight. |
|
|
|
She might even do without this move now, and play this kikashi of hers later in the game.
Choosing the atekomi of KataGo's initial 2019 version, however, used Trump-Taylor-Rules, which are based on area scoring. For further details of our analysis at the time, please refer to the history of our investigations ... Later, in 2021, we found another, less complicated, way for White to win the game by two points overall: The combination of |
|
This move also threatens to create two points of additional territory in the left centre with a move at |
|
White's last move created an additional approach-move liberty Thus, it did not lose a tempo in the Main Semeai, despite being played outside the Main Semeai Area. |
|
|
|
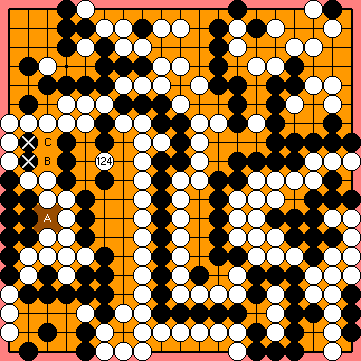
This move from above has been found by Joachim Meinhard, and keeps Black's liberty at Before Joachim's finding, we played this move at
This move benefits White by one point in the Semeai Variation, compared to the immediate connection at |
|
|
|
Capture Variation: Compared to the superordinate variation, ...
In total, Black gained one point. White + 2 => White + 1 |
|
Semeai Variation: Compared to the superordinate variation, ...
In total, Black lost five points. Black + 4 => White + 1 |
| |
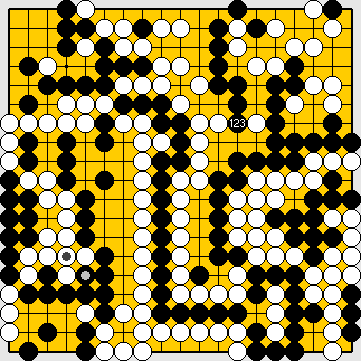
 2022MainLine
 2039
2039 ,
,  in the lower left.
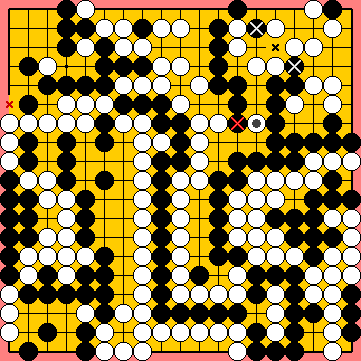
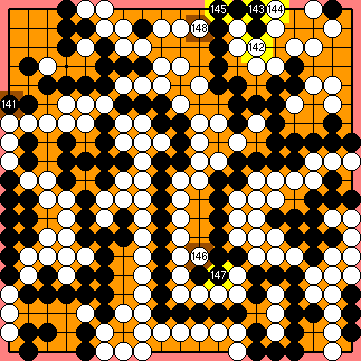
 occupies an own liberty of Black's group in the upper right. On the other hand, Black has not occupied a liberty
  of White's group at the left side of the board.
 , due to the earlier played Hasami-Tsuke Sequence. Thus, ...
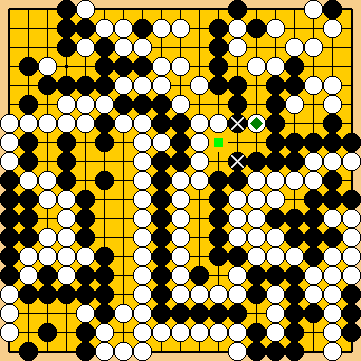
 :
: stones at the left edge are now in danger of suffering from a shortage of liberties after
  ,
,  (preceeded by
  ff., as a matter of course)
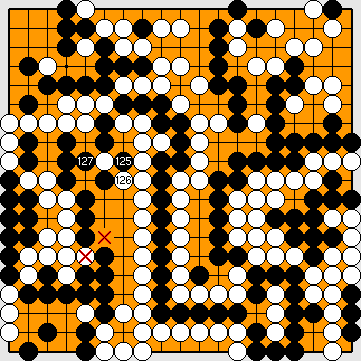
 :
: :
: :
:
 :
: :
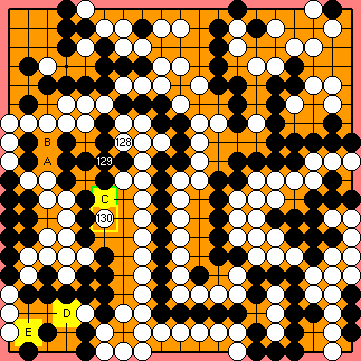
: is still lurking around the corner.
 : (
: ( C
C  2039c
2039c D
D  (discovered by Sergei Danilov 4d - aka "dany"), instead, would provide White with a benefit of one point overall, but under territory scoring only.
 513a
513a and
and  in the lower left corner.
 :
: :
:
 for her large group at the left.
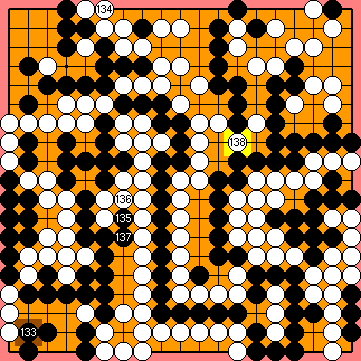
 :
: :
: :
: :
:
 :
: from below, separating White's stone directly from its allies in the centre of the board.
 :
:
 :
: