Variations of Our Solution (IIIb)
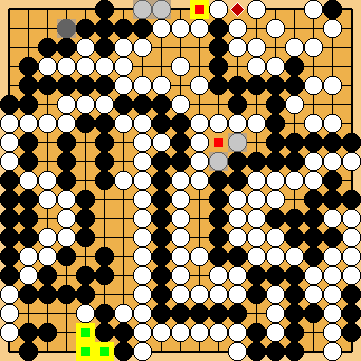
Tricking KataGo (Triple-Ko)
VAR  (C)
(C)  (A)
(A) 
 (.1)
(.1)  (.1)
(.1)
|
|
|
White does not need to choose the solid connection of |
|
Alternatively, he might consider playing the large endgame move of In the first case, Black will lose one point overall. In the second one, he will be one point better overall than with the best continuation below.
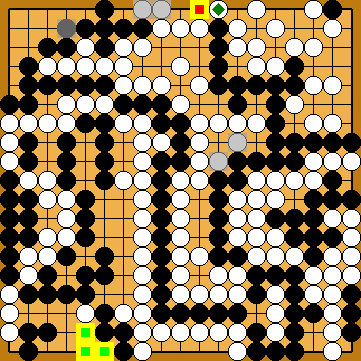
She must not start the endgame at the left side of the board "early", instead, as long as there are valuable endgame spots remaining. White would lose two points overall unnecessarily.
Please note that Black is par with the Punishment Semeai Liberty level again after this move. |
|
There is no need to complicate the issue by attacking in the left centre, instead. Neither result of the Main Variations would be affected.
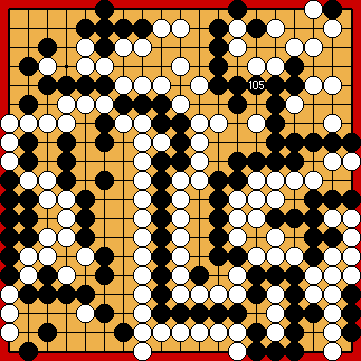
He would like to stop White from playing the wedge at
However, she must not let Black occupy the point of
Black has utilised the tempo that he won with Michael Redmond's kikashi for taking points in the lower left. Therefore, White will be able to occupy both In retrospect, we can see this kikashi made Black play |
|
Capture Variation: Compared to the superordinate variation ...
In total, Black lost one point. White + 6 => White + 7 |
|
Semeai Variation: Compared to the superordinate variation ...
In total, Black gained four points. Jigo => Black + 4 |
|
 222kb
222kb
 : (A
: (A  222kd
222kd .
. , instead, just to be on the safe side. She would lose four points overall unnecessarily, compared to the best line of play below.
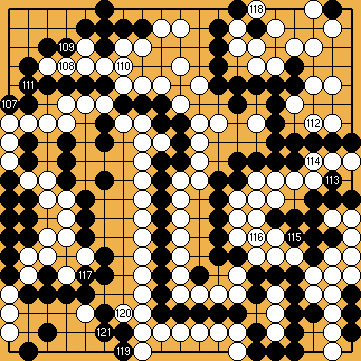
 : (119
  109
109  in the lower left, or immobilising White's single stone in the upper left corner with
  . The availability of these two variations depends on Black's just won Main Semeai Liberty.
 :
: : (121
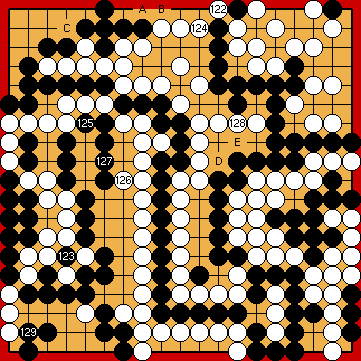
 :
:
 : (
: ( by defending his territory in the left centre first.
 : (
: ( . White would gain one point overall, if she played the wedge in the left centre at
  thereafter.
 .
. and
and  in the right centre.
 , instead of
  , so providing White with an additional point of territory in the centre.