Variations of Our Solution (IIIb)
Tricking KataGo (Triple-Ko)
VAR  (C)
(C)  (A)
(A) 
 (.2)
(.2) 

 (.2)
(.2)  (.1)
(.1)
|
(Referenced by
|
|
During the investigations on the comparable position with the Guzumi Exchange ( |
|
During the investigations on the comparable position with the Guzumi Exchange (
|
|
Jumping to
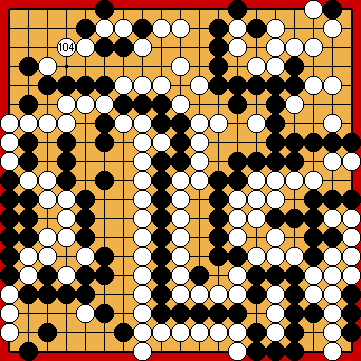
Please note that here, in the "classical" line of play without the Guzumi Exchange, KataGo (2021i) always favours We present the subvariations for the other mainly considered alternative options in descendant order of their final score. All of these will end with a White win. KataGo (2021i) found a decisive improvement for Black in the following subvariation. |
|
Guided by his experience with this position (at the left) after Black's guzumi at the right, Joachim suggested blocking with
KataGo (2021i) also favours this block, which will result in a much better final score for Black than the sequences below, after KataGo (2021i) found a decisive improvement for Black.
Black's descent to It seems very noticeable to us that one obviously must not follow KataGo's suggestions without further ado in positions that can only be reached after (multiple) mistakes on both sides. Presumably there is no need for the special neural network to analyse positions of this kind down to the very last detail. Adjusting the komi helps sometimes but is not a panacea. As a matter of course, Black would be able to capture White's stones in the upper left corner by playing the atari of
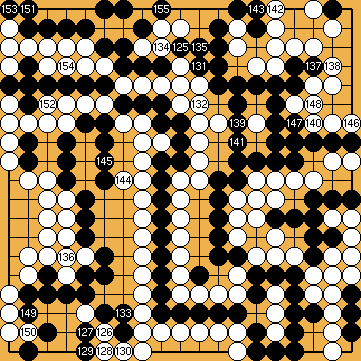
She might consider blocking at However, Black's previous move lost one tempo in the Main Semeai, so White's best option is to occupy a liberty of Black's large group at the right, instead.
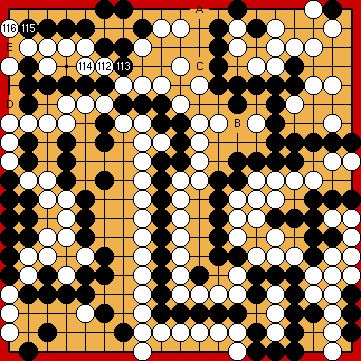
She might consider capturing the hanezeki's tail with
|
|
White will win the game by 19 points. |
|
 222fc
222fc 222bb
222bb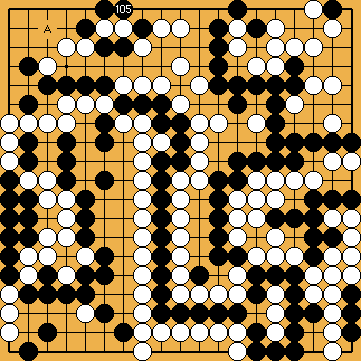

 : (A
: (A  222bw
222bw would be much better for him than allowing the ko fight shown below.
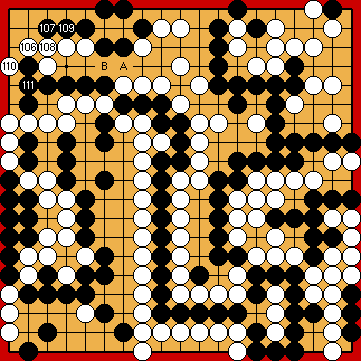
 :
: :
: :
: : (A
: (A  .
. :
: :
:
 :
: :
: , instead, will end even worse for him.
 : (
: ( A
A  at the upper edge now also ends with the same optimal score for both sides.
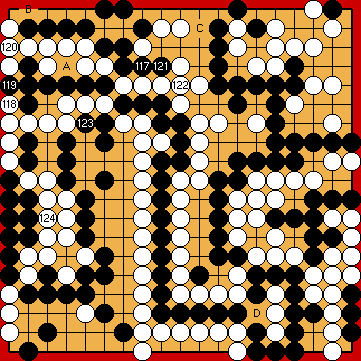

 : (
: ( in the upper left.
  : (121
  , instead, saving her stones at the top. She will lose only a few points, compared to the sequence below.
 :
: :
: :
: , instead, also capturing Black's cut stones in the upper left corner. She will still be better than in the solution, but her win will not be as convincing as here (similar to the subvariation for
  :
:
 :
: :
: :
:
